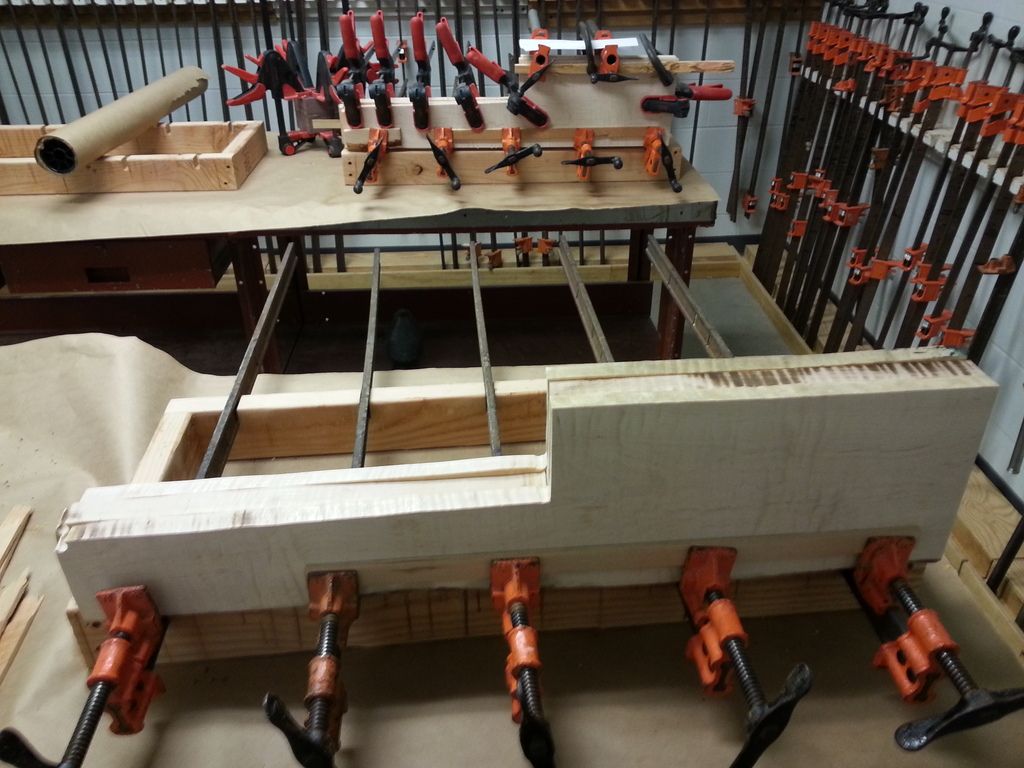
I went back today to take the clamps off and clean up the edges.
Started with Blank #3 again...so I can learn on that one. You can see Blank #2 in the background. (did I mention its a glue up room full of clamps. it is awesome.)
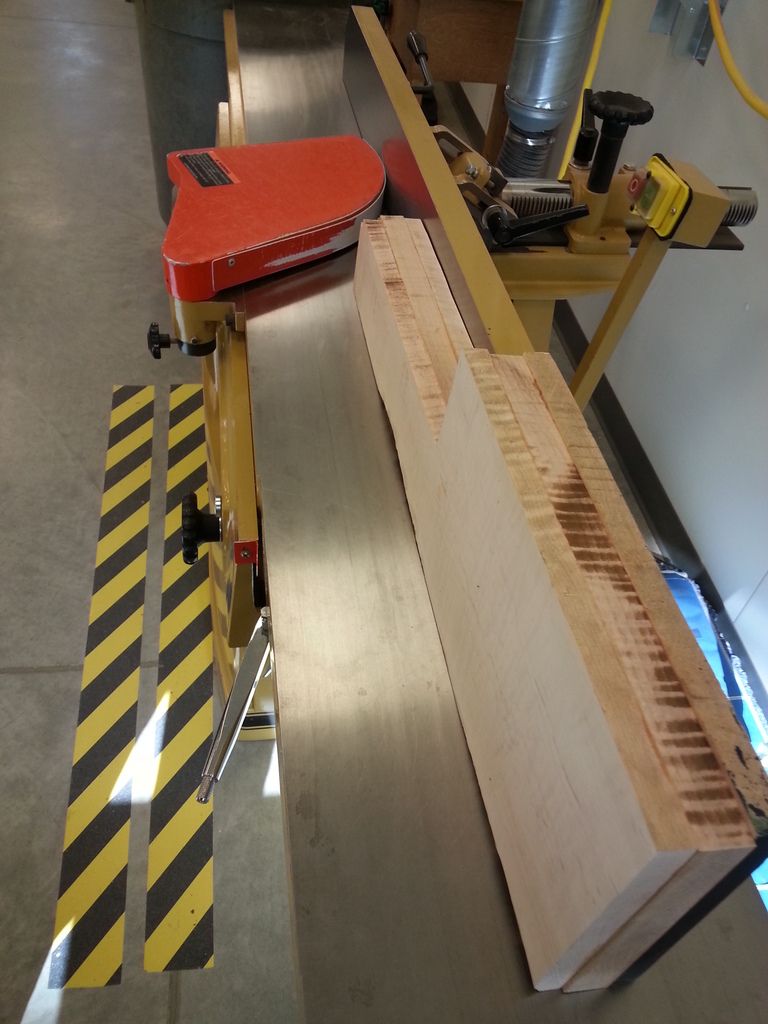
Took the blank over to the jointer to clean up the top edge. This edge will be used during the CNC process as a fixture reference.
I got some tear-out while jointing that edge. I think I was pushing it through too fast. This is why I started with Blank #3. I slowed down on all the other edges and didn't have any more problems.
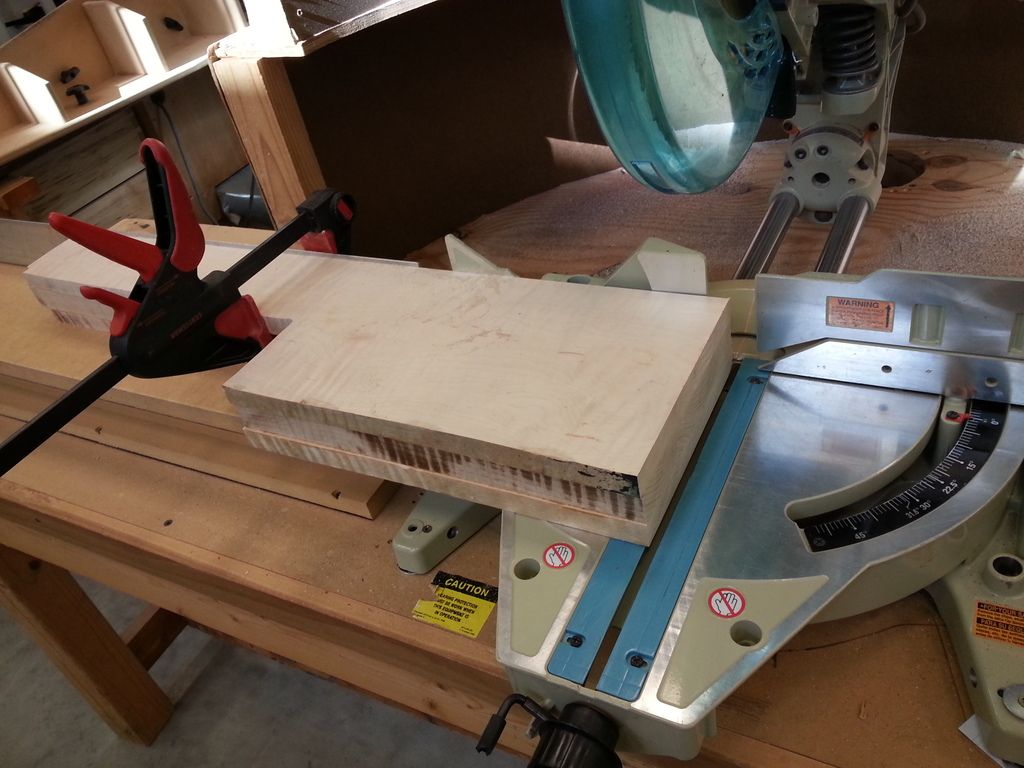
Next, I cleaned up the Nose and Back edges, square to the top. 12" blade Makita sliding compound miter saw.
The back edge is also used as a fixture reference on the CNC machine later.
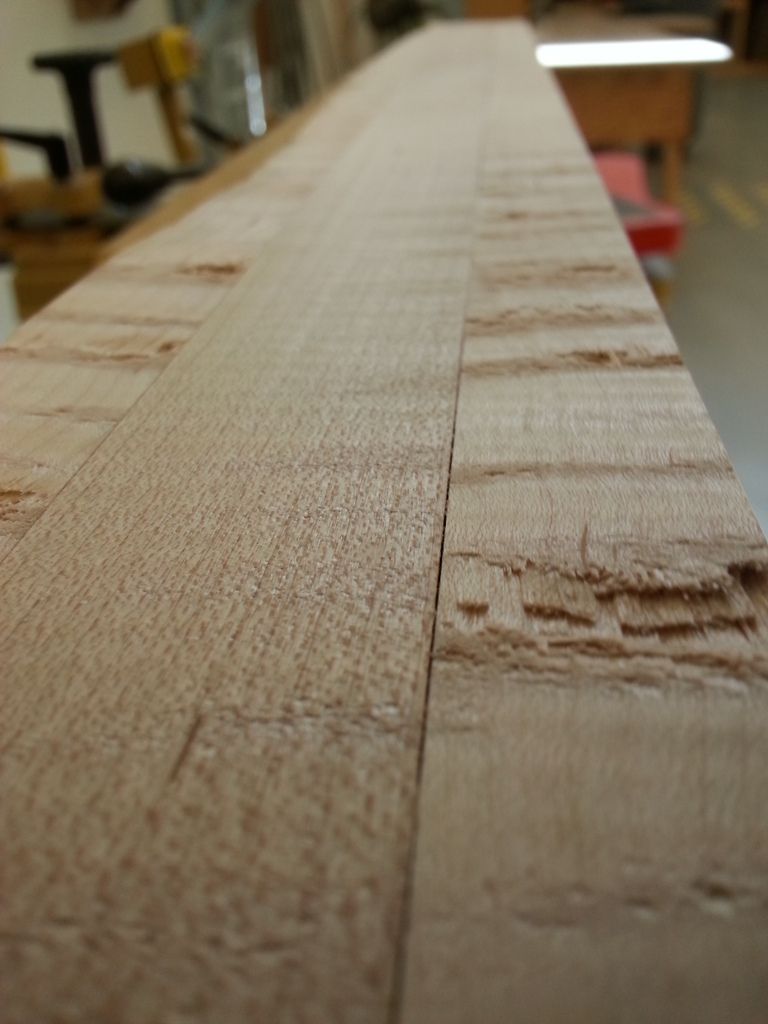
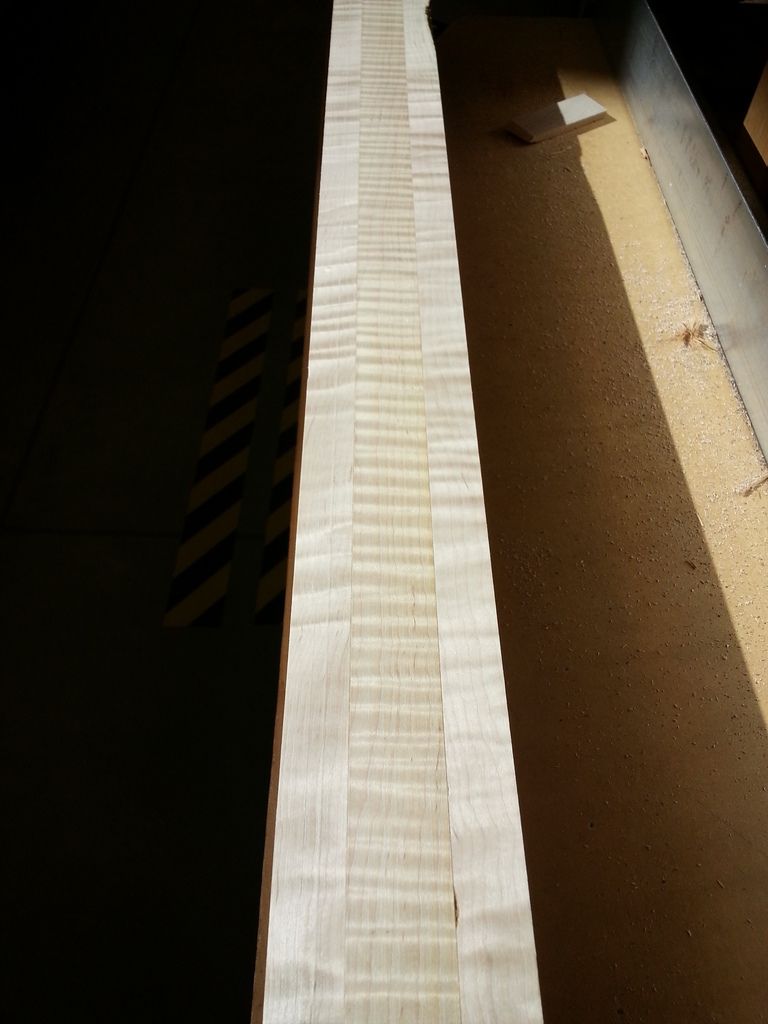
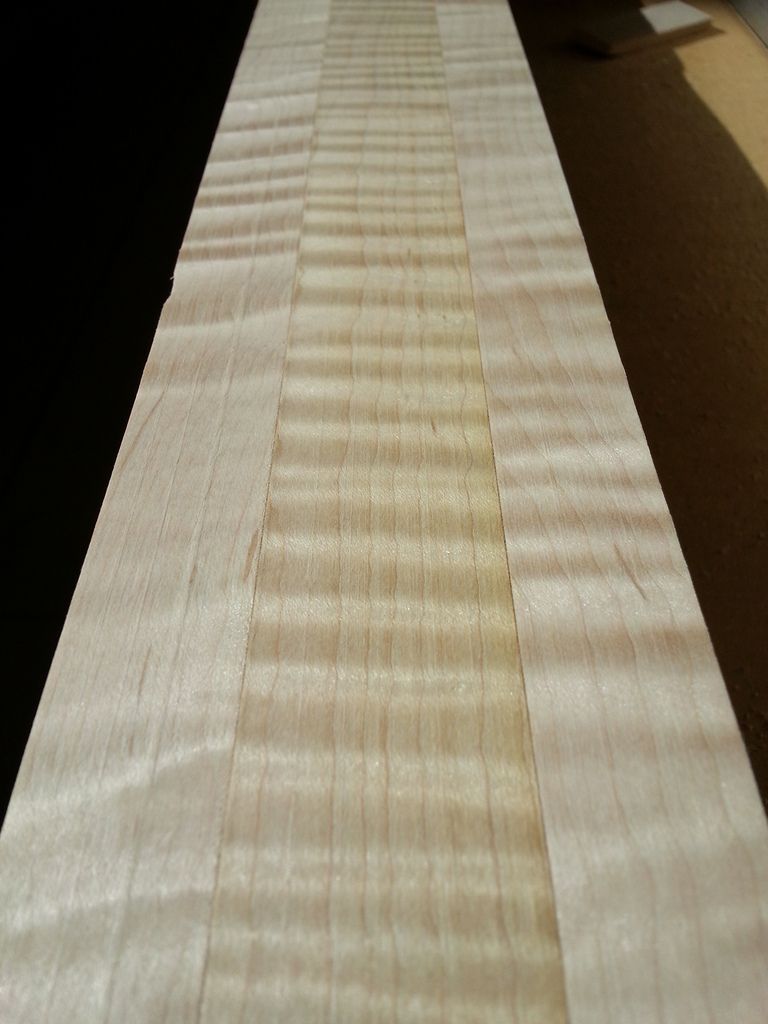
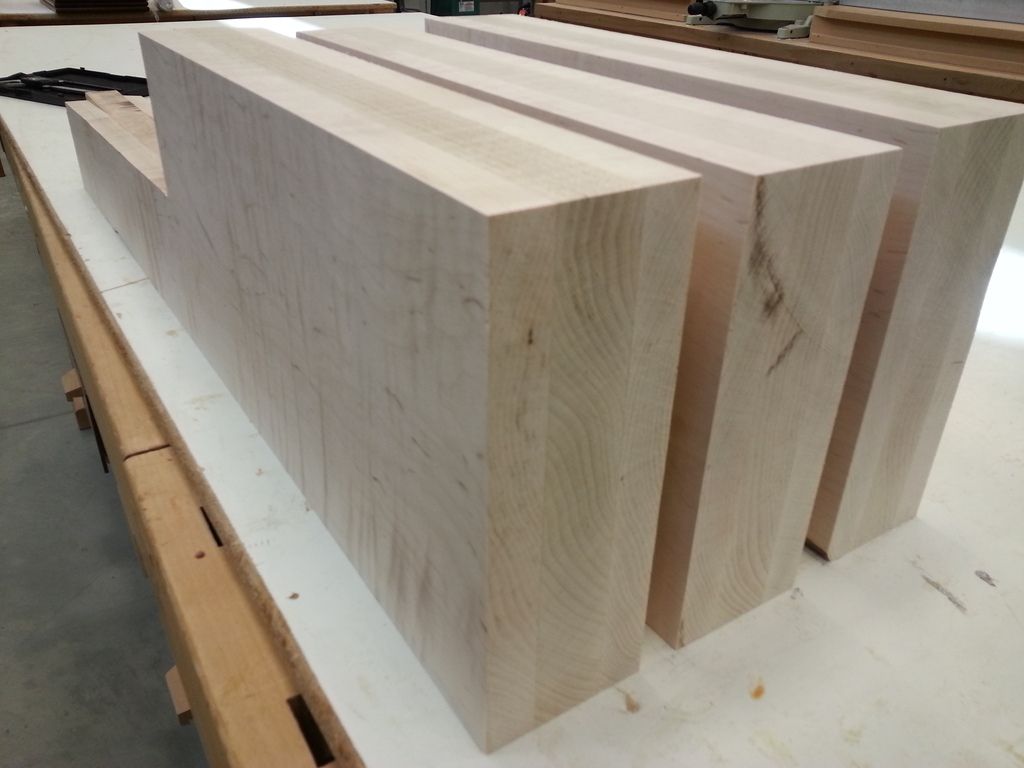
I removed Blank's #1 and #2 from the clamps and did the same steps. Below are 2 pictures of the top edge of Blank #1. Lots of Tiger Stripes.
--
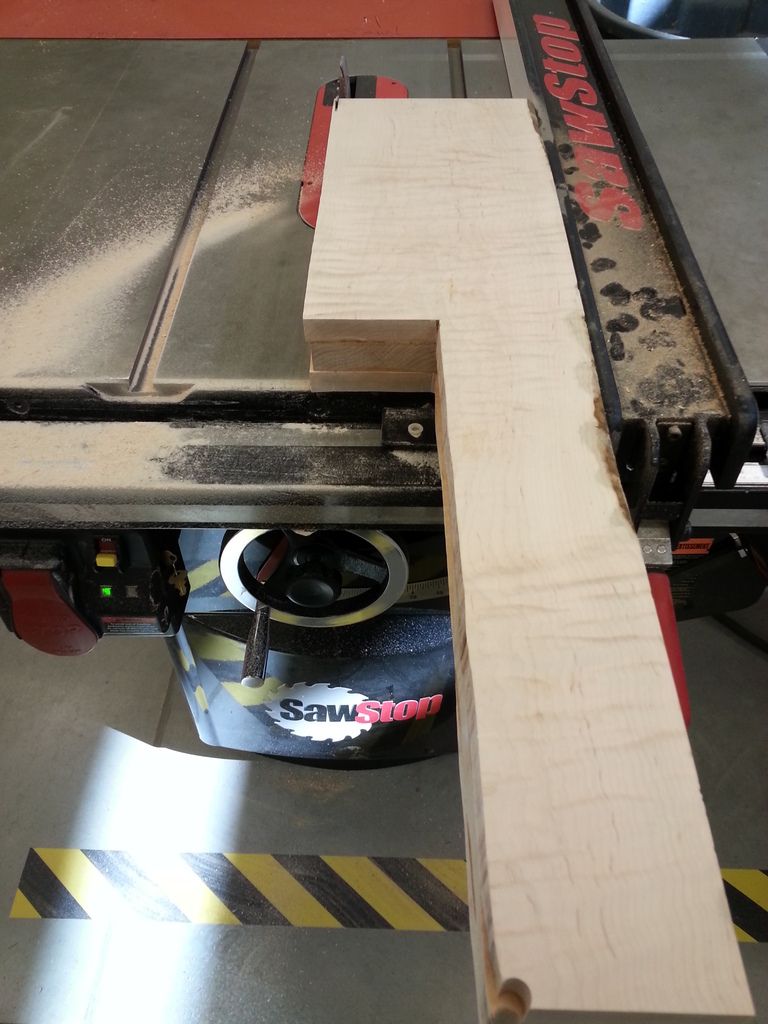
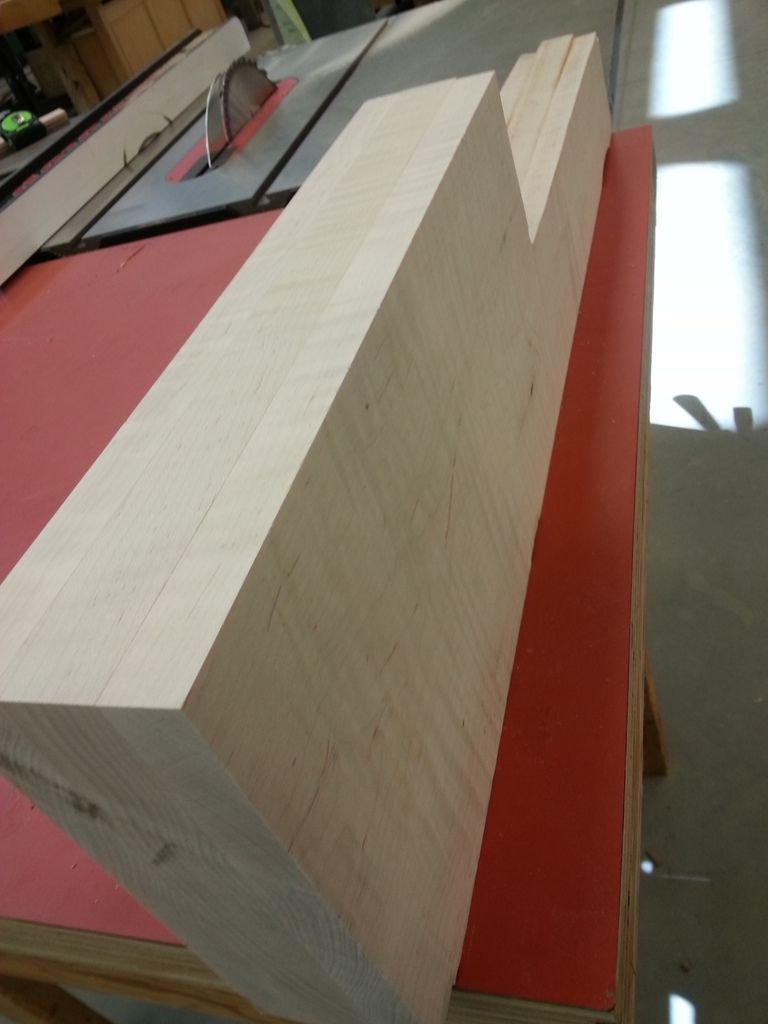
Last step for today. I brought all three blanks over to the table saw. Saw Stop brand.;
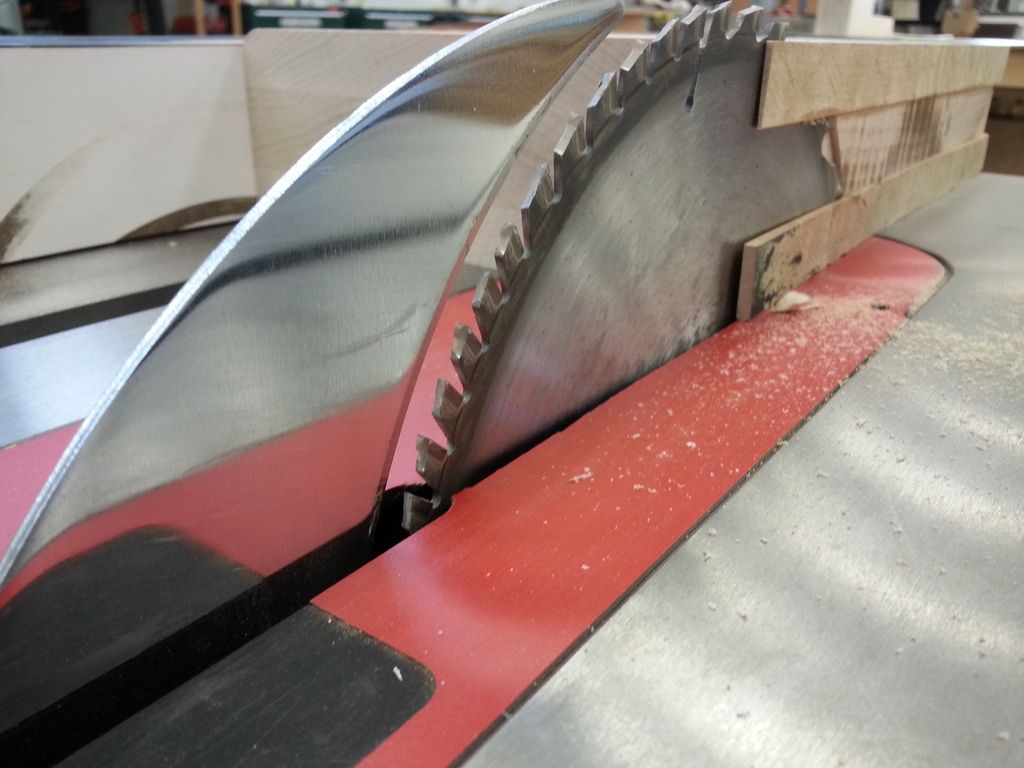
There is a little green light near the on-off switch. The green light says the Saw thinks there is nothing conductive (like my finger) touching the blade.
Should I get kinda dumb while making this cut...and allow my finger to touch the spinning blade, the saw mashes an aluminum brake into itself and stops spinning within 1/1000th of a second.
I watched a few Youtube videos and was amazed. Do NOT TRY THIS AT HOME.
I set the guide fence to JUST take the bottom edge off the Blanks.
This one's all cleaned up.
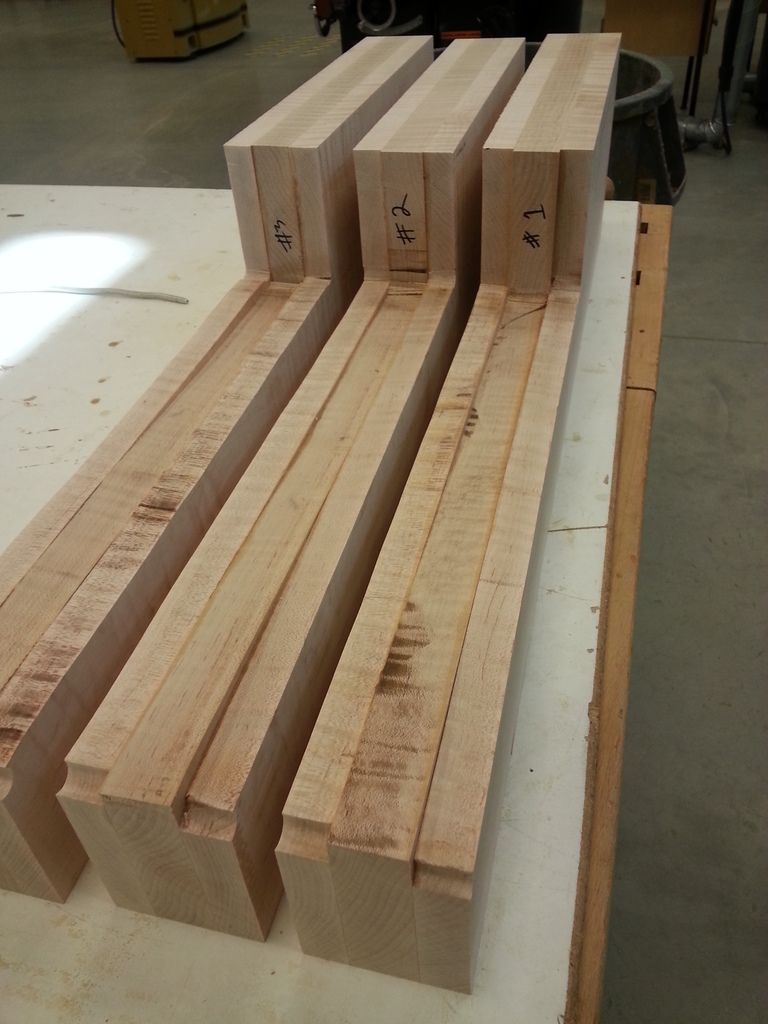
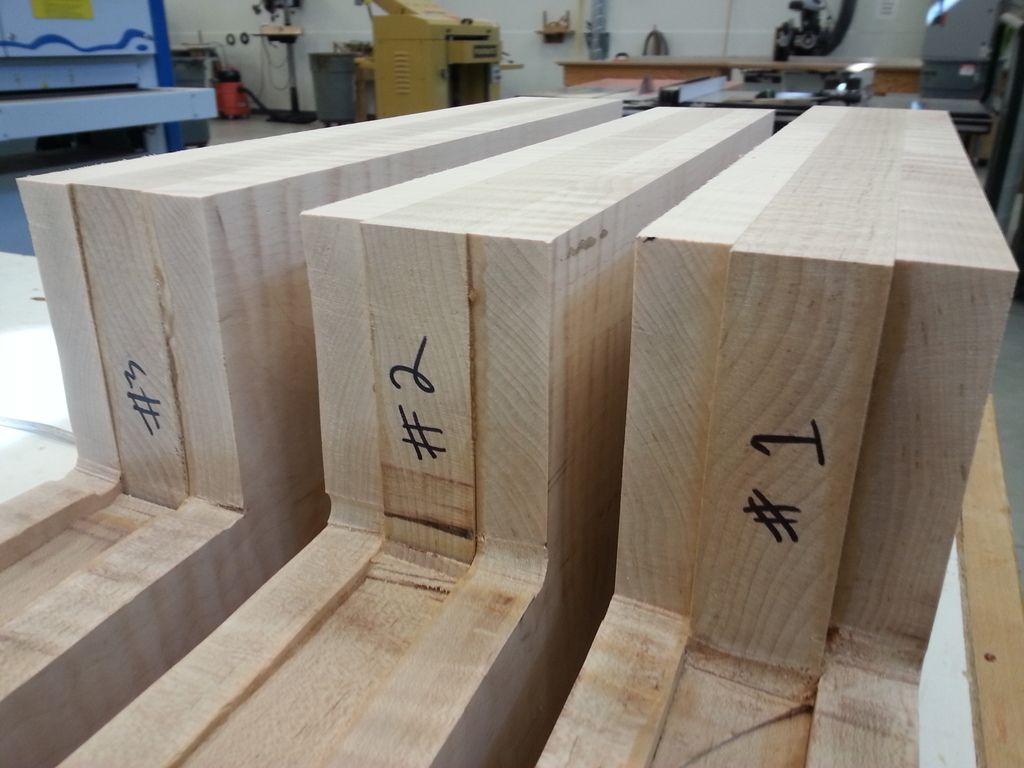
And...all done for the day. Here are all 3 blanks cleaned and prepped for the next stage.
--
--
Next, I need to get prepared on how I am going to cut out the riser.
Thanks for reading so far.
-PB



 Reply With Quote
Bookmarks