


 Reply With Quote
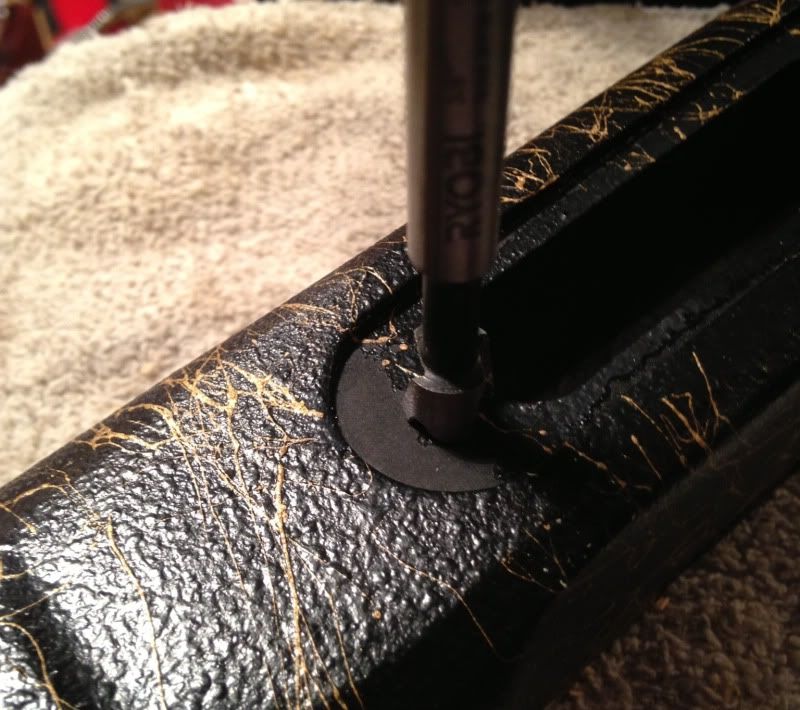
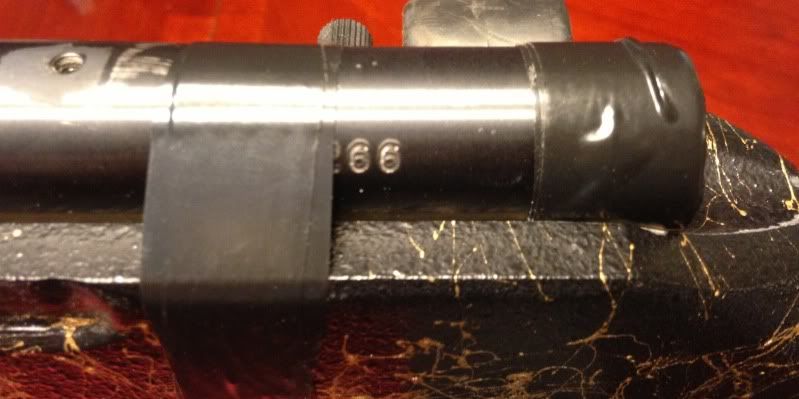
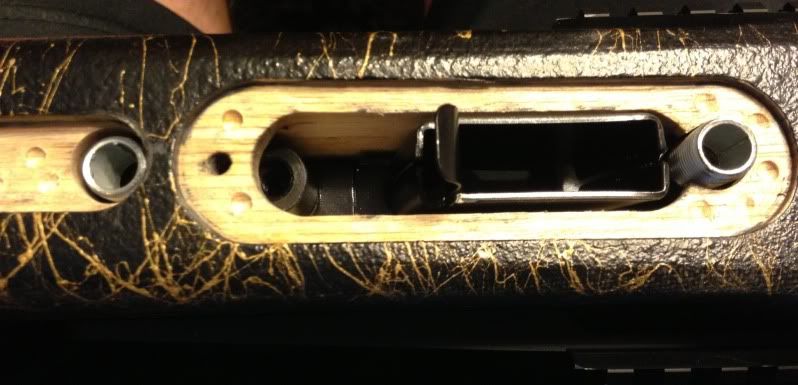
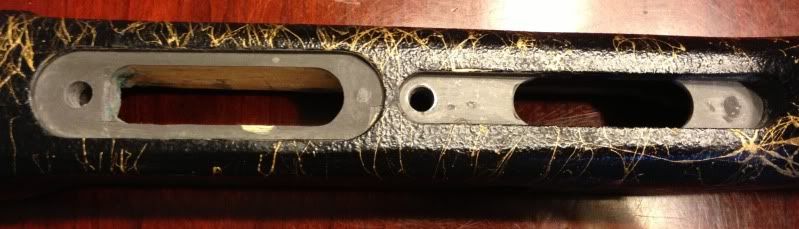
Now that I have my receiver and barrel secured where I want it to be once completely bedded, I could measure out and cut the pillars for the action. I used my calipers to get a rough measurement and cut the pillars a little long with a dremel cut off wheel. I chucked a dremel grinding bit into my drill press and held the pillar with pliers. This helped ensure a fairly flat surface to mate up with the DIP bottom metal and the action screw lugs. A little trial and error grinding off a little at a time to get the fit that I wanted.
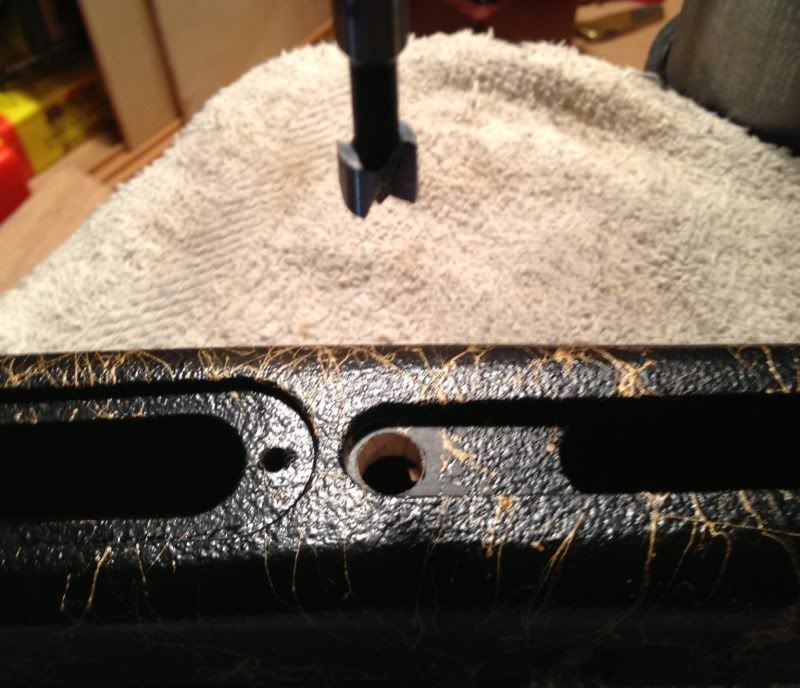
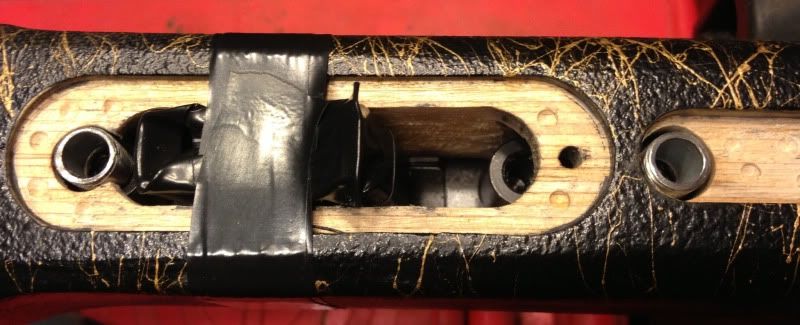
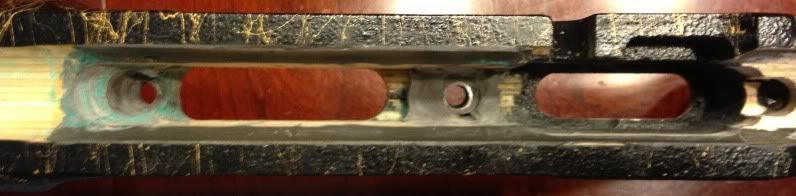
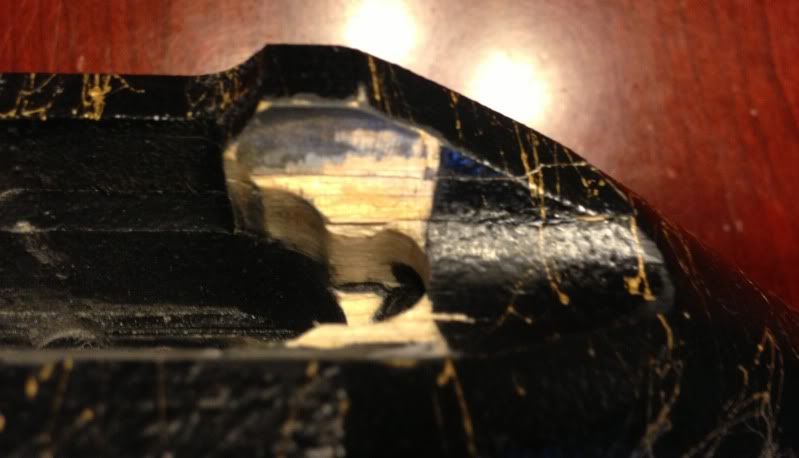
Before I put the bedding down, I analyzed my plan again. Because the one pillar isn't surrounded by wood and both have only a very thin piece of wood to support them, I decided I needed to be reinforced. I drilled a small hole into the stock at each pillar, going though one side of the stock and going about an 1/8" into the other side. I took some nails and stuck them into the holes. I measured about an 1/8" or so outside of the stock and cut them off there. Using a punch and hammer, I them tapped them in. Once bedded, each nail will act like rebar in concrete to help support it. One of the holes I screwed up on as there is very little space between the magazine port and the action screw. My first time to drill was too close to the action screw and would have shifted my pillar out of alignment if I left it like it was. So I had to move it just a hair so it wouldn't impede proper placement of the pillar.
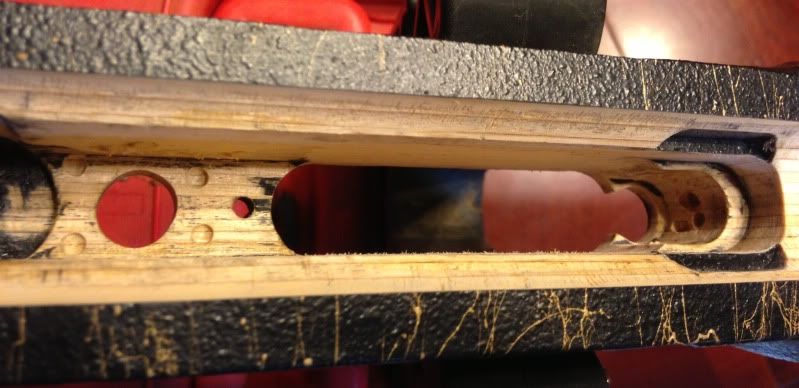
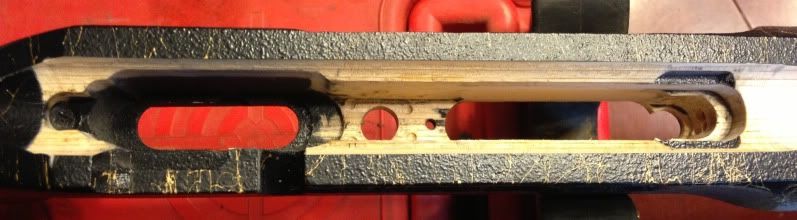
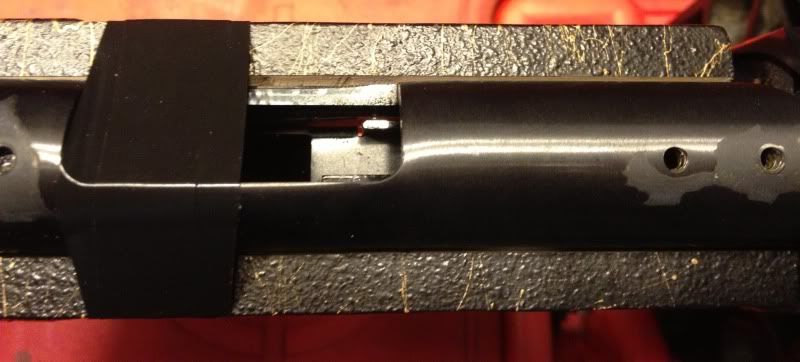
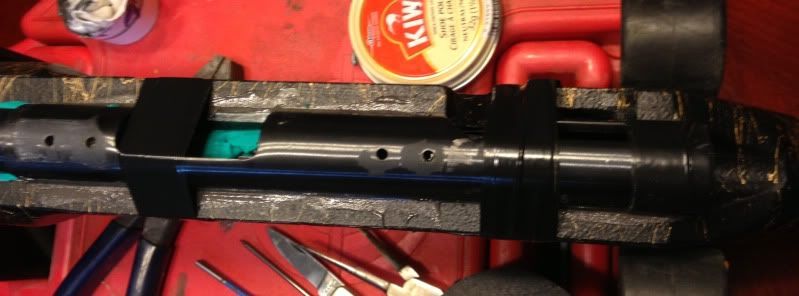
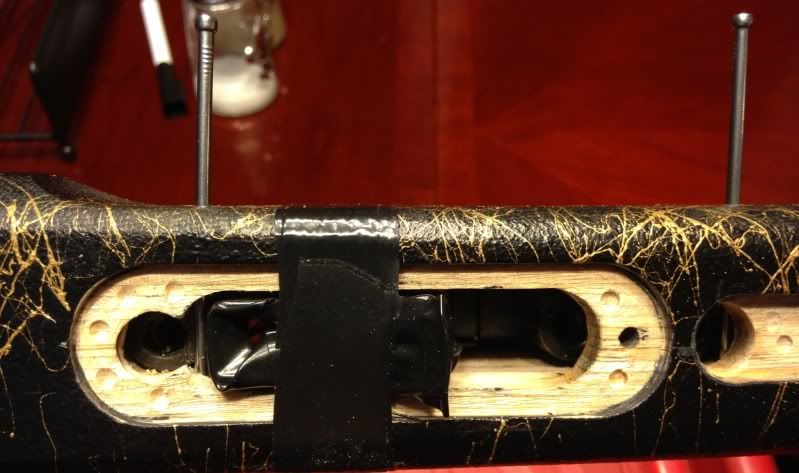
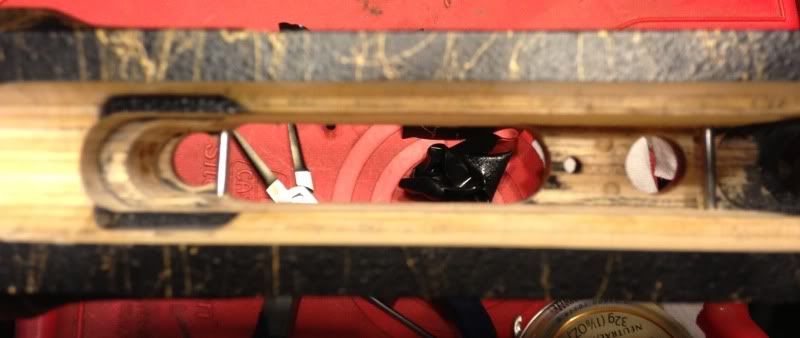
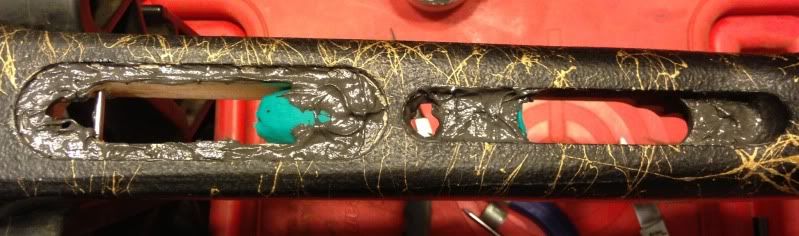
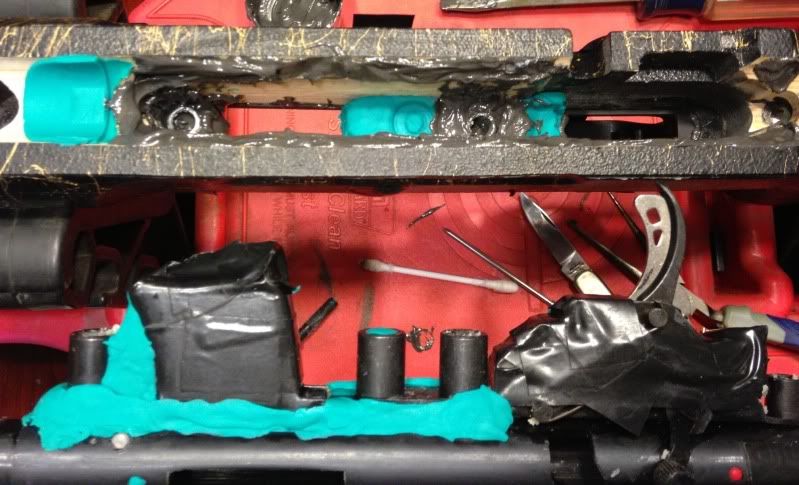
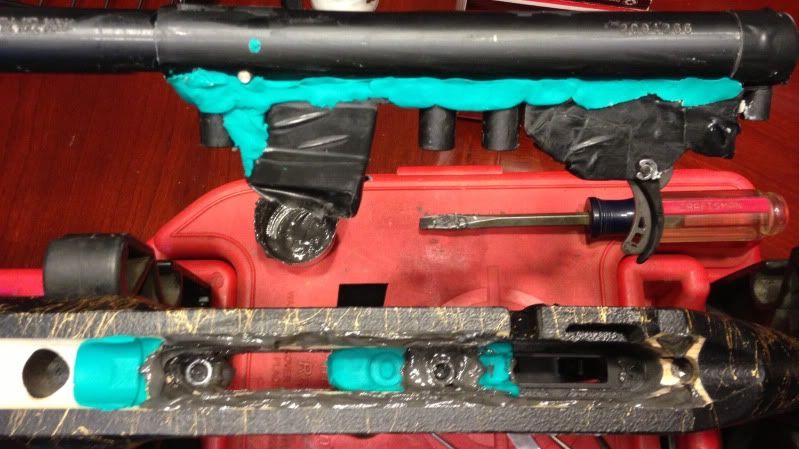
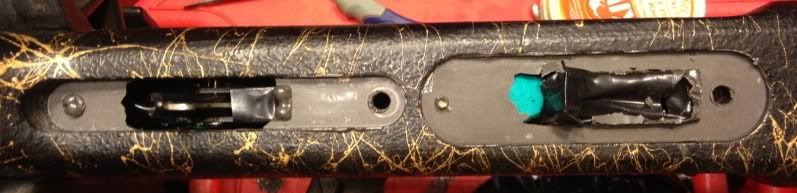
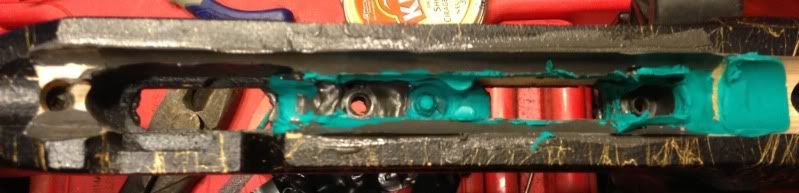
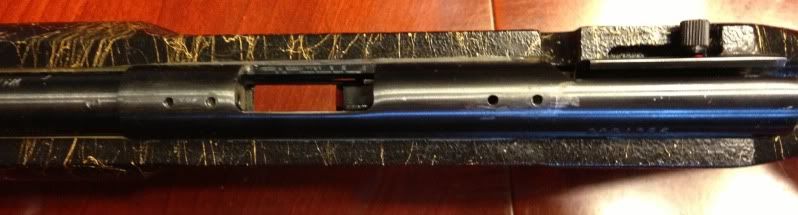
Now its time for some bedding.....But I have to get everything ready. I put playdoh whoever I didn't want the bedding to go and coated everything down that could potentially come in contact with the bedding with some clear Kiwi shoe polish. Well, so I thought (more on that later). I taped up the magazine port and trigger assembly to prevent any bedding getting into it. I used Devcon Steel putty for the bedding material as I have found it to be my favorite material to use. It's pretty thick and very easy to work with because it stays where I put it. Normally I would bed the action/pillars as one step and bed the floor plate and trigger guard in a separate step. Since there was basically no support for the unbedded pillars, I did all of it in one step. I was just too concerned about the strength of the bedding with the thin wood since I had to build up the bedding to fill in a void around the pillars. First I bedded the trigger guard and magazine plate and taped them in place. Both the floor plate and the trigger guard use one action screw and one wood screw. The wood screw hole for the floor plate was very near being stripped in the soft wood, so I filled in both wood screw holes with the Devcon to fix this issue. Next I applied bedding around where the pillars would go, then I set the pillars in place and continued to bed around them. Once done with that, I applied bedding to the upper part of the stock that would contact the receiver. Then I put the action in the stock and snugged up the action screws enough to make sure I had contact between the action screw lugs, the pillars, and the floor plate/trigger guard. I also applied some bedding to where I tapped in the nail reinforcements.


Bookmarks