


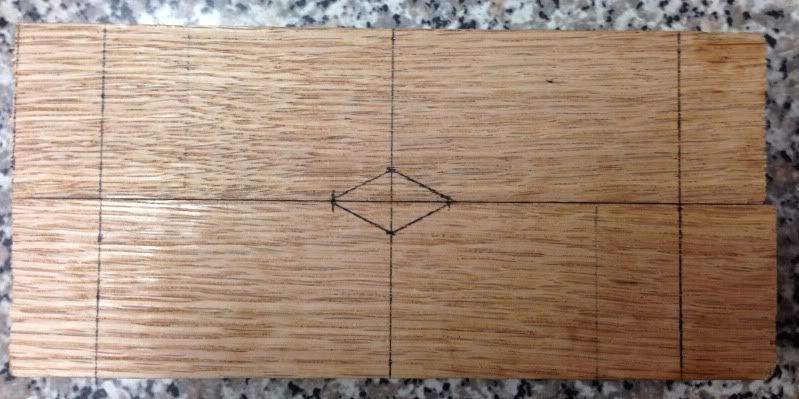
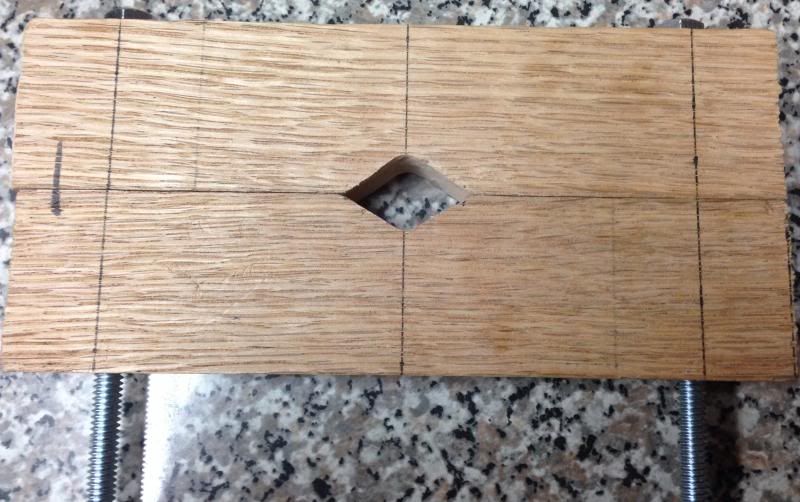
Well, I decided to make this my evening project. I started off with a 3/4" x 2" x 24" piece of oak board. I cut the board into two 6.25" pieces. I marked lines 0.75" from each end and used a square to draw the line across. I also marked up with the center of the boards. I found the center and made a mark 0.25" above and below the center point and 0.50" left and right of the center point.
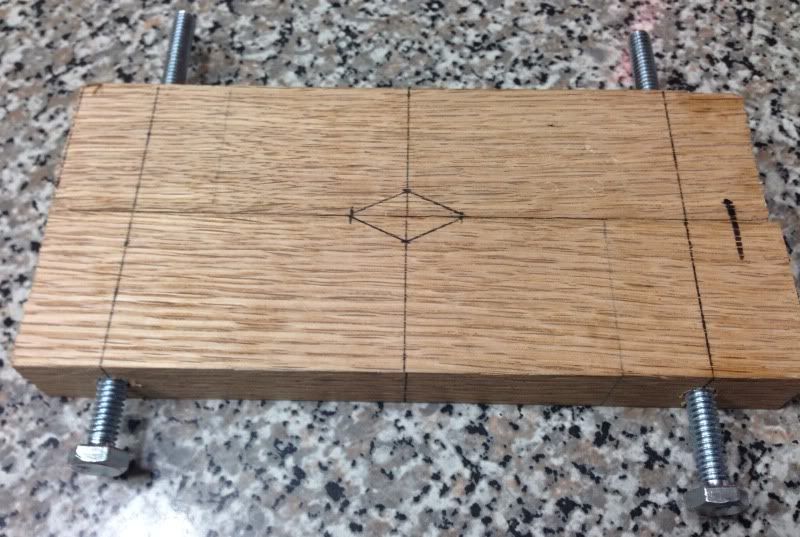
I used my drill press and a 17/64" drill bit and drilled the center point on top and bottom of the boards ensuring that they meet up. I bought 1/4" x5" all thread bolts, 2 flat washers, and wing nuts from Lowes.
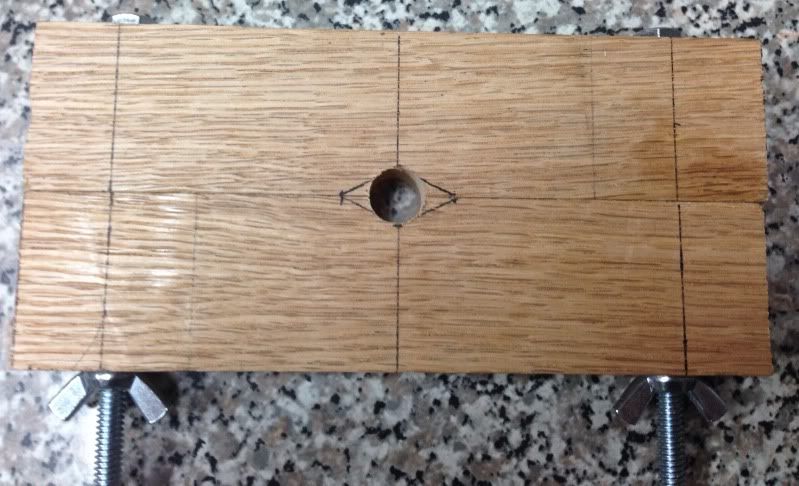
I then used a 1/2" Forsner bit to drill out the center hole. I also used it to countersink the holes on the top of a board.
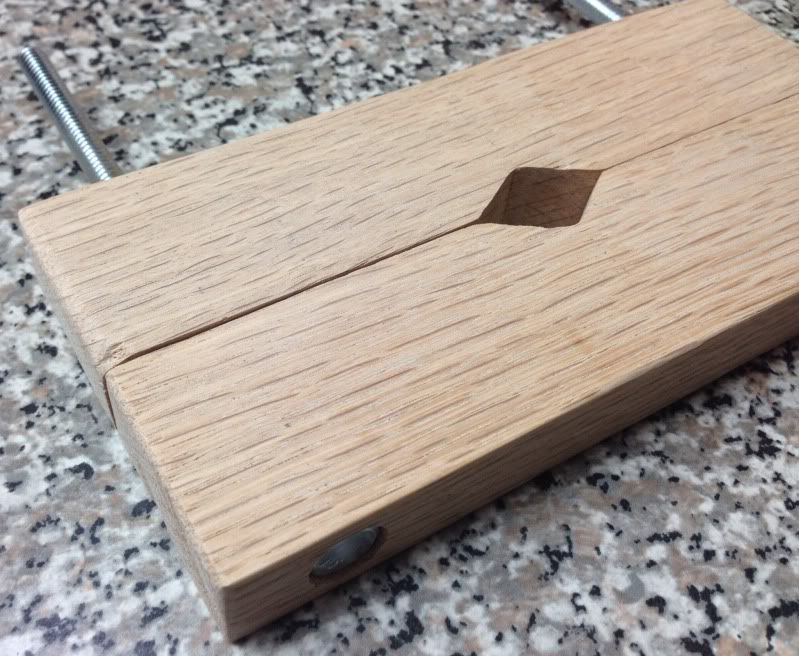
A little jigsaw and dremel time and I cut out the center angles
I sanded off the lines and rounded the corners on the boards
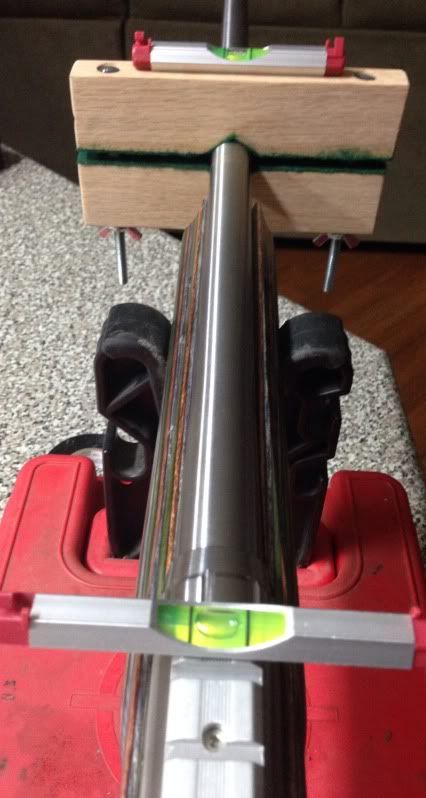
Finally, I used epoxy to secure the bolts in the countersunk holes. I also used epoxy to secure the aluminum cased line level from Lowes to the top board. I used some spray glue to secure felt between the 2 boards. Now, all I have to do is place a second level on the scope mount and then use the wing nuts to secure the leveler to the barrel. Once the leveler is secured, I can attach my scope mounts and scope and then use the level on the scope cap. Level the rifle, level the scope, and the reticle should be level as well.


 Reply With Quote
Bookmarks