


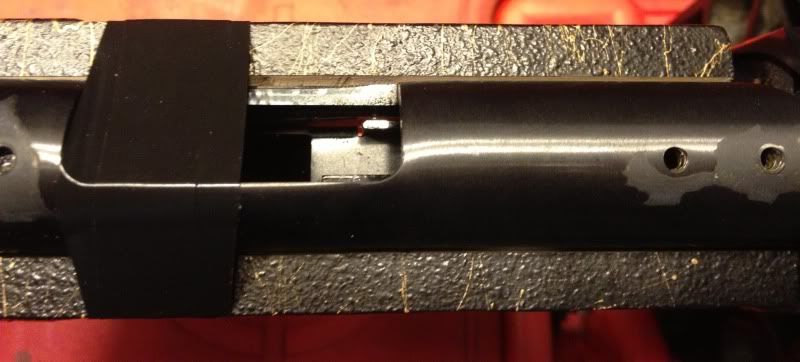
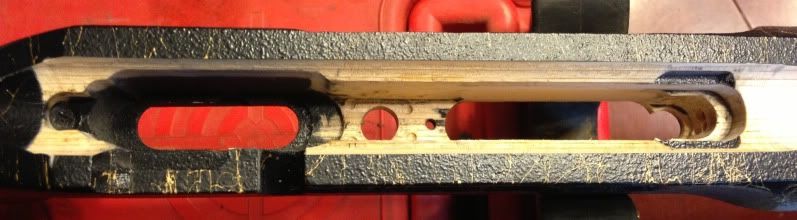
A couple of months ago I bought my 14 year old daughter a Savage Mark II FV with the bull barrel. I immediately ditched the cheap stock and put it in a Boyd's Tacticool stock. No matter what ammo we used and no matter what we torqued the action screws we always had fliers. It shows its potential and will put 3-4 almost on top of each other at 50 yards but there is always 1-2 fliers about 0.5-1" away. We both got frustrated and I started evaluating the issue. I believe the problem was related to the action/stock fit. there was a huge gap between the wood and both of the action screw lugs on the receiver. Basically when we tightened down the action screws it was only pulling the receiver into an empty space and pinching it. I don't believe there is any way to accurately torque the action down like that. So, I decided I was going to build up the stock and pillar and bed the action. After some studying, I realized this wasn't going to be a cake walk. The design for the Mark II action screws is pretty crappy in my opinion. The only benefit of the design is the screw lugs are flat across and its not like doing pillars where the screws go into a curved action. It just sucks I decided to do this after painting her stock. Maybe this will help somebody down the road, and maybe it is just a repost of what somebody has done before, but I decided I'd post it up just in case somebody could use it.
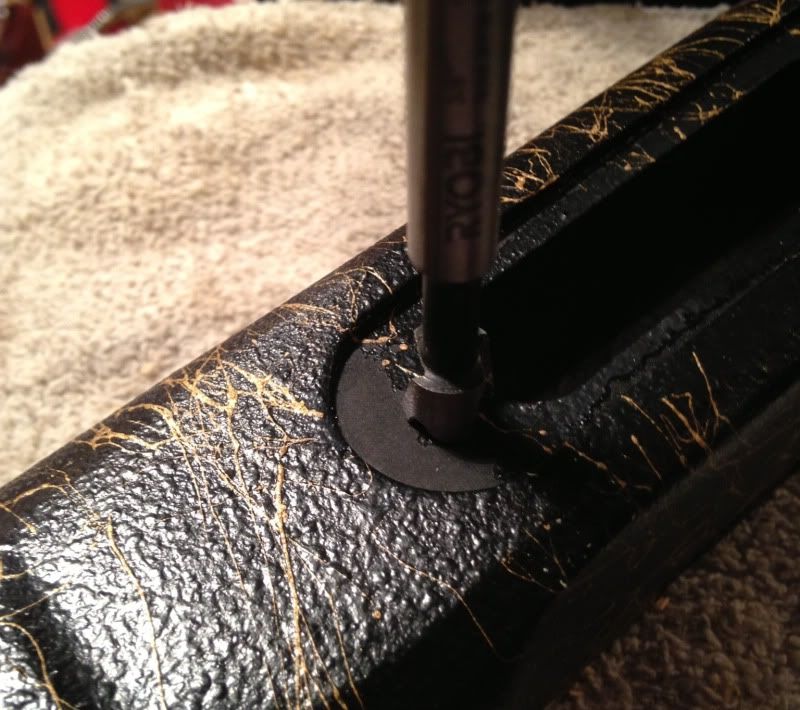
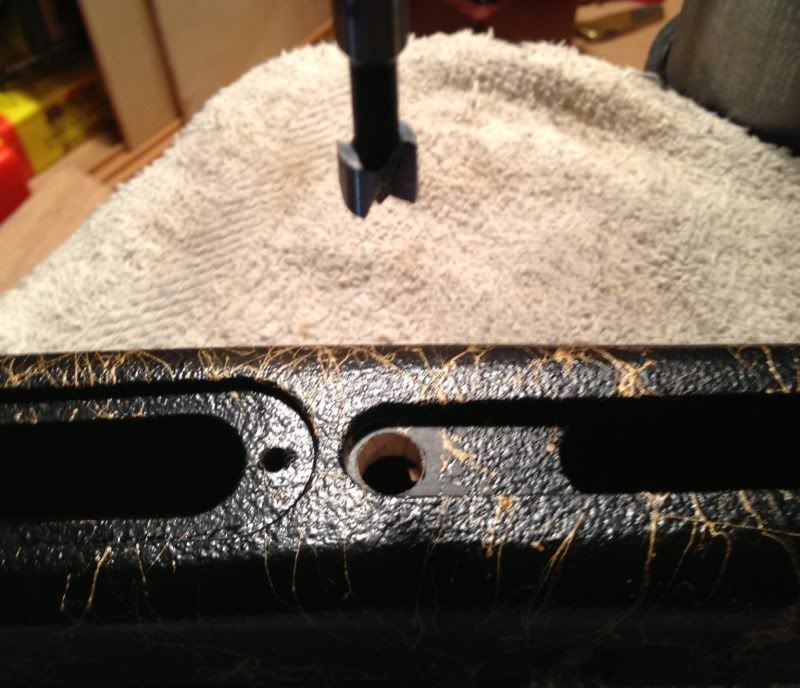
I broke out my Forsner bits and found the right size for my pillars (hollow threaded lamp rod/pipe nipples).
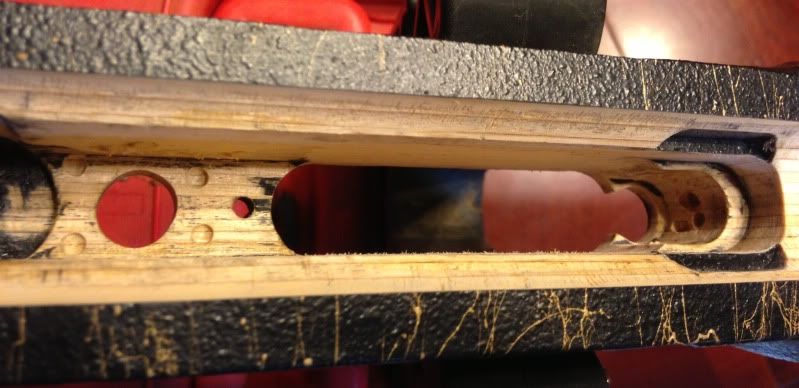
I didn't take away material in the stock as the only contact between the rifle and the stock is the sides of the action. I planned on lifting the action and bedding it, so the only thing I did was drill little divots with a drill bit. This should increase the surface area that the bedding compound contacts and should help ensure it stays put. I did take sand paper wrapped around a socket and opened the barrel channel up a little as it was snug to the sides of the barrel.
Next I taped up the rear of the receiver and the barrel. This help ensure that both my action and barrel was free floated. I only lifted the action 3 pieces of tape, just enough that I could slide a business card down the sides freely.

 Reply With Quote
Bookmarks