Page 1 of 3 123 LastLast
Results 1 to 25 of 116

Thread: 12fv build w/ pics

Hybrid View

Previous Post Previous Post   Next Post Next Post
  1. #1
    Basic Member DesertDug's Avatar
    Join Date
    Jun 2018
    Location
    Texas
    Posts
    432

    12fv build w/ pics

    12fv 6.5 creedmoor start.
    Added XLR Envey chassis. Tactical Lite butt stock and Ergo hand grip- picked up on sale, v2
    Athlon Ares BTR 4.5x27x50 with sun shade, for a great price on sale.
    5 round metal accurate-mag
    as she sits now.
    [IMG][/IMG]

    i am looking to rebarrel and may due so soon as x-caliber has a 25% off sale going on right now. Intended use is for long range paper and hunting. Focus on hunting so weight is a concern but not the deciding factor. Looking on thoughts regarding lenght and profile. I am leaning towards 24" hunter profile, but might go longer say 27" in a light puma profile.

    This is my first accura trigger, so I will see how I like it. I do not mind the blade, as I like two stage triggers on my AR's. Time will tell if this gets changed out.

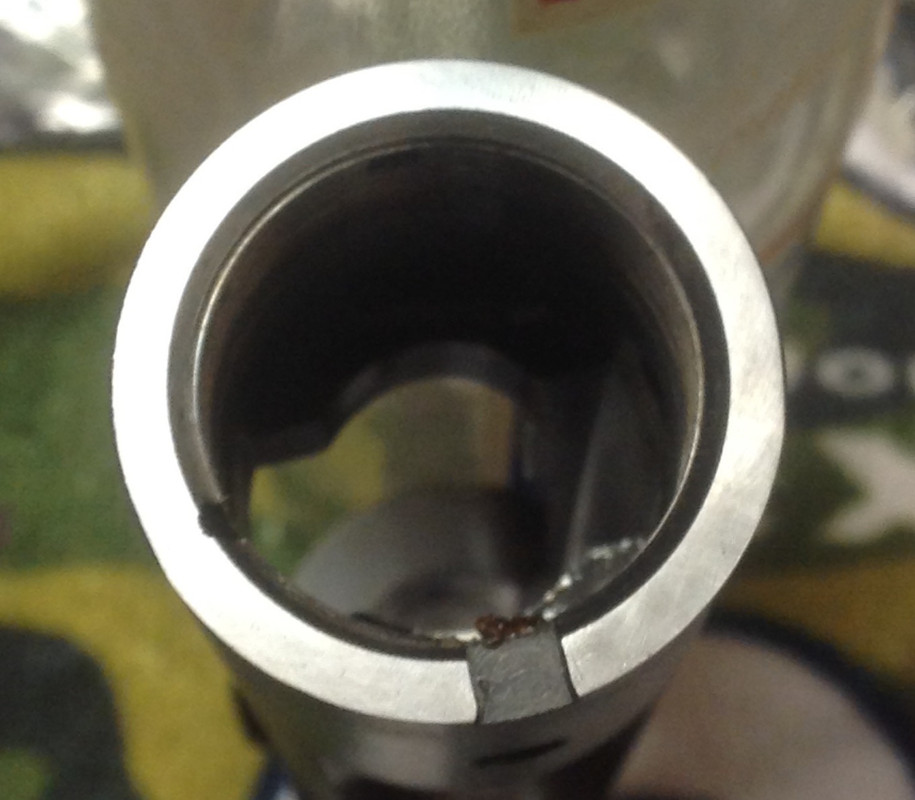
    Barrel nut and lug will get updates when and if I change out the stock barrel.

    This chassis is there #2 no version and will fit both a upper and lower bolt release models. Zoom in on the triger guard.
    Slots ate m-loc type. I will be adding a sling attachment and possibility a bipod, or arrca rail piece for atripod.
    See thread regarding this here:
    http://www.savageshooters.com/showth...athGrip-Tripod

    i look forward to the day I am getting results like @CFJunky does with his stock 12 fav.
    Last edited by DesertDug; 05-13-2019 at 09:58 AM. Reason: spelling

  2. #2
    Basic Member Robinhood's Avatar
    Join Date
    Apr 2014
    Location
    South Texas
    Age
    66
    Posts
    7,804
    Nice DD. Where in Texas again?
    The Dunning-Kruger effect is alive and well.

  3. #3
    Basic Member DesertDug's Avatar
    Join Date
    Jun 2018
    Location
    Texas
    Posts
    432
    Starting to lean 26" hunter profile. Looks like it will be lighter then the light Palma profile.

    Anyone have thought on if break would be a benefit ? Will not be run suppressed, so not sure if I should get it threaded or not. If not I will do a recessed crown.

    Savage Pre-FitBarrel Steel: 416R Stainless Steel
    Savage Barrel Length: 26" (No Half inch Threads)
    Caliber & Twist Rate: (6.5mm) .256/.264 1:8 Twist 5R Groove
    Bolt Action Contour: 13 - Hunter 1.058 4 .750 Small/Reg
    Savage Shank Size: Small / Standard
    Rifle Chambers: 6.5 Creedmoor
    Muzzle Options: Recessed Target Crown (No Threads)
    Finish: Polish

  4. #4
    Basic Member
    Join Date
    Nov 2016
    Posts
    1,048
    Of course a brake would help, but that thing should be heavy enough to absorb most of the recoil of a 6.5. If you were wanting to compete then thread it...

  5. #5
    Basic Member
    Join Date
    Sep 2018
    Location
    Northern VA
    Posts
    809
    Nice looking set up, DesertDug.
    I was looking at that same stock just the other day.

    How did you deal with the hidden mag to detachable mag conversion?
    Did the Envy chassis come with the hardware or did you have to make another arrangement?

    I know you seem to prefer custom barrels, and a 416R stainless steel barrel, even at 26 inches will reduce the exit time over a 3% steel Savage barrel.
    I love my 416R barrels. They are a joy to clean and seem to be impervious to copper build-up.

    The Savage 12 FV factory barrel is a heavy profile.
    A hunter profile will be thinner which I expect will increase the effect of barrel heating.

    This spring, as the weather is warming up in Northern VA, I found that the 12 FV barrel will heat up from 86 degrees F. to over 120 degrees F. (where the POI drop is about 1/4 inch) after about 6 - 7 shots when the temperature is around 70 degrees. It's only going to get worse when summer arrives and I suspect it is already hot in the desert.
    (The temperatures are based upon an uncalibrated LCD Temperature stick-on strip on the barrel about 4 inches from the chamber. The readings are consistent but probably not particularly accurate as to true core barrel temperatures.)

    If you are considering this barrel for competition, the heating effect might be even worse with a hunter profile.
    For hunting, I doubt you will even notice. The first shot from a cold barrel is all that counts.
    I have rarely got a chance for 2 shots at any game I've hunted and even my thin hunting barrels won't show any temperature effect with only two shots.

    However, if you intend to punch paper or you intend to do extended load development for your rifle, you probably will wind up standing around waiting for the barrel to cool after a few shots with a hunting contour.

  6. #6
    Basic Member DesertDug's Avatar
    Join Date
    Jun 2018
    Location
    Texas
    Posts
    432
    Not wanting to compete celltec, it staying on target is a plus.
    CFJ, the swap is take action out of Stock and action bolt right to the chassis with action screws. 65 in/#. New action screws come with it. Takes AICS magazines
    Not sure if I should be concerned about barrel heating up to much. I think weight is more of concern.
    it is right at 13# as it sits now with savage barrel. my long action weights in at 9.5#

    yet I would like to use it to sharpen fundamentals. I guess you can't have both.

    Maybe 24" or 25" in a light palma. There is that artical regarding 6.5 and barrel length, as they chopped a barrel. In it the 25" had a large sd in its velocities. 24"did not lose much velocity over 26".

    Savage Pre-FitBarrel Steel: 416R Stainless Steel
    Savage Barrel Length: 24"
    Caliber & Twist Rate: (6.5mm) .256/.264 1:8 Twist 5R Groove
    Bolt Action Contour: 18 - Light Palma 1.058 2.5 .900 2.5 .750 Small/Reg
    Savage Shank Size: Small / Standard
    Rifle Chambers: 6.5 Creedmoor
    Muzzle Options: 5/8"x24 Threads (.243, .375), 11° Crown [+$55.00]
    Finish: Polish

    not sure how long this sale is so trying to learn as much as I can as fast as I can....

  7. #7
    Banned
    Join Date
    Jan 2016
    Location
    Suburb of Filthadelphia.
    Age
    45
    Posts
    5,704
    Very nice Dug. I run a 260, and with the weight, I find the idea of a brake to be comical. The recoil is soft as can be! They just add NOISE! Your comment on the Accutrigger is exactly what I have been saying. I have a repeatable system of performing a trigger job on Accutriggers. Feels very much like a GOOD 2-Stage.

  8. #8
    Basic Member DesertDug's Avatar
    Join Date
    Jun 2018
    Location
    Texas
    Posts
    432
    new barrel shipped.

    Hope it shoots as good as the stock one.

    Need to get the barrel nut and lug ordered. I guess I need to go with e/arther brown since they have them in stock and have head gauges as well. They will be in black while the barrel is in SS. Should have had these ordered already from sharpshooters supply, oh well...

    Gonna be at the lease and will shoot up the H4830 loads I had ready to test at the range with the factory barrel but never made it there. Will not be bench results.

  9. #9
    Basic Member DesertDug's Avatar
    Join Date
    Jun 2018
    Location
    Texas
    Posts
    432
    One group was sup 1 moa
    [IMG][/IMG]

  10. #10
    Basic Member DesertDug's Avatar
    Join Date
    Jun 2018
    Location
    Texas
    Posts
    432
    Shot the h4350 loads with the stock barrel. 100 yards prone out the back of my pick-em up truck.
    41gn h4350 with 143 gn edlx case grime 1.914" w/ cci primers. COAL of 2.851" to achive an exit time of 1.360 ms at the 12 th refraction and a 0.018" jump to lands.

    This is will be the last test loads done on this barrel as the new one should arrive tomorrow.
    Load looks promising.

    Shot two groups of 5, one group of 10, and one group of 15. These are the three group of factory cases that I did not mix together.


    [IMG]cute unique baby boy names 2015[/IMG]

  11. #11
    Basic Member
    Join Date
    Sep 2018
    Location
    Northern VA
    Posts
    809
    Pretty darn good shooting out of the bed of your pick-up. Those are all kill shots.

    Let us know how the new barrel does. I hope it does at least that well but I'm sure it will probably do better.

  12. #12
    Basic Member DesertDug's Avatar
    Join Date
    Jun 2018
    Location
    Texas
    Posts
    432
    I was surprised with the results. Shooting prone out of the back of the pick up with my legs bent up into the air to fit, so the front rest was not on the tailgate and the bed liner not giving a smooth table and all. Also could only see the top half of the target due to tail over grown field I was shooting in. Target frame was a wire frame advertising type and was being effected by the wind gusts. This was why I decided to shoot the 10 and 15 round groups. Was having trouble keeping my set up consistent and was continually adjusting rests as well as check wield and the check rest became sweaty due to high humidity i was shooting in, this was east Texas after all.

  13. #13
    Basic Member
    Join Date
    Sep 2018
    Location
    Northern VA
    Posts
    809
    Those conditions make your results even more impressive.
    That has to build your confidence for hunting with that set up.

  14. #14
    Basic Member DesertDug's Avatar
    Join Date
    Jun 2018
    Location
    Texas
    Posts
    432
    Ok back to the build. Busted my second nut tonight
    Barrel came in. Weights in at 4.0 lbs. 3/4 lbs lighter then the savage barrel.
    Barrel spun with one wack with the dead hammer.
    Barrel nut seems not to want to un thread from the barrel. Probably just needs to be soaked.
    [IMG][/IMG]

    is this what others say is the gritty factory findings? My only other one was an old flat top long action that did not look as bad.

    [IMG][/IMG]

    The action face tool marks and proud area seem visible.

    My last build I wet sanded in a circler motion this surface since I do not have a leath to true this face. Please comment if you agree or have opinion on this approach.
    [IMG][/IMG]

    Also noticed when I removed the scoope mount the pattern on the receiver that seems to suggest that it would benefit from bedding it to the action. Am I reading this correctly?

    [IMG] [/IMG]

    Machined lug and nut should be here some time this week and I can get'er all back together again and start load development.

  15. #15
    Banned
    Join Date
    Jan 2016
    Location
    Suburb of Filthadelphia.
    Age
    45
    Posts
    5,704
    I don’t currently have a lathe either Dug. So I did similar to what you are talking about. “Poor Mans” receiver face truing. What I did was use a piece of glass with 1000gr wet/dry sandpaper glued(spray contact glue). Then placed the receiver on the the paper Breech Face down, and move the receiver in a figure eight pattern. Used a spray bottle of soapy water to spray paper, and being extremely mindful to keep the receiver face completely flat, and not impart pressure more to one side. Sounds tricky, but it’s actually pretty simple. Last thing you can do is when you get the barrel, recoil lug & nut...use some rubbing compound. Put it all together with compound between the lug and receiver face. Tighten the nut for recoil lug to make contact with receiver face and rotate lug back & forth some. This will mate the two surfaces further. I was able to do this because the PTG recoil lug did not come with the locating pin. I installed that myself.

    As for the scope mount, sure you can bed it. Or you can try the same trick with rubbing compound. I’ve used the rubbing compound trick on many, many different things! NOT just for seating valves in engines!(but yes.. Did that to!)

  16. #16
    Basic Member DesertDug's Avatar
    Join Date
    Jun 2018
    Location
    Texas
    Posts
    432
    I have a knife rubbing compound used on leather for stropping, will this work.
    I will try your glass technique, how easy is it to bugger up?

  17. #17
    Banned
    Join Date
    Jan 2016
    Location
    Suburb of Filthadelphia.
    Age
    45
    Posts
    5,704
    Quote Originally Posted by DesertDug View Post
    I have a knife rubbing compound used on leather for stropping, will this work.
    I will try your glass technique, how easy is it to bugger up?
    Can only really do damage if you use more coarse sandpaper and/or dare not careful. Using 1000gr is slow. Think of it as a marathon, not a sprint! In fact, don’t think of it as a race at all! More like a lazy Sunday afternoon....and Monday is a HOLIDAY!! What you have for stropping is probably Rouge. That is a little on the light side. Any auto parts store will sell valve lapping compound. Comes in a little tube. And honestly, it is a bit extreme. The sandpaper is really the main thing. All you are trying to do is eliminate the high/low spots.

  18. #18
    Basic Member DesertDug's Avatar
    Join Date
    Jun 2018
    Location
    Texas
    Posts
    432
    Copy that, thanks for the additional information., I can do holidays.

  19. #19
    Banned
    Join Date
    Jan 2016
    Location
    Suburb of Filthadelphia.
    Age
    45
    Posts
    5,704
    Yess’ir... I do keep in mind it’s easy for me now. I’m disabled so “Time” is one thing I have a surplus of. It has given me reflection to in the discipline of patience. I used to treat everything as a race...a sprint! I’ve learned that a focused & deliberate hand, given ample time, can do some pretty cool things indeed.


    Im looking forward to your finished work Doug. I think you are going are going to be quite pleased with the end result. It pleases me to see another DIY’er doing what I also love.

    Doug, I started little gun projects over two decades ago. Taught myself everything through reading & research. Today I’m an extremely competent gunsmith & machinist. But not as a profession. Never has been for money, but for the love of the exercise itself.

  20. #20
    Team Savage

    Join Date
    Jan 2017
    Location
    Easten WA near ID border
    Age
    67
    Posts
    1,068
    Good stuff here. Am retired USAF and post career now retired body/paint tech. Here's a tip on the wet sandpaper route, start at 600, progress to 800, then 1000 (JMHO 800 would be plenty good as final). Use the previous grit scratch mark as a "guide coat" when moving to next grade finer paper. Also, soak the paper for at least 15mins prior to use to allow the backing to become fully saturated ensuring smooth cut. Advice to use soap is spot on, I use a few drops of liquid dish soap (Dawn works great) in my bucket anytime I'm wet sanding.

    Rubbing compound meant for paint really won't do much for steel and I agree valve lapping compound might be a bit much. Brownell's has 600 & 800gr lapping compounds, Wheeler's has 600gr (220 & 320 too), and maybe even JB paste would work, I don't know, but maybe one of them would be better for lapping barrel/lug/receiver face.

  21. #21
    Basic Member DesertDug's Avatar
    Join Date
    Jun 2018
    Location
    Texas
    Posts
    432
    Picked up some 1000 grit and action face polished to mirror in not much time. First the dirt cleaned up, then all the tooling markings became real clear. A little more soap water and light elbow grease, the mirror came out.
    [IMG][/IMG]

    my nut and lug from e arther brown came in and I am disappointed about the nut. It looks like it is just like the stock one. . Only 2.9 grains difference in weight. What's the best way to get in touch with sharpshooter to get one on express...

    Maybe he will see my post....

    [IMG][/IMG]
    Stock left, for build on right


    here is a shoot of the barrels side by side. I was pleased with the 3/4 pound reduction. I mocked it up and the balance point without scoppe mount seems to be right in front of the chamber.
    [IMG][/IMG]

  22. #22
    Basic Member DesertDug's Avatar
    Join Date
    Jun 2018
    Location
    Texas
    Posts
    432
    Tell me if I am doing anything stupid.

    Looking over the nut, got me thinking, why would I not run the nut over the 1000 grit as well?

    I would be removing the finish.which triggered, hummm, I will be leaving the action face raw steel. Is this gonna be a problem?

    [IMG][/IMG]

    So what do you think?

  23. #23
    Basic Member BB68's Avatar
    Join Date
    Nov 2017
    Location
    iowa
    Age
    45
    Posts
    257
    does not matter

  24. #24
    Basic Member DesertDug's Avatar
    Join Date
    Jun 2018
    Location
    Texas
    Posts
    432
    Quote Originally Posted by BB68 View Post
    does not matter
    what does not matter? Leaving to Steel raw?

  25. #25
    Team Savage

    Join Date
    Jan 2017
    Location
    Easten WA near ID border
    Age
    67
    Posts
    1,068
    Use a bluing pen on the bare steel, I'd do the same on the action too. I sent an order form (what Fred recommended I do to order a single shot ramp) to SSS a couple weeks ago for one of his barrel lugs but haven't heard back. Am not in a big hurry, so will wait a little longer, if no response when I decide on barrel for my future build (10FP in 22 Creedmoor) I'll get the .250" PT&G parallel ground lug and re-bed the action.

Page 1 of 3 123 LastLast

Similar Threads

  1. Replies: 2
    Last Post: 07-11-2017, 08:34 PM
  2. Once in a lifetime build. for me anyway. (lots of pics)
    By Dave Hoback in forum 110-Series Rifles
    Replies: 35
    Last Post: 06-02-2016, 10:27 AM
  3. Foxx build pics
    By limige in forum 110-Series Rifles
    Replies: 6
    Last Post: 07-16-2014, 12:06 AM
  4. Lightweight stalking rifle build (with pics!)
    By snipecatcher in forum 110-Series Rifles
    Replies: 20
    Last Post: 10-27-2010, 04:08 PM
  5. Newest build... PICS added!
    By dcloco in forum 110-Series Rifles
    Replies: 3
    Last Post: 10-18-2010, 11:30 PM

Bookmarks

Posting Permissions

  • You may not post new threads
  • You may not post replies
  • You may not post attachments
  • You may not edit your posts
  •