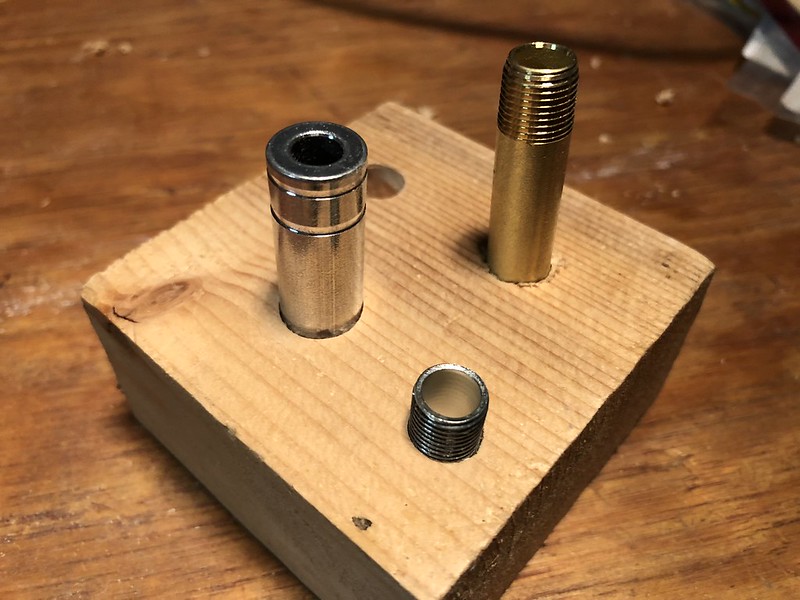
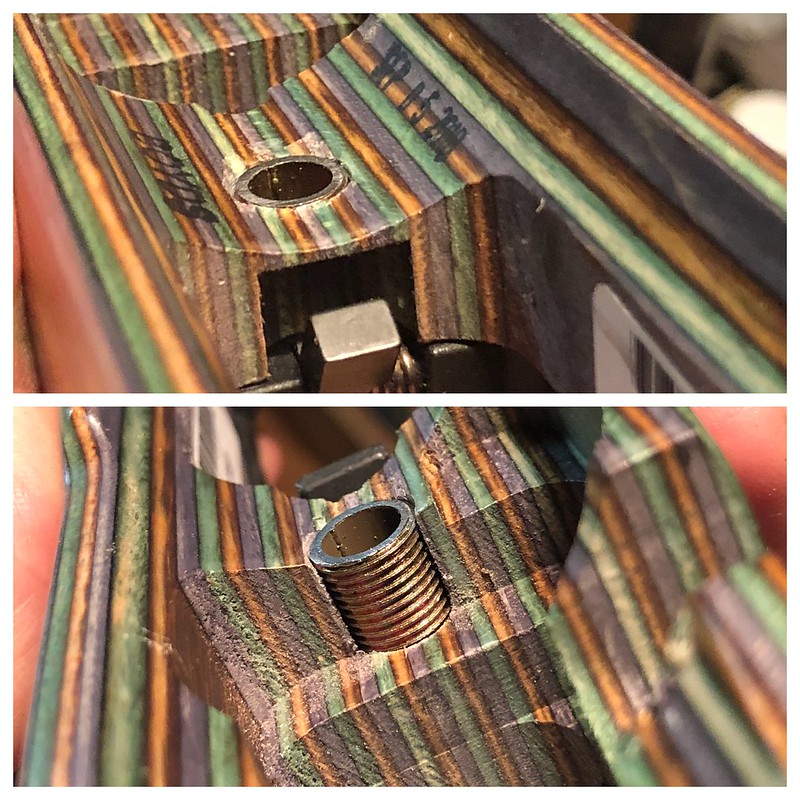
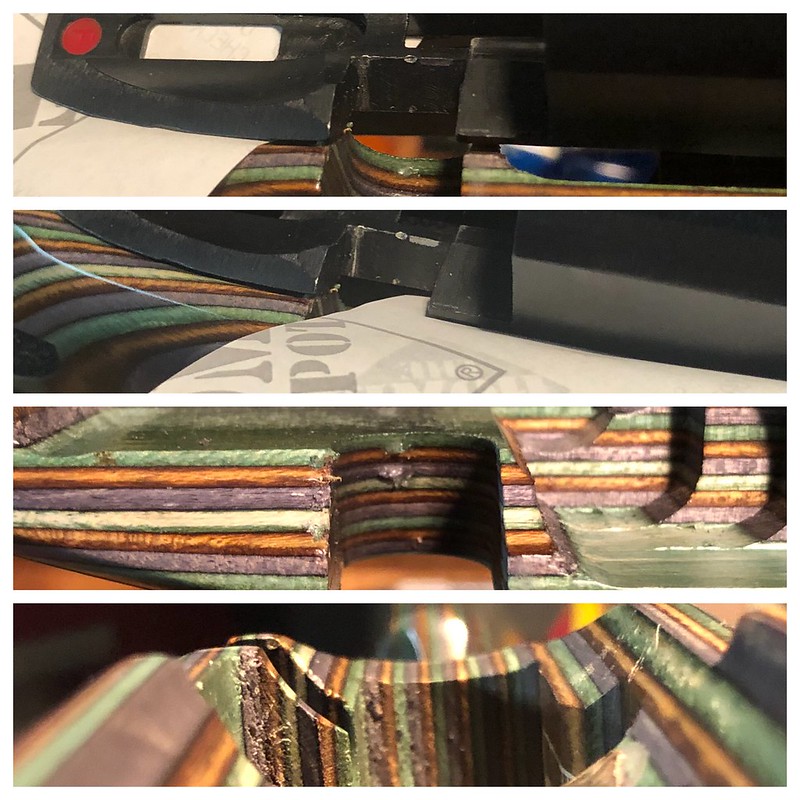
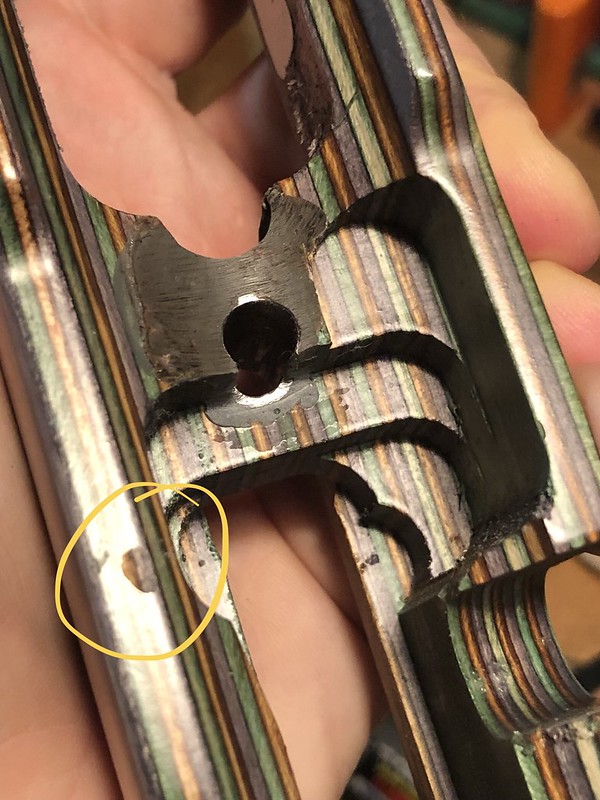
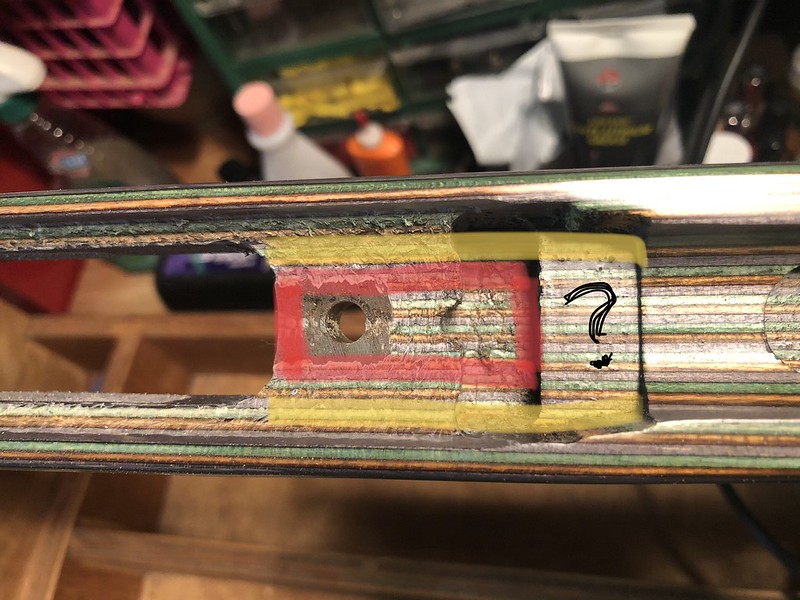
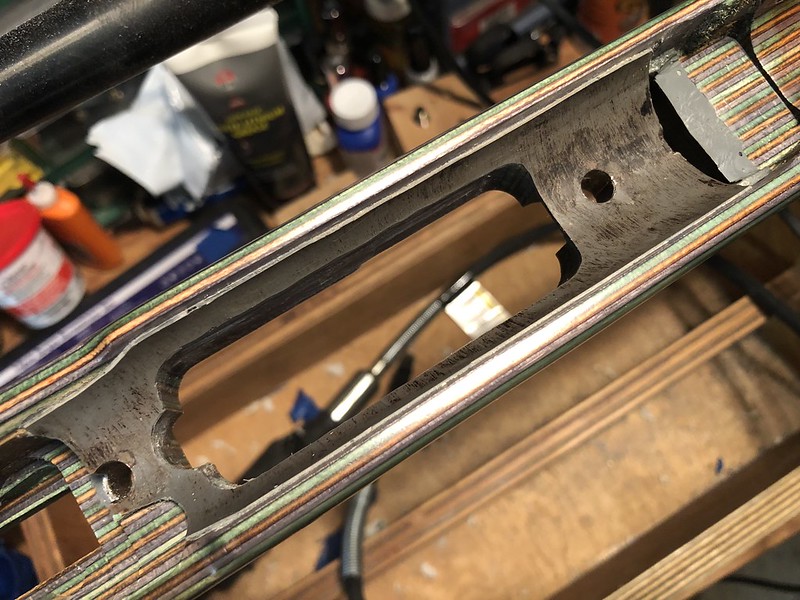
I now use a Dremel tool and small router to open up the holes for pillars. I've tried to do it with a hand drill, but the bit will grab and crack the laminate wood if not very careful. Since you have a drill press, I would go with the lamp rod or smallest diameter pillar you have. All the pillars do is stop the screws from compressing the wood. Stress-free bedding the action and recoil lug are the important steps. Put two rounds of tape around the screws to center them in the pillars. Attach pillars to the action. Get the action, attached pillars, recoil lug, barrel and tang positioned correctly in the stock. Use tape to center and free float the barrel and tang in the stock. Bed the pillars into the stock and then come back and bed the action and recoil lug.


 Reply With Quote


Bookmarks