


 Reply With Quote
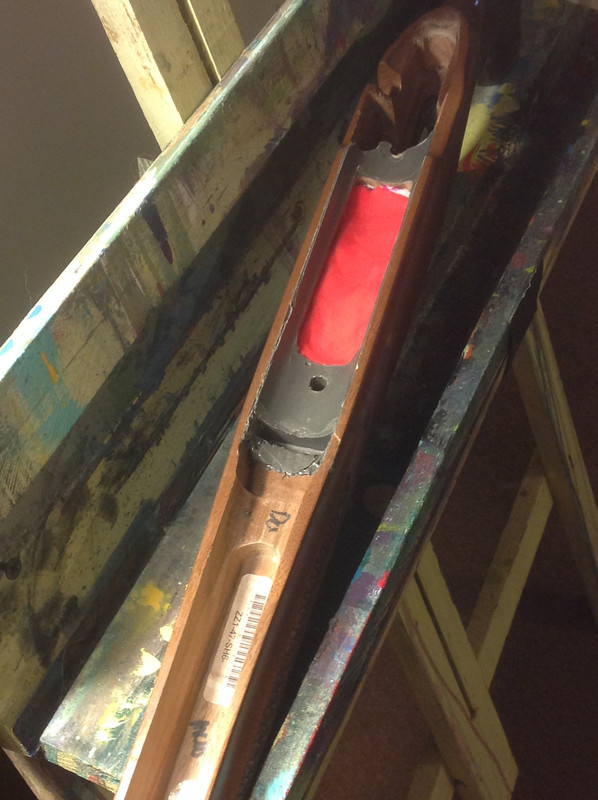
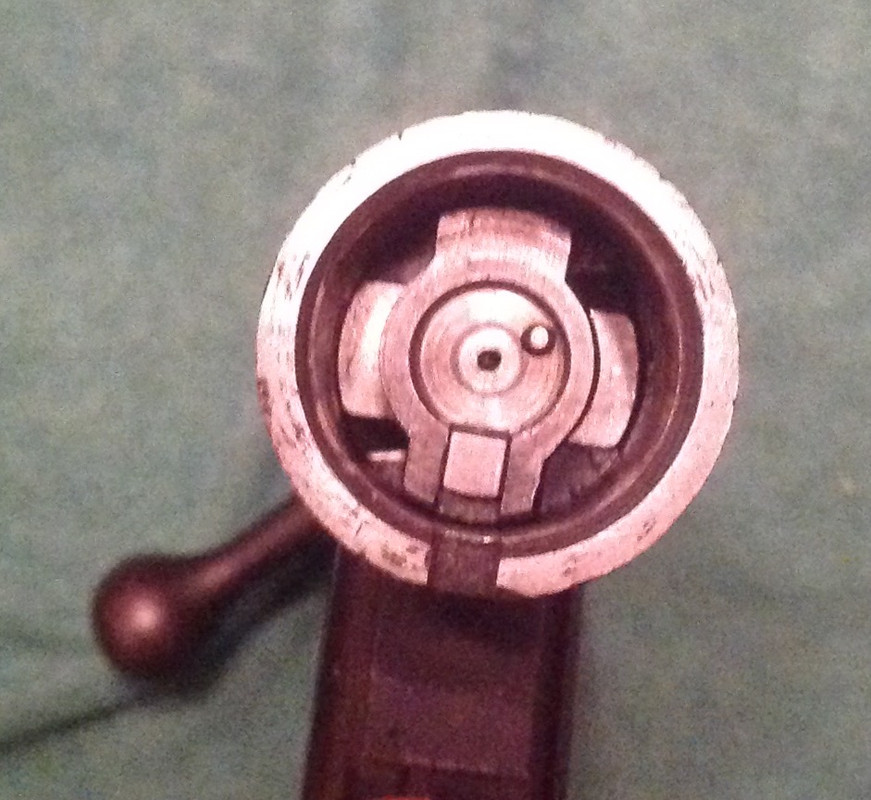
The good.
[IMG][/IMG]
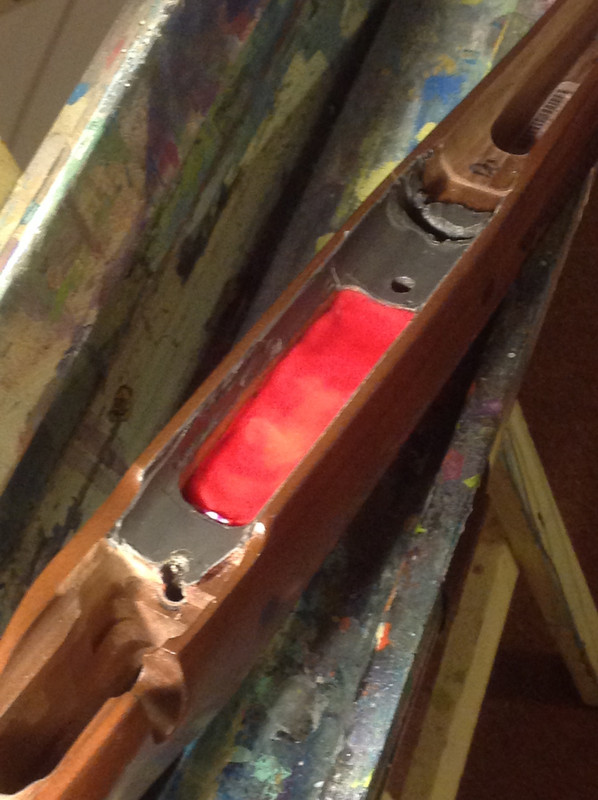
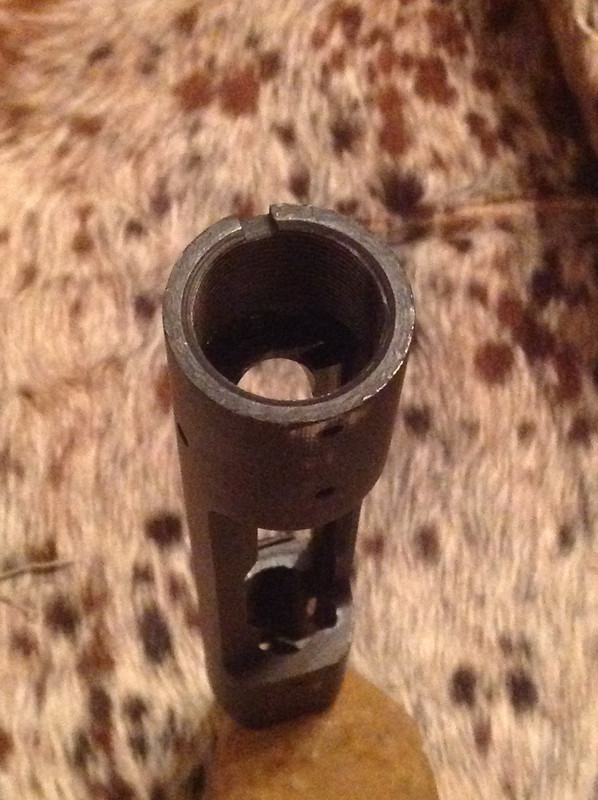
the bad
[IMG]screenshot captor[/IMG]
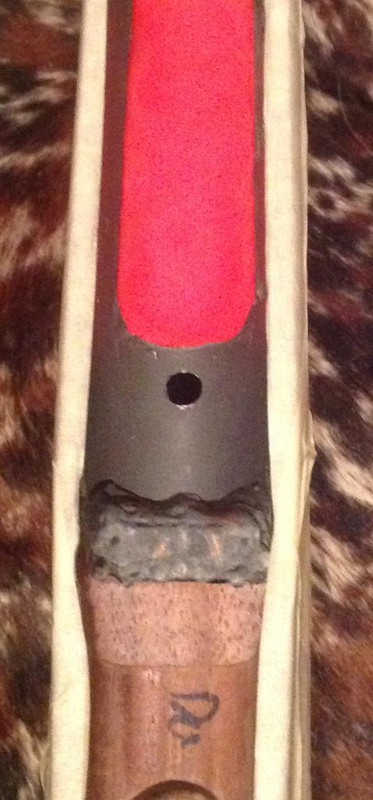
voids in the lug.
Can it be skimmed or do you float the whole action out? It seems like if I built it up it could add stresses or am I just over thinking this.
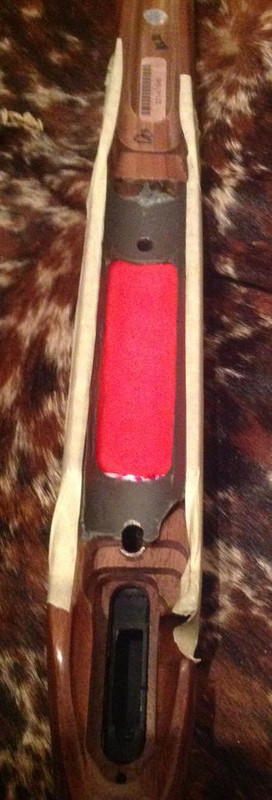
one side is perfect cast, the other not so much.
[IMG][/IMG]
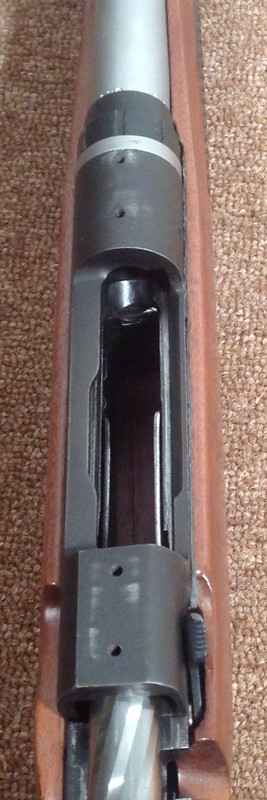
?..???? It does feel solid without any action screws, but still masked.


Bookmarks