Page 3 of 5 FirstFirst 12345 LastLast
Results 51 to 75 of 106

Thread: 110e .270 build help

  1. #51
    Basic Member
    Join Date
    Jul 2012
    Location
    Northern MN
    Age
    72
    Posts
    672

    As long as no part of the barrel and nut are not interfering with the stock then it shouldn't make a difference. The nut should be torqued to make sure the lug is in correct position. Also after the barrel is head spaced correctly a free float check must pass or more channel material must be removed to fit the action in the bedding where it belongs.
    As far as the lug bedding in the "test" action, might be best to re-bed because when the action is torqued in the new pillars it is most likely going to move a little. Removing a little from the old bedding should be enough. Then installing the action and snuggling it down will make a perfect fit.

  2. #52
    Basic Member DesertDug's Avatar
    Join Date
    Jun 2018
    Location
    Texas
    Posts
    432
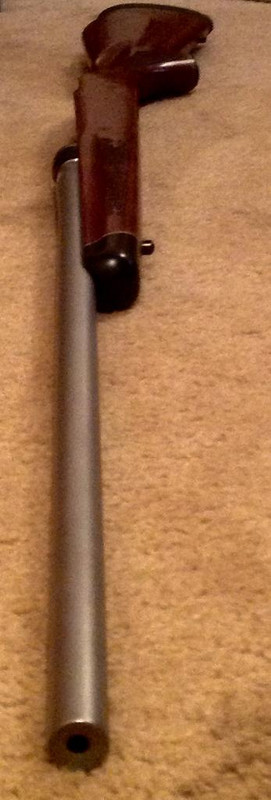
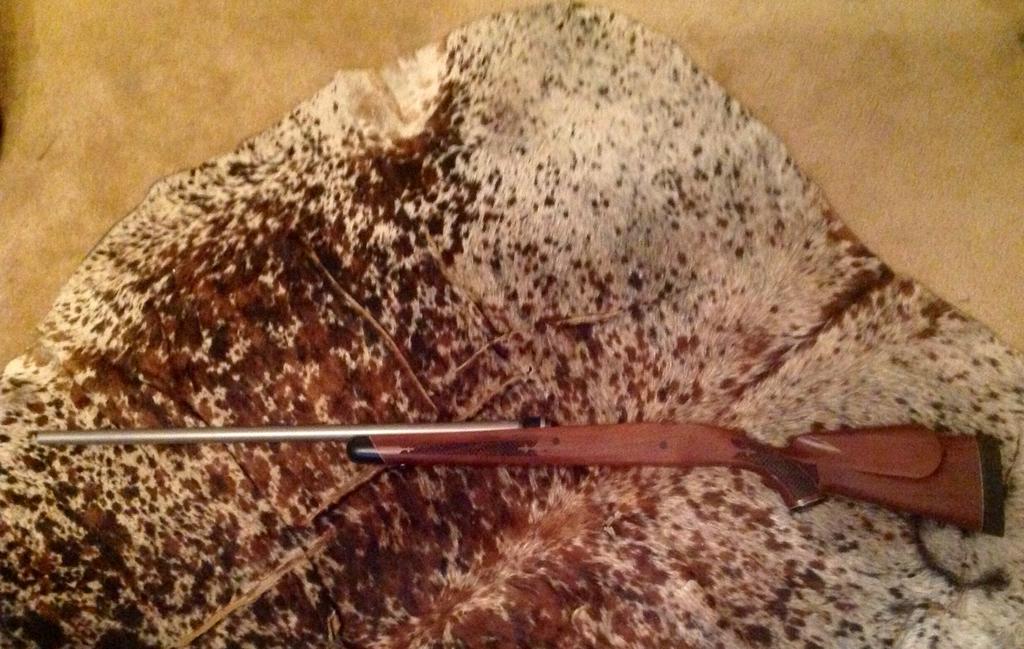
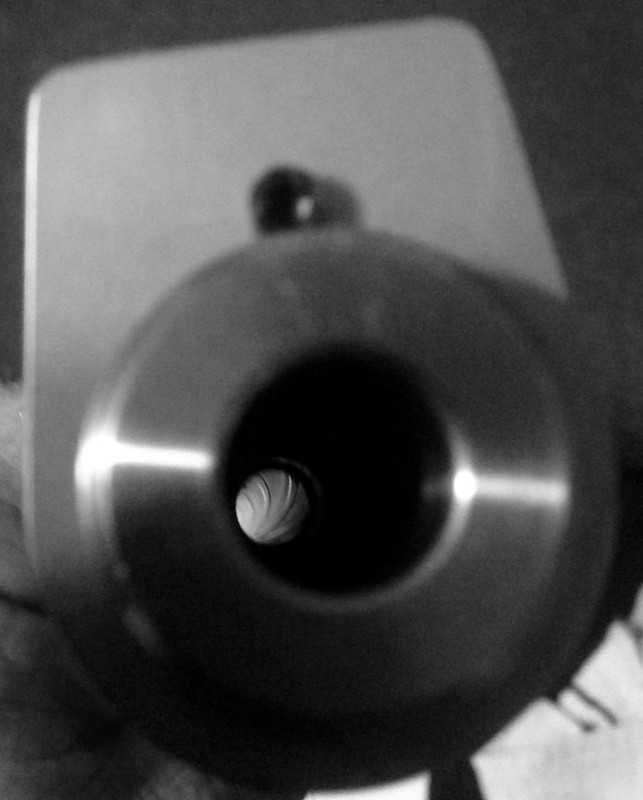
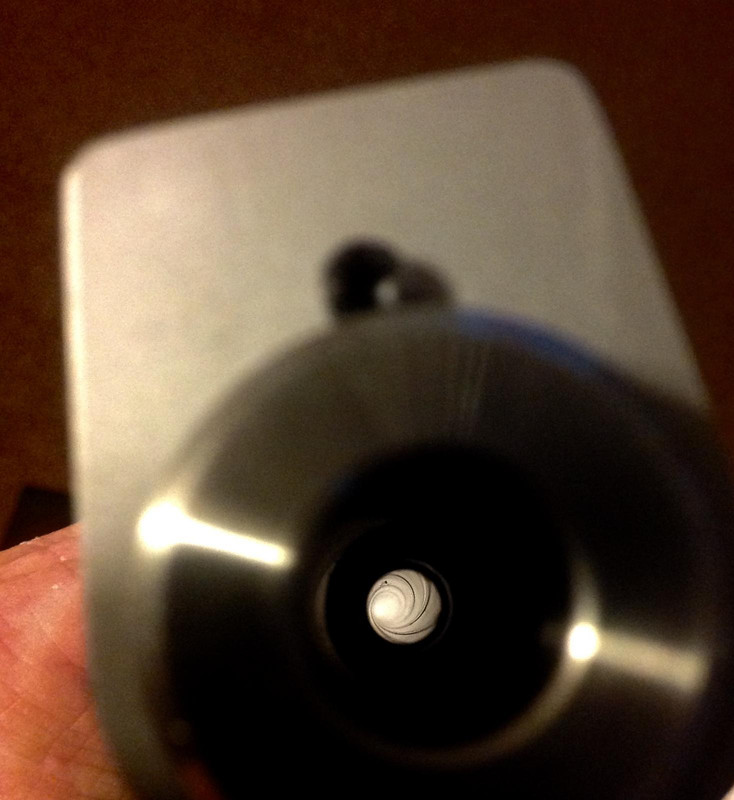
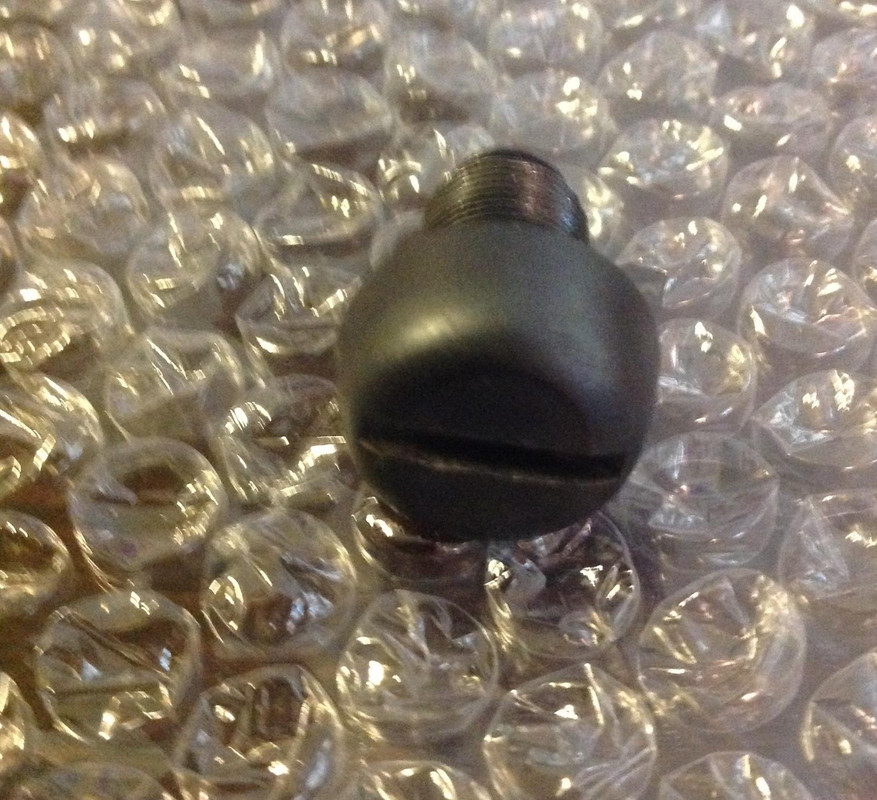
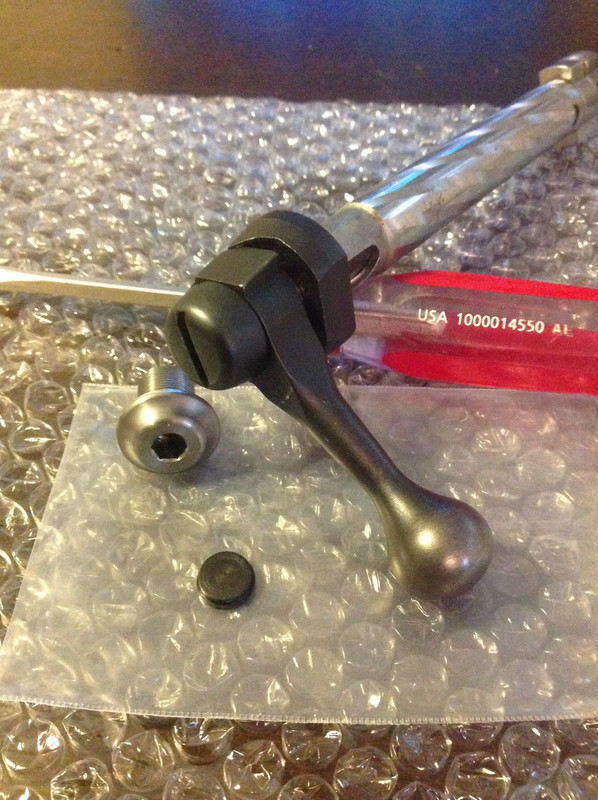
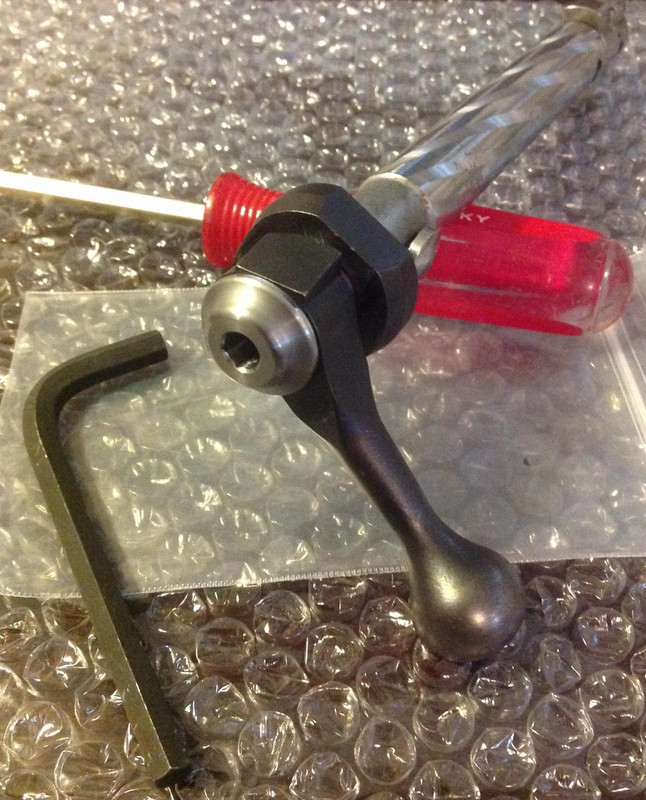
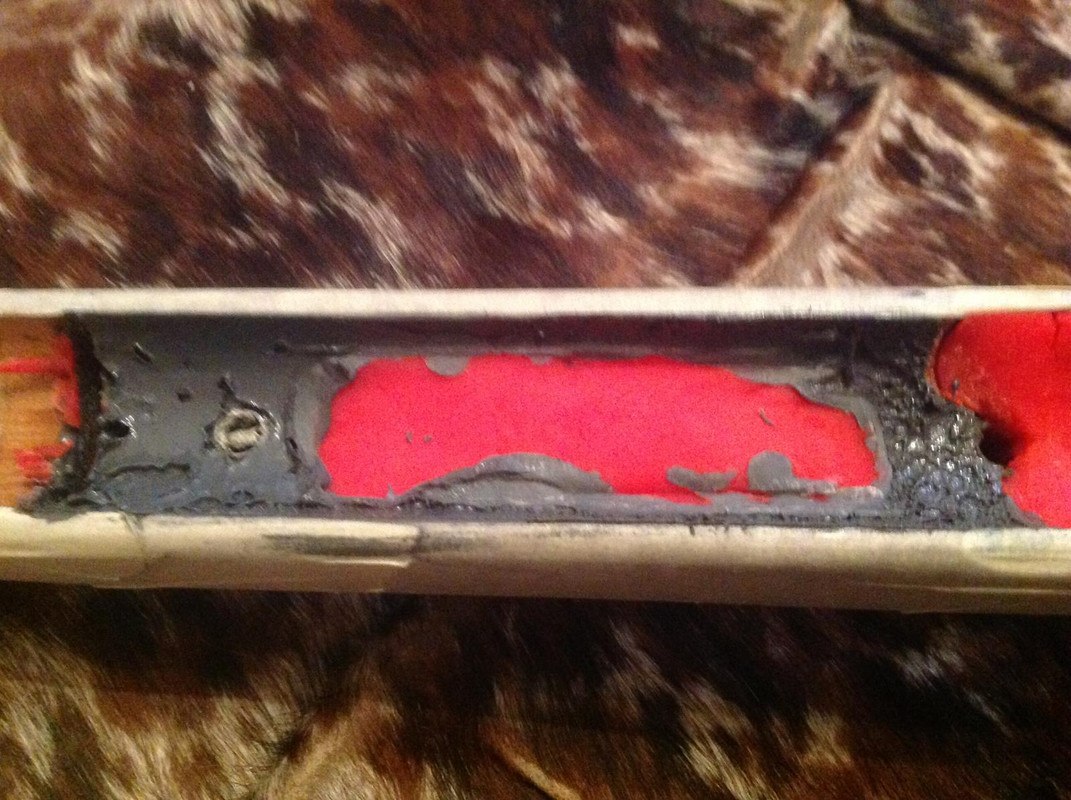
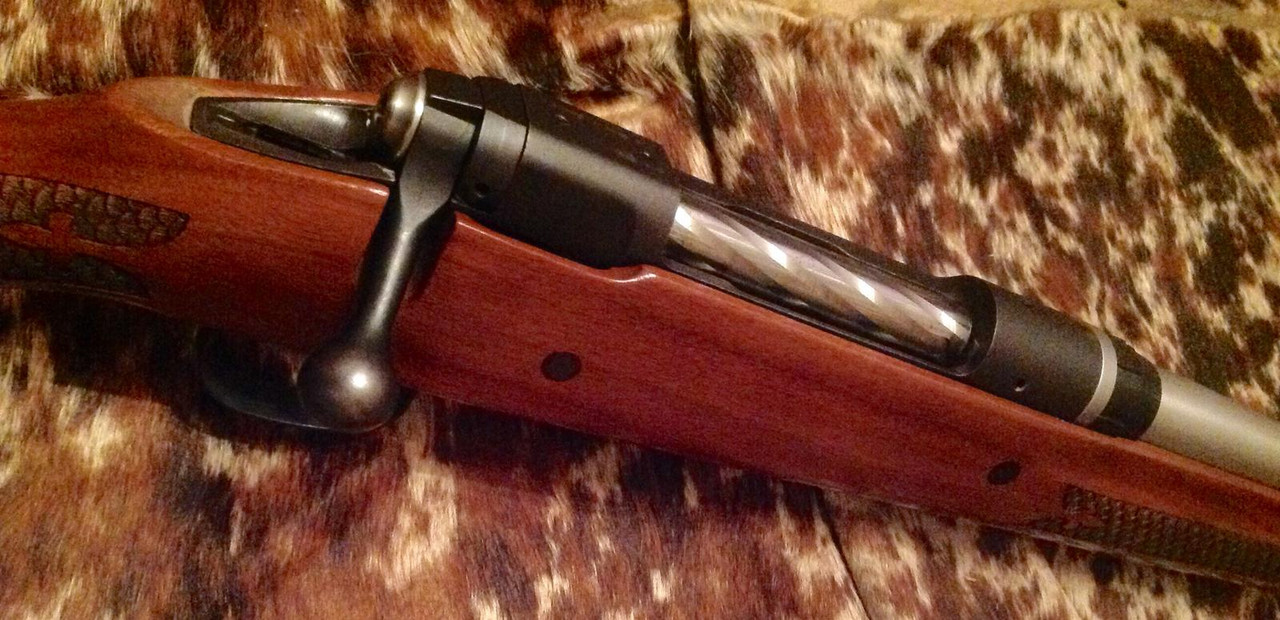
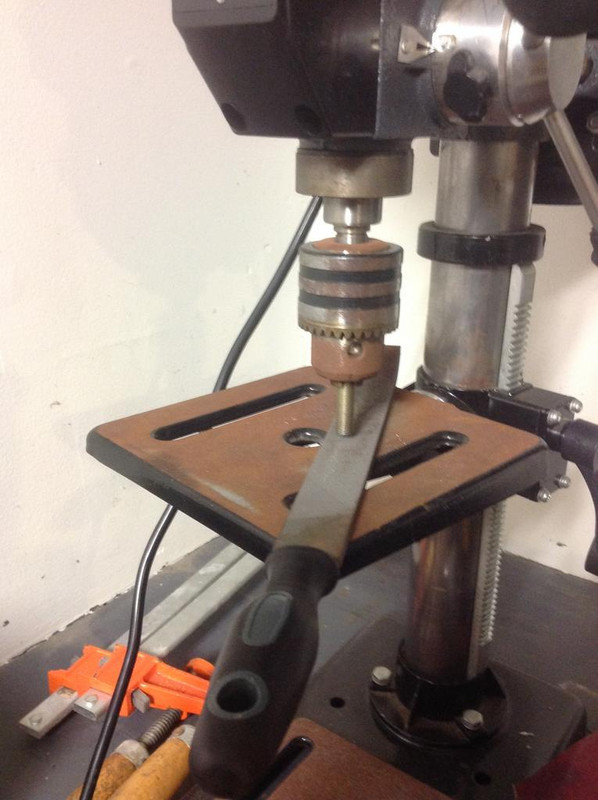
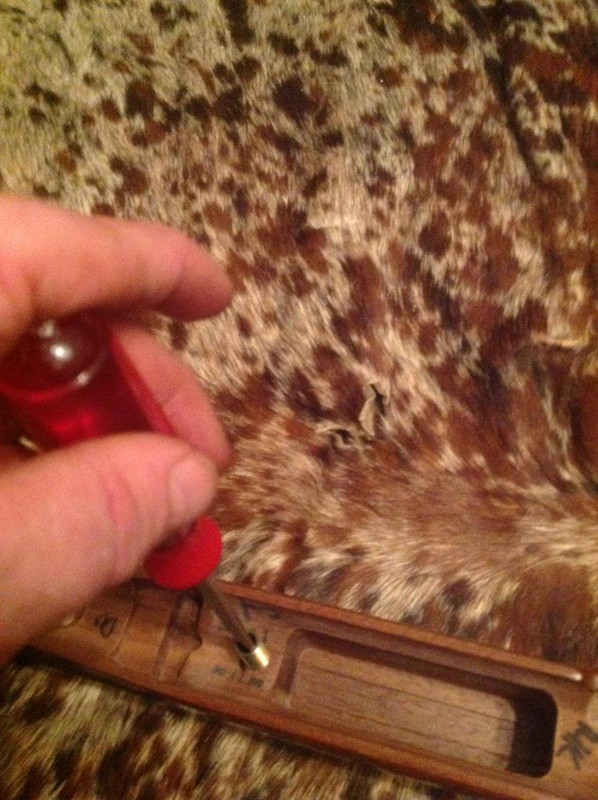
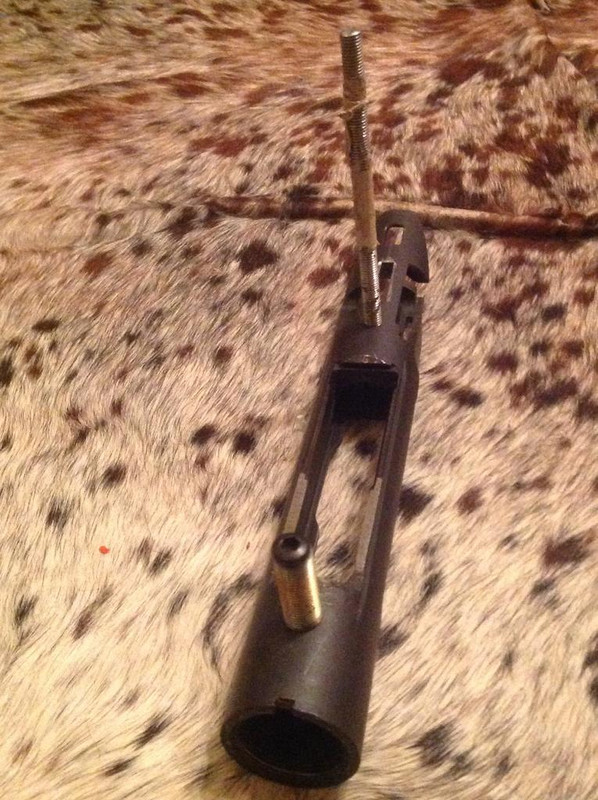
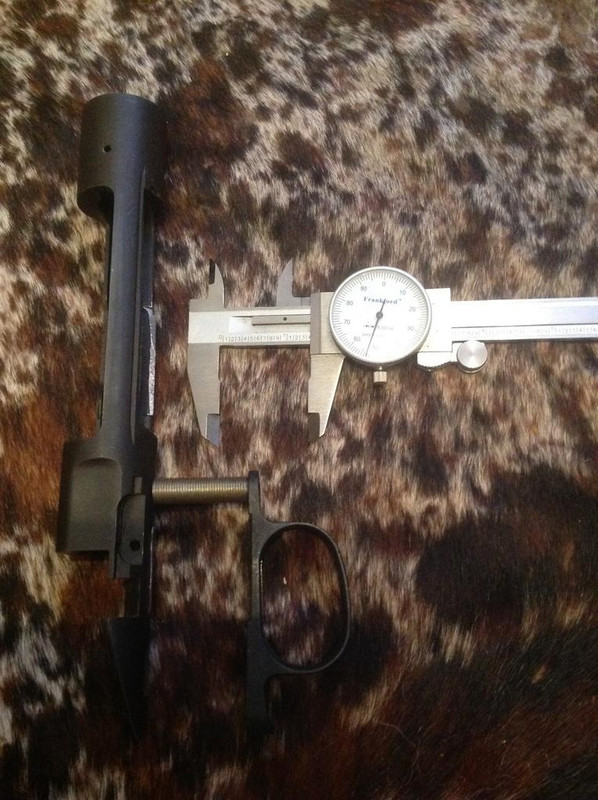
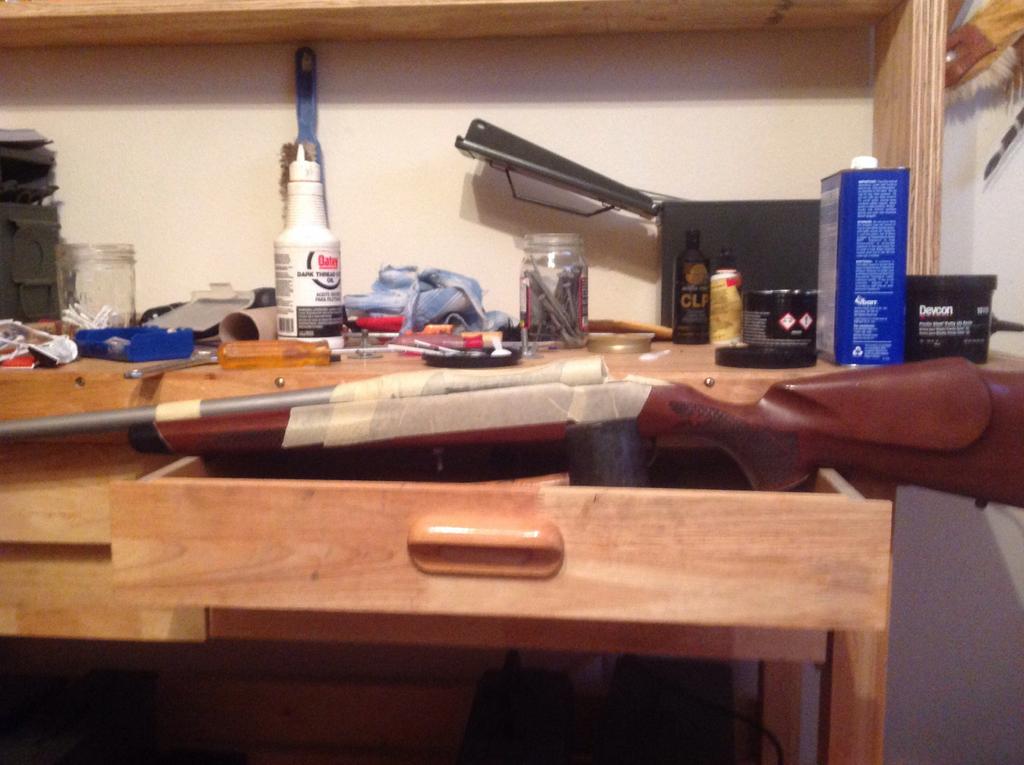
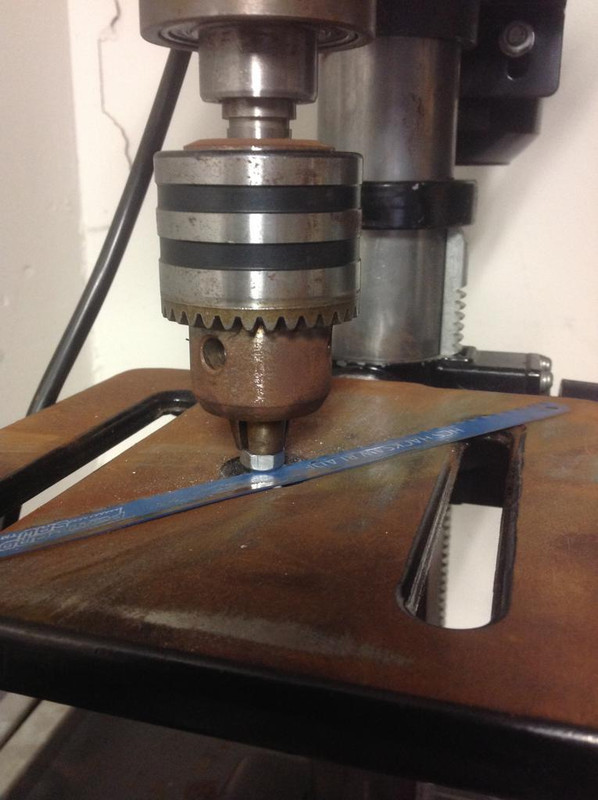
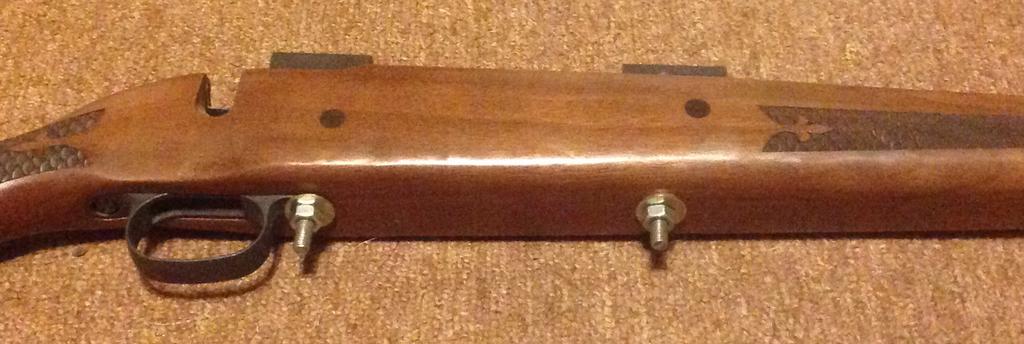
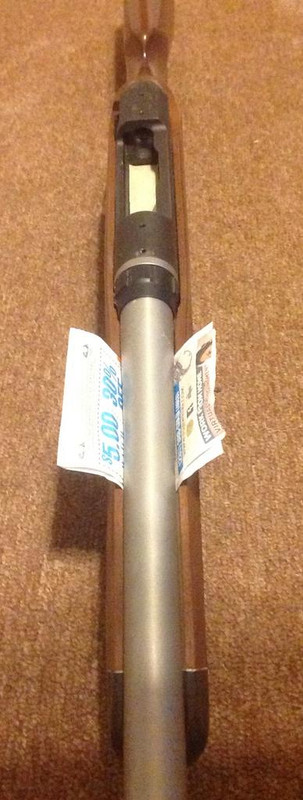
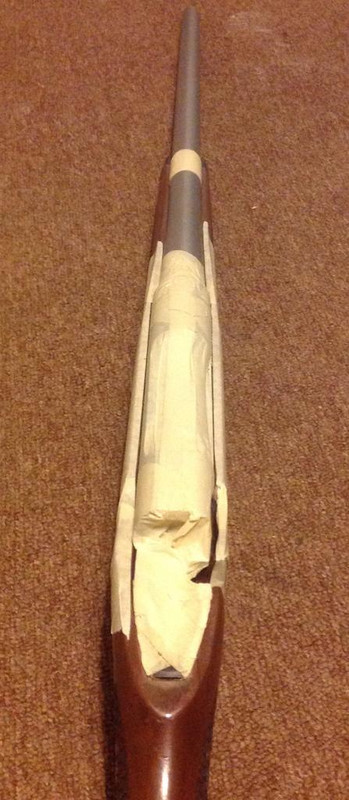
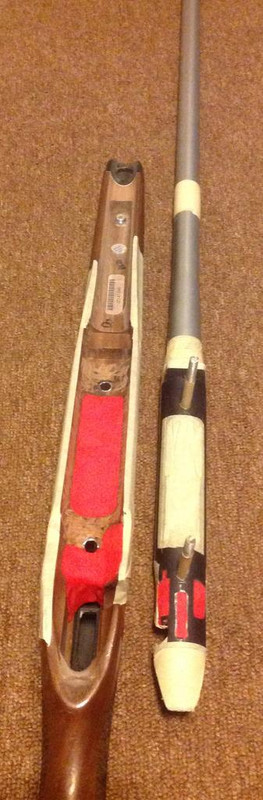
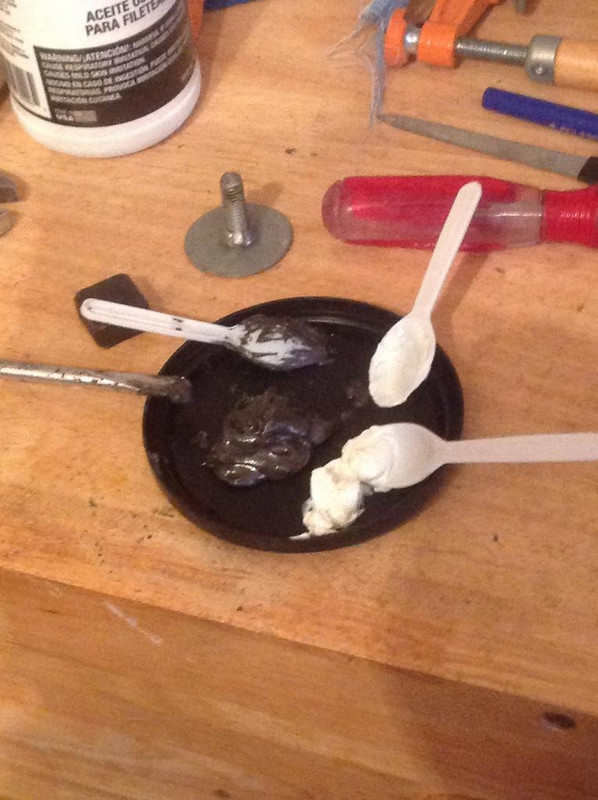
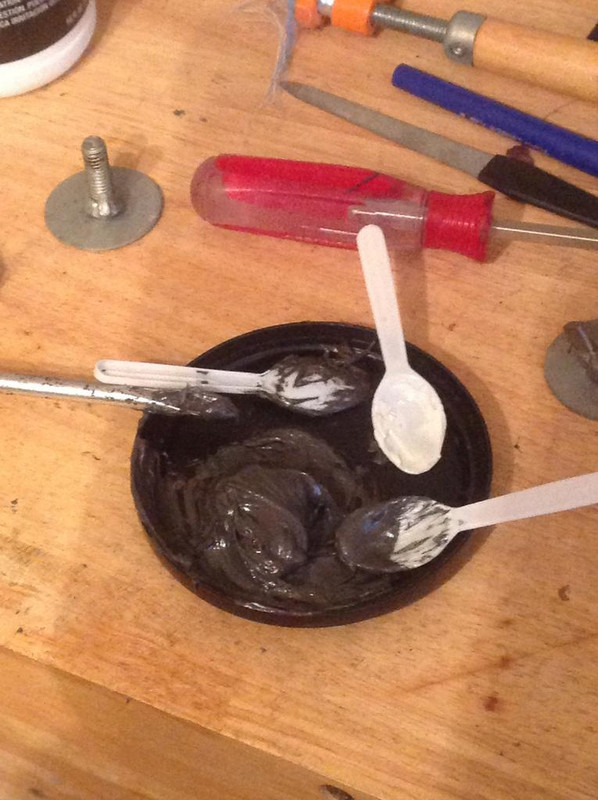
    The fear has settled. Pillars came out just like they should. So on to the next step. I ruffed up the areas that beds to action and lug. Taped off the front and sides of the lug. Play-doe in the voids. Kiwi shoe polish on everything that might touch the Devcon 10110 bedding. Used a Velcro wire tie to hold action in place. Clean up with mineral spirits. Just a small amount of squeeze out, so I think i used the right amount, which can not be said of the amount I mixed up. Way to much, at least there is enough for the real thing. I was really surprised how little was in the jars, they were only filled up about 1/3 of the volume in the jars.

    Here are progress pictures.

    [IMG][/IMG]
    [IMG][/IMG]

    [IMG][/IMG]

  3. #53
    Basic Member
    Join Date
    Jul 2012
    Location
    Northern MN
    Age
    72
    Posts
    672
    Looks good Doug,
    My impatience had me pull em apart too early in the past. Now I wait two or three days. I always keep the leftover mix to follow its hardness. If you pull it apart to early it might distort or even take out material that it should not. (Been there).
    When the time comes back out the studs and whack the barrel with a rubber mallet. The kiwi polish should do it's job.
    The first couple are scary but my bet is yours is going to come out great!

  4. #54
    Basic Member DesertDug's Avatar
    Join Date
    Jun 2018
    Location
    Texas
    Posts
    432
    Ok so the leftovers are still pliable but that's ok because I got to play with my new barrel. Here are first mock ups.
    [IMG][/IMG]

    [IMG][/IMG]

    at first looks not too much of channel needs to be opened up, something I have never done. Words from others who have I am all ears. Need to look at sockets, maybe dermal drum sanding wheel. Plan to finish out test tomorrow.

  5. #55
    Basic Member DesertDug's Avatar
    Join Date
    Jun 2018
    Location
    Texas
    Posts
    432
    1:10 Twist 5R Groove, 11 Degree Crown, Matte finish, cryo'ed 25' .270 win, 416R stainless steel, light puma.
    [IMG][/IMG]

    [IMG][/IMG]

  6. #56
    Basic Member
    Join Date
    Jul 2012
    Location
    Northern MN
    Age
    72
    Posts
    672
    If you use deepwell sockets wrapped with 320 sandpaper it shouldn't take much work to get you close. Finish with a finer grit (600). You might need the dremel with a drum possibly in the barrel nut area but most likely not. Go slow with the "socket" sander and check with a paper strip often for full float.
    Of coarse you can't get started until you headspace the barrel and tighten down the action.
    As mentioned before the lack of patience often gets us in a bind. But your progress so far
    combined with patience is going to leave you with a nice end result!
    Hope others would join in and offer more of their expertise.

  7. #57
    Basic Member DesertDug's Avatar
    Join Date
    Jun 2018
    Location
    Texas
    Posts
    432
    Quote Originally Posted by mnbogboy2 View Post
    Hope others would join in and offer more of their expertise.
    Agreed, Thread seems to get a lot of views but not may leaving comments?

    i could use all the help/ wisdom I can can get as this is my first bolt action build and not quite the logo piece build an ar is.

  8. #58
    Basic Member
    Join Date
    Nov 2016
    Posts
    384
    I used a drum sander, keeping it away from the edges, to speed up opening the channel. Then I used deep sockets and a broom handle(ha ha) with 100 grit. I opened mine up to 1.1" for a bull barrel, lots-O-dust.

    On the triggers, I have one three screw. Without the wire installed, it still has more than a 2 pound trigger. I need to order an RB for it.

    Nice build, I like the updates.

  9. #59
    Basic Member SageRat Shooter's Avatar
    Join Date
    Nov 2016
    Location
    Oregon
    Posts
    1,192
    I just used a 5/8" wooden dowel and wrapped 100 grit sandpaper around it to bring it up to about an 1" and started sanding.... doesn't take too long either... One thing I will say is you have to switch hands that you're sanding with every so often, otherwise the channel gets a little out of uniform (too much off one side and not enough on the other)... after you get it where you want just make sure to put some true oil (or similar) on it to seal it up.

  10. #60
    Basic Member DesertDug's Avatar
    Join Date
    Jun 2018
    Location
    Texas
    Posts
    432
    Quote Originally Posted by Evlshnngns View Post
    On the triggers, I have one three screw. Without the wire installed, it still has more than a 2 pound trigger. I need to order an RB for it.

    Nice build, I like the updates.
    I am already putting up my pennies and reading up on this. Leaning towards Sav2 in silver.


    Mailgal gal brought this to the house
    Lambeth / Savage from PT&G.

    Getting rid of the "e" of my 110e Build
    [IMG][/IMG]
    [IMG]image upload[/IMG]
    [IMG]picture host[/IMG]


    Now back to to the test.
    Ran into my first hiccup. Wished I had read this thread:

    http://www.savageshooters.com/showth...-Mixing-Ratios

    The Devcon 10110 does not have a mix ratio on the box or paperwork. The devcon liquid steel used for the pillars has a ratio of 1-1. This is what I mixed up for the bedding.
    WRONG.
    It's 5-2 in volume and 9:1 by weight.


    Mnbodboy2 has been talking importance of patience when bedding but when my leftover epoxy went into 48 hours and were still very pliable, I got suspicious. Up the fist mistake. This is why we run a tests first. I"lol get it right the second time. I do not think this mix will ever set...

    So I removed the action and all was not so good. I feel that if the mix was right it would have been ok. Some of the soft putty stayed with the action. Cleaned right up with mineral spirits. The voids in the picture was what stuck to the action, I hope a result of the sticky mis-mix and my application of the shoe polish release agent.
    ???

    [IMG][/IMG]

  11. #61
    Basic Member RustyShackle's Avatar
    Join Date
    Apr 2016
    Location
    N.Ida
    Posts
    673
    We learn the most from our mistakes. Sorry you are facing a cleanup.

    Thanks for sharing, I’ve mentally cataloged this as a “what not to do”. Probably saved a few others from this mistake down the road too!

  12. #62
    Basic Member
    Join Date
    Jul 2012
    Location
    Northern MN
    Age
    72
    Posts
    672
    Doug,
    I feel very bad for you. But you are right, if the mix was on the results would have been good. The nice complete fill at the lug is one thing you are looking for.
    Use a nice sharp wood chisel from the sides to "carve" away the soft bedding. Use care not to pry on the wood on the top.
    It shouldn't take too long to clean it all out. Clean as much release agent out as you can before you start digging out the epoxy. Others on here may know what works best to "cut" the Kiwi. Trying not to end up with it on the cleaned up area.
    Your second batch and go around should be less "stressfull".
    It looks like the pillar ended up where it should so the action must have been where it belonged. (Btw that was my biggest concern with your Velcro wire tie method).
    The second batch may be a thicker mix so it may take more pressure to get the action down in the goop.
    Hope I haven't been too critical. We are all rooting for your sucess.

  13. #63
    Basic Member DesertDug's Avatar
    Join Date
    Jun 2018
    Location
    Texas
    Posts
    432
    Maybe I am making a zebra action...[IMG][/IMG]

    Now on to the real deal. My first plan of attack is to do the pillars. After this I am thinking that is when I set head space. At this point I can finish opening up the forearm, which has been started. I am doing it by hand slowly.

    Does this seem seem like a logical plan?

  14. #64
    Basic Member DesertDug's Avatar
    Join Date
    Jun 2018
    Location
    Texas
    Posts
    432
    Quote Originally Posted by RustyShackle View Post
    We learn the most from our mistakes. Sorry you are facing a cleanup.

    Thanks for sharing, I’ve mentally cataloged this as a “what not to do”. Probably saved a few others from this mistake down the road too!
    Yes Sir glad to contribute what not to do. I am not sweeting the clean up because I am not concerned with the test stock, I was glad I still had it around to practice on it. You never get everything right the fist time you try something, now if if get it wrong, well that won't say much about me.

  15. #65
    Basic Member DesertDug's Avatar
    Join Date
    Jun 2018
    Location
    Texas
    Posts
    432
    Quote Originally Posted by mnbogboy2 View Post

    It looks like the pillar ended up where it should so the action must have been where it belonged. (Btw that was my biggest concern with your Velcro wire tie method).
    The second batch may be a thicker mix so it may take more pressure to get the action down in the goop.
    Hope I haven't been too critical. We are all rooting for your sucess.
    I am here for the critique, so keep it coming you have been a great help.

    I will make sure to get nuts and washers when it's time to bed the real stock. I could not find any 28" 1/4" nuts in my bin. Home Depot did not have anything in 28, thread, but I will be on the look out.

    Regarding this, there seems to be some thought that you do not want to add any stress in the action, so how tight do you want the action to stock connection to be when bedding the action?

  16. #66
    Basic Member
    Join Date
    Jul 2012
    Location
    Northern MN
    Age
    72
    Posts
    672
    Doug, your "test" stock may surprise the crap out of you! That bedding job that "almost" worked looked like that action would be snug as a bug in a rug. Your next range session will have you smiling.
    I had to dig out two, one that I pulled too soon and one that was not set deep enough. Trying to paraphrase Rusty " we still are learning and we are learning from you too."

  17. #67
    Basic Member DesertDug's Avatar
    Join Date
    Jun 2018
    Location
    Texas
    Posts
    432
    Was not set deep enough? Explain.

  18. #68
    Basic Member
    Join Date
    Jul 2012
    Location
    Northern MN
    Age
    72
    Posts
    672
    The thick epoxy held it away from where it was supposed to be. That was before I used studs and was using only "snugged" up action screws. I should have known better because the barrel road high in the channel.

  19. #69
    Basic Member DesertDug's Avatar
    Join Date
    Jun 2018
    Location
    Texas
    Posts
    432
    Front action screw pillar prepped.
    Squaring of the endss
    [IMG][/IMG]

    then I used my case chamfer tool to clean up the edges

    [IMG]screen shot capture[/IMG]

    tapping out the 11/32" hole.

    [IMG][/IMG]

    Found out my screw driver is great to screw in the pillar.
    [IMG]print screen windows[/IMG]

    Stud has 4 or so threads exposed and not protruding through action
    [IMG][/IMG]

  20. #70
    Basic Member DesertDug's Avatar
    Join Date
    Jun 2018
    Location
    Texas
    Posts
    432
    rear pillar cut and epoxy drying.
    [IMG]picture hosting sites[/IMG]

  21. #71
    Basic Member DesertDug's Avatar
    Join Date
    Jun 2018
    Location
    Texas
    Posts
    432
    I have my fingers crossed.
    [IMG][/IMG]

    i had to recut studs so that I had good threads on both ends
    [IMG][/IMG]

    got the two 1/4x28 nuts and washers
    [IMG][/IMG]
    After lots of fitting everything is free floated except for the pillars
    [IMG]windows 7 screen shot[/IMG]
    [IMG][/IMG][IMG]screen shot on pc[/IMG]

    5 to 2. Sample spoons used for measuring
    [IMG][/IMG][IMG][/IMG]

    applied to stock. I am a little concerned that I had enough due to minimal squeeze out.
    [IMG][/IMG]

    we will see. This has been consuming me! I can't wait to have her all back together and send some pills down range.

  22. #72
    Basic Member
    Join Date
    Jul 2012
    Location
    Northern MN
    Age
    72
    Posts
    672
    Each reciever radii by the action screws and the lug area are the most important areas to fill. The areas along the sides are less important and less than 100% fill can be "patched" in later for cosmetic reasons. We have our fingers crossed for you. Every thing is pointing to success!

  23. #73
    Basic Member
    Join Date
    Jul 2012
    Location
    Northern MN
    Age
    72
    Posts
    672
    Doug,
    Your photos are a great tool for others. I have learned from them as well. The taping of the tang and barrel are a big plus for ending up with clearances that shouldn't need much additional work when finished. Thanks for the tip.

  24. #74
    Basic Member DesertDug's Avatar
    Join Date
    Jun 2018
    Location
    Texas
    Posts
    432
    Quote Originally Posted by mnbogboy2 View Post
    Doug,
    Your photos are a great tool for others. I have learned from them as well. The taping of the tang and barrel are a big plus for ending up with clearances that shouldn't need much additional work when finished. Thanks for the tip.
    I was swearing the clay in the barrel nut. Just seemed like I could tape it off and and be concerned about lock up.


    I guess with a patch you just skim it? Seems like the liquid steel would be good for this but will they bond?

  25. #75
    Basic Member
    Join Date
    Jul 2012
    Location
    Northern MN
    Age
    72
    Posts
    672
    Pretty sure it would bond, as long as not messed up with Kiwi.
    You would probably just be filling slight gaps that show up as ug-a-bug near the top of the stock. Piece of cake once you get that far.

Page 3 of 5 FirstFirst 12345 LastLast

Similar Threads

  1. New to me 110E 30-06
    By Michigun in forum 110-Series Rifles
    Replies: 2
    Last Post: 02-27-2018, 06:13 PM
  2. What about a build on a 110e Short Action?
    By natesatt in forum 110-Series Rifles
    Replies: 15
    Last Post: 01-11-2015, 10:26 PM
  3. 110e Age
    By G Morris in forum 110-Series Rifles
    Replies: 4
    Last Post: 12-07-2013, 09:04 AM
  4. 110e, 110 ???
    By michael40 in forum 110-Series Rifles
    Replies: 2
    Last Post: 11-26-2011, 05:05 AM
  5. 110E
    By Leon in forum 110-Series Rifles
    Replies: 4
    Last Post: 02-21-2011, 09:12 PM

Tags for this Thread

Bookmarks

Posting Permissions

  • You may not post new threads
  • You may not post replies
  • You may not post attachments
  • You may not edit your posts
  •