


 Reply With Quote
The way you want to do it is how most of us would do it too.
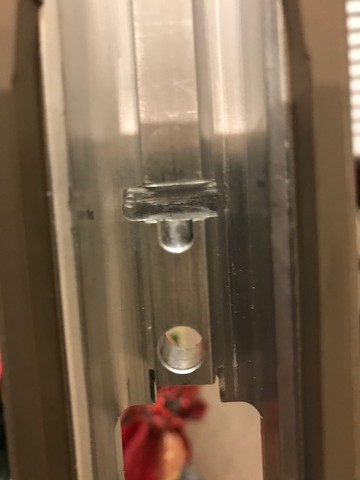
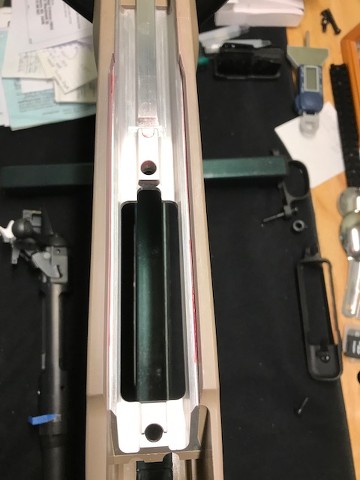
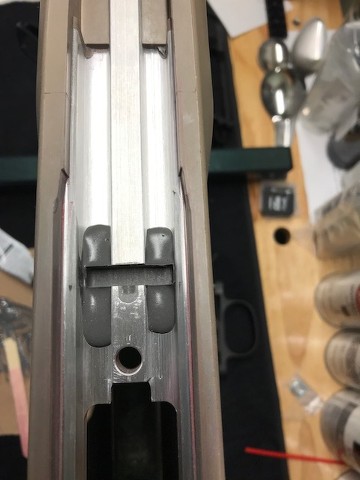
Just remember when opening the recess to the thickness of the lug, just open it to the front only.
I know I'm stating the obvious, but what the hell.
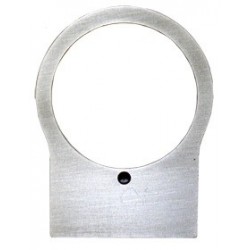
Hope you have the original recoil lug that went into the accustock so you can trace it over the new lug before hitting the grinder.


Bookmarks