

 Reply With Quote
Subscribing.. Good luck with the build

Going to chronicle my first full custom build from start to finish in photos/descriptions for everyone to follow. Being my first build hopefully it turns out well... been getting a lot of help from others on the forum with regards to how-to's which are greatly appreciated.
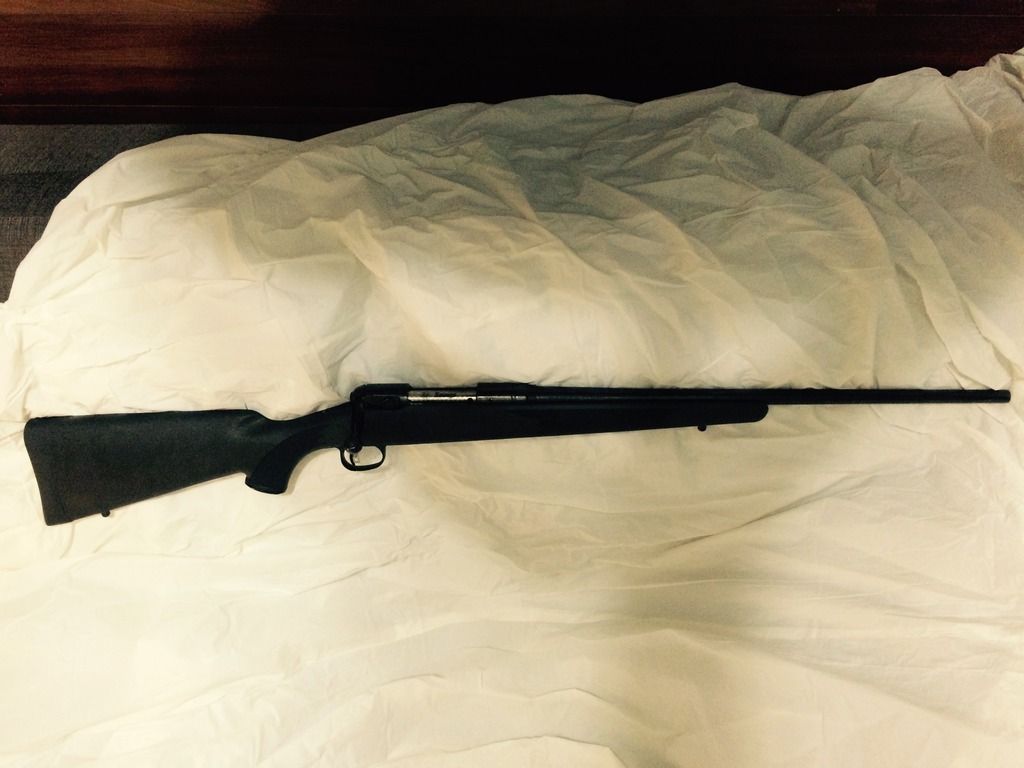
So... Here is the donor rifle as she came off the shelf: Plane-Jane Model 10 in .243, black synthetic (hollow) stock, blind magazine
Next up as soon as I get the materials/tools in: taking off/putting on a barrel


Subscribing.. Good luck with the build
Look forward to seeing it.
Ordered bottom metal today from Savage's website; part number 106238 per another user on the forums. Paid $78 including shipping; no idea when it will arrive. Did get email confirmation today that my B&C stock should arrive Wednesday by end of day.
Will add photos as work is done...

Since you are changing the barrel out , what brand are you going to use ?
Willing to give back for what the sport has done for me!
Currently doing homework on the barrel before ordering but leaning towards a Shilen 1:8 26" varmint contour.Originally Posted by jonbearman

Ordered barrel, new barrel nut and lug, and action/barrel wrenches from the folks at Northland. Great folks, phone call was pleasant, they had what I wanted in stock, and were very helpful. Anticipated delivery of Monday...
So; as it sits right now I have the donor rifle on hand, new stock arrives tomorrow, new bottom metal comes in Friday, barrel and tools arrive Monday. Ended up going with a 26" Shilen stainless select match varmint contour.
I feel like I'm 10 and Christmas is next week....
Got your "go" gage? This'll be fun.
This kind of transformation is how "beautiful" begins.
Looking forward to it.
Parts are starting to come in... got my go gauge and new bottom metal today; did a fit test on all of it and it all goes together (which means I at least halfway ordered the right parts right?). Only discrepancy is that the trigger guard from the old blind mag. stock does not work with the DBM metal in place. This is fine by me since the original was the cheap plastic and should probably be replaced anyways. Tomorrow I will take a piece of bar stock I have laying around and try my hand at making one... will post pics of the process (assuming it goes well). Until Monday after work I'm stuck with this:
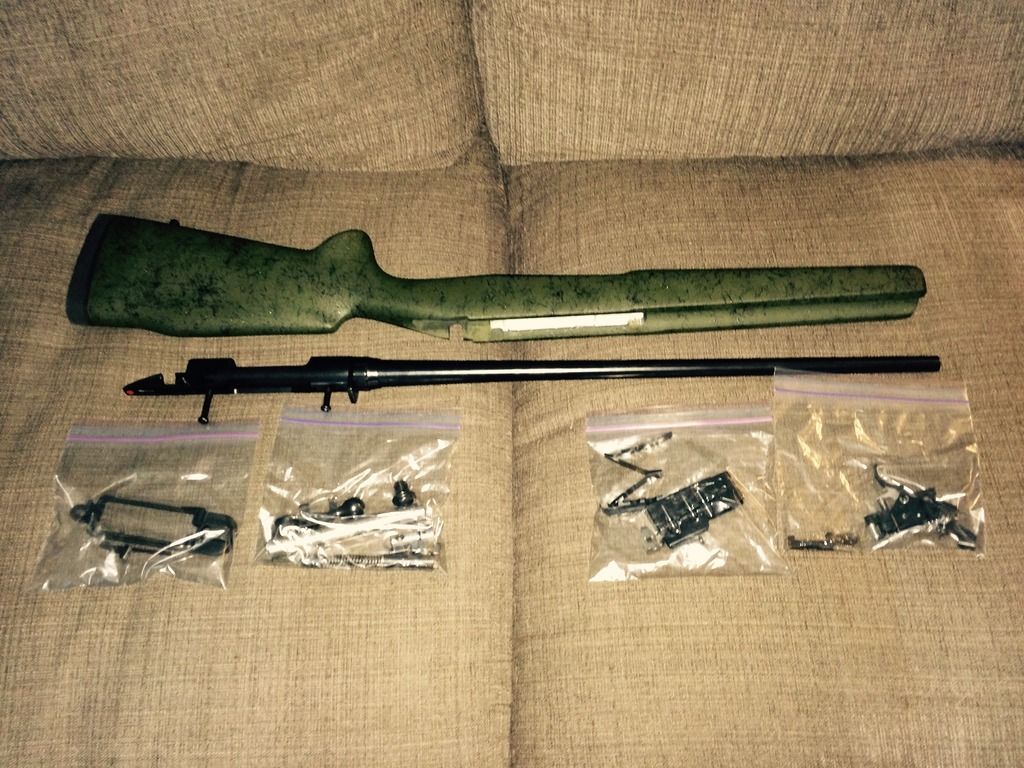
Which B&C stock is that?
M40 Style Varmint/Tactical.
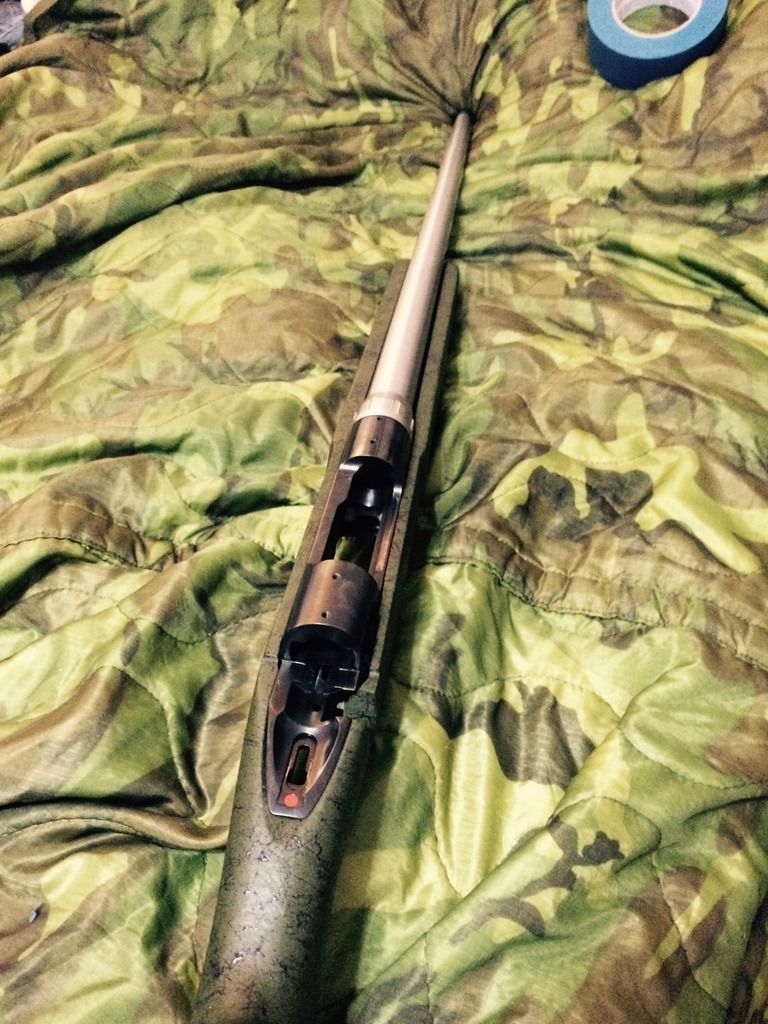
Came home today to a box on my porch from the good people at NSS... opened it up to a bunch of shiny stuff and just as importantly my action wrench (thing is a BEAST) and barrel nut wrench.
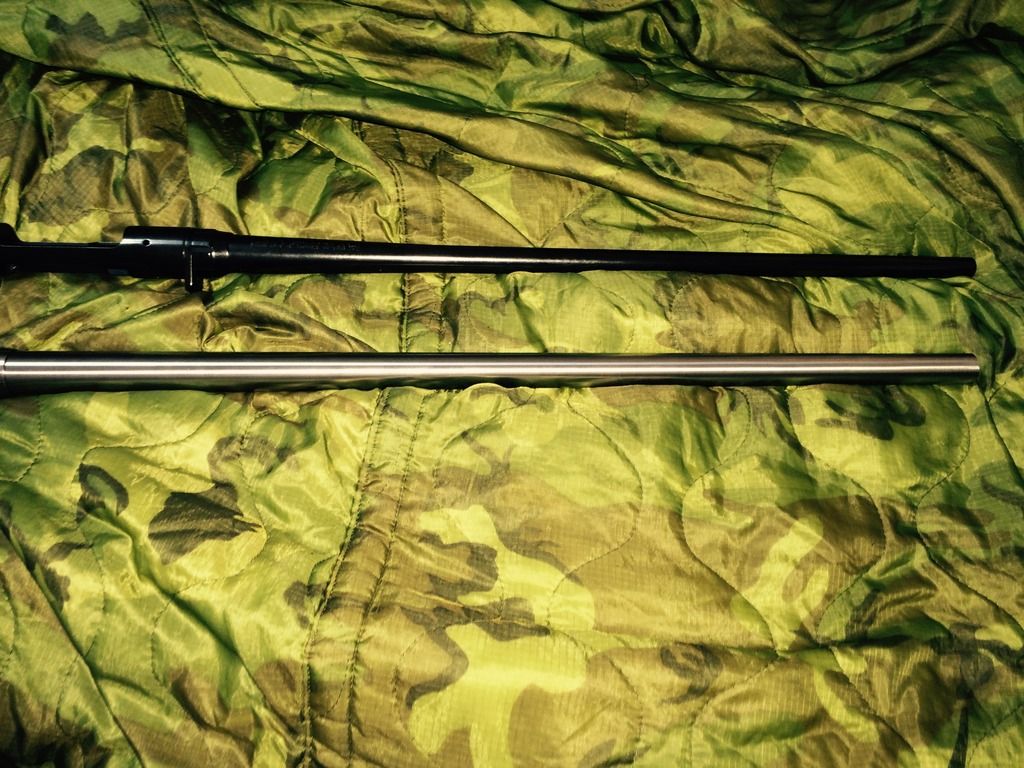
Old barreled action is about the same length as the new barrel:
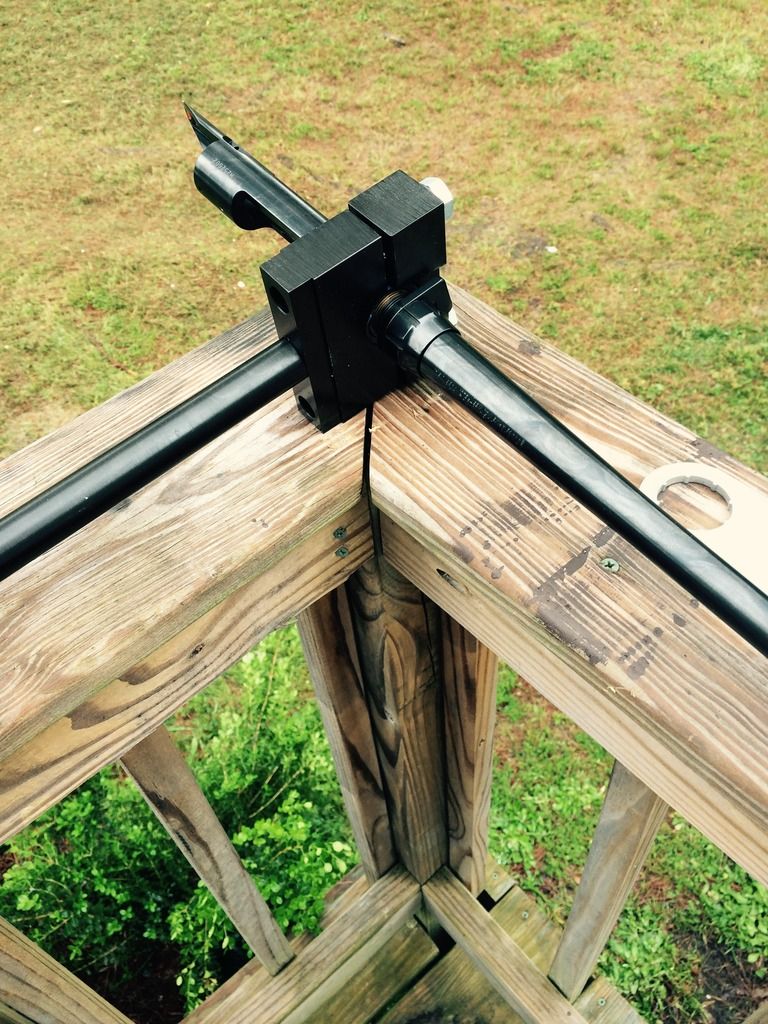
Old barrel came off of the action pretty easily; I put the action wrench on, slipped the barrel nut wrench on, hit it with a rubber mallet twice and it broke free and was able to hand-twist the action off of the old barrel.
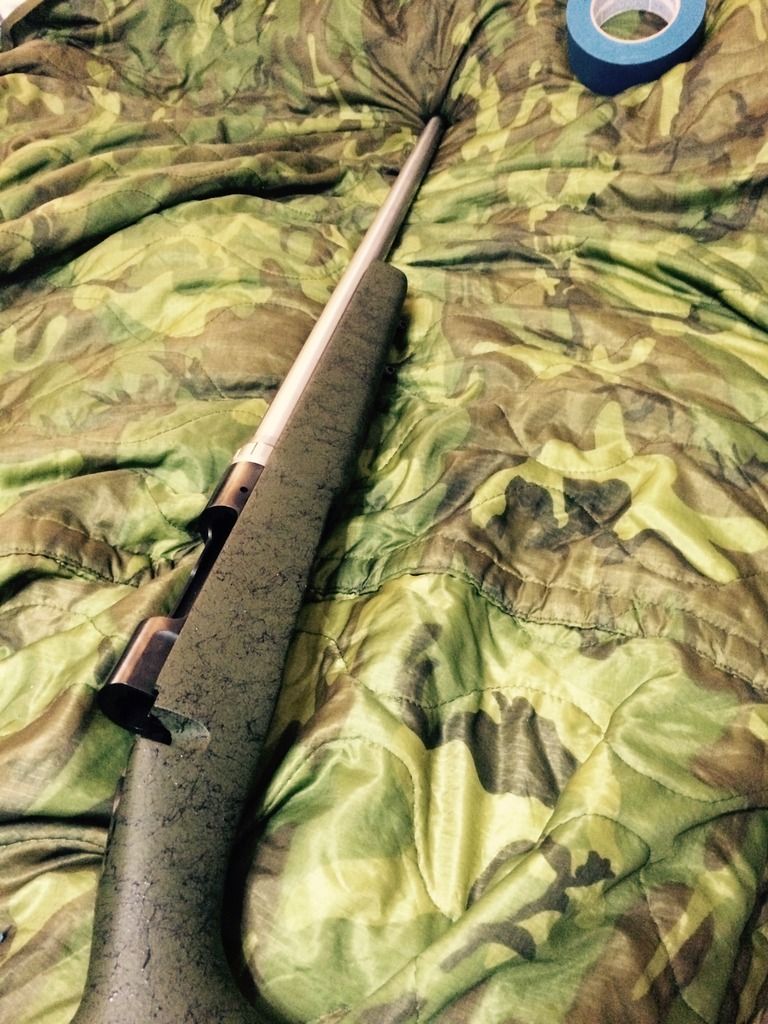
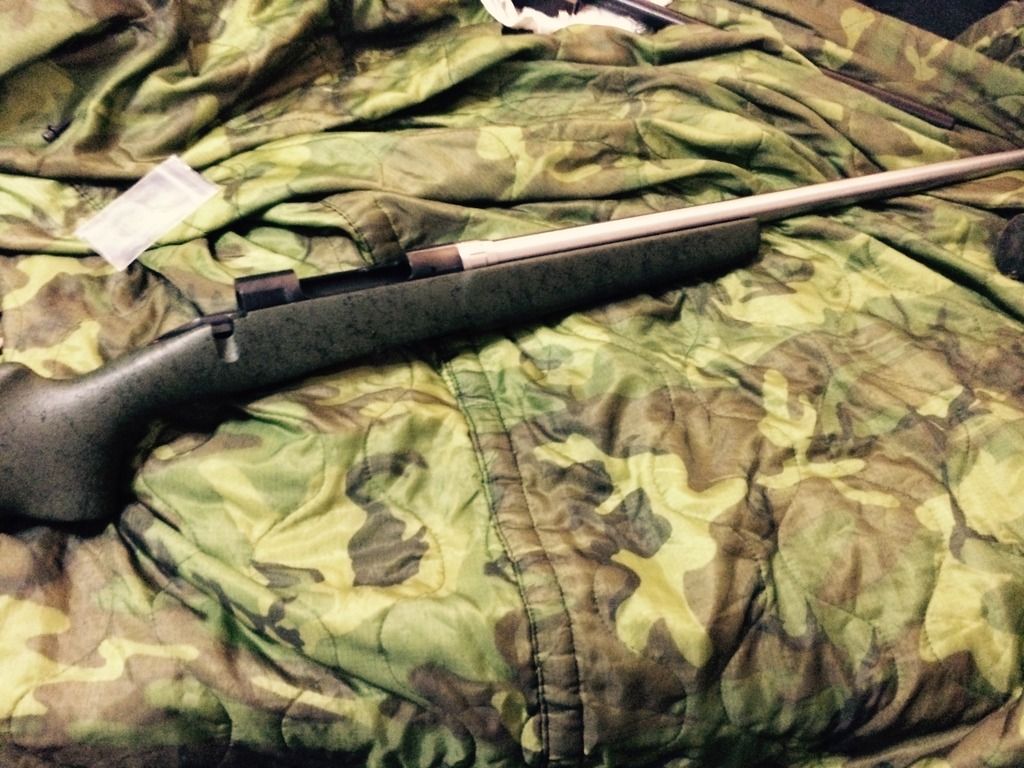
Got all the main components together for a double-check fit test... making sure I didn't have to do any inletting on the barrel channel and that everything still lined up with new barrel on. One thing is for certain after mounting everything up... I don't see myself shooting this off-hand without spending some more time in the gym.
Now I have it all pulled back apart again... Wednesday construction will resume after I get some more goodies in.
As a sidebar... Kudos again to the NSS folks; the barrel, action wrench, barrel nut wrench, recoil lug, and barrel nut all arrived very well packaged and protected exactly when they said it would. Placed my order Tuesday, arrived less than a week later.
Earlier I mentioned making a trigger guard out of a piece of bar stock... that project due to a lack of proper tools did not go well so ordered a new one from Midway along with a few other items for the build.
Going to try out DuraCoat's rattle-can in MagPul FDE and will post pictures of the process and end results as well. Figured for $30 the worst thing that can happen is I have to take it all to a friend's house and bead blast it off if it looks like garbage. Best case is I end up with a good matte finish on the action and barrel that won't spook any of my future freezer stockers.
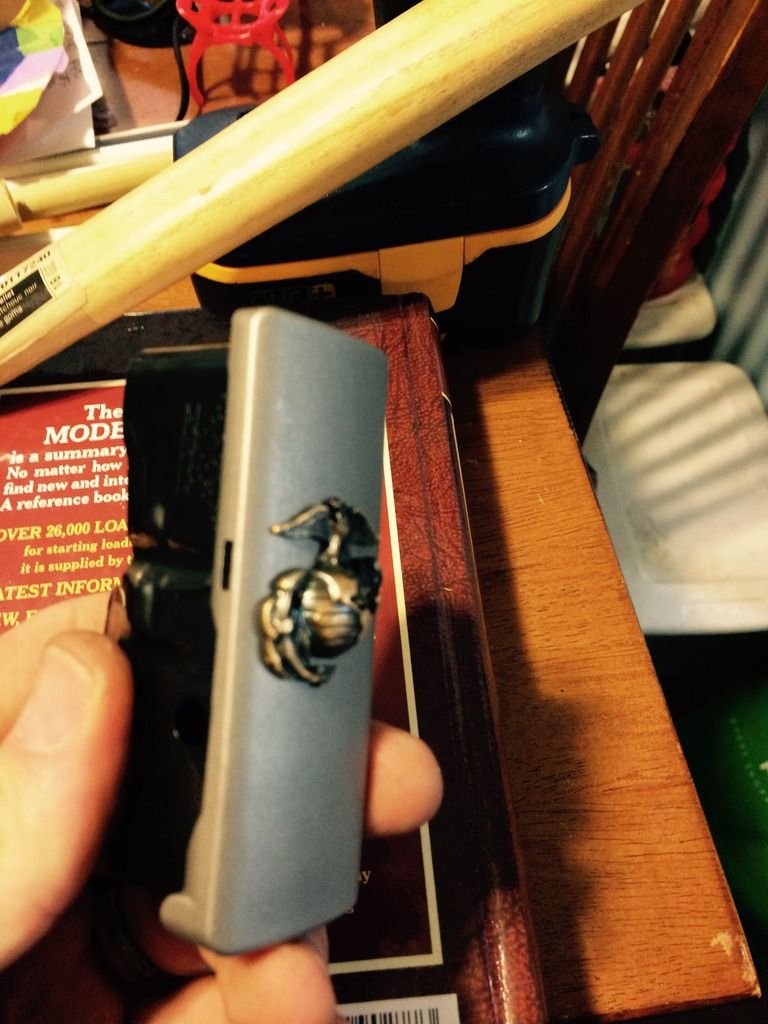
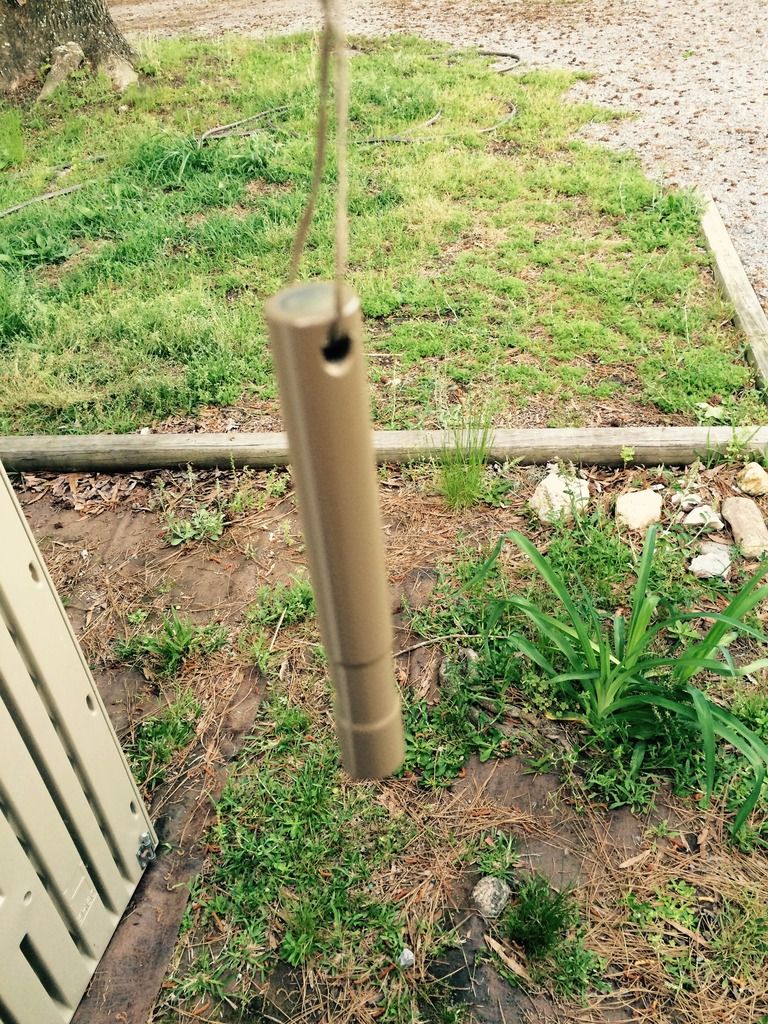
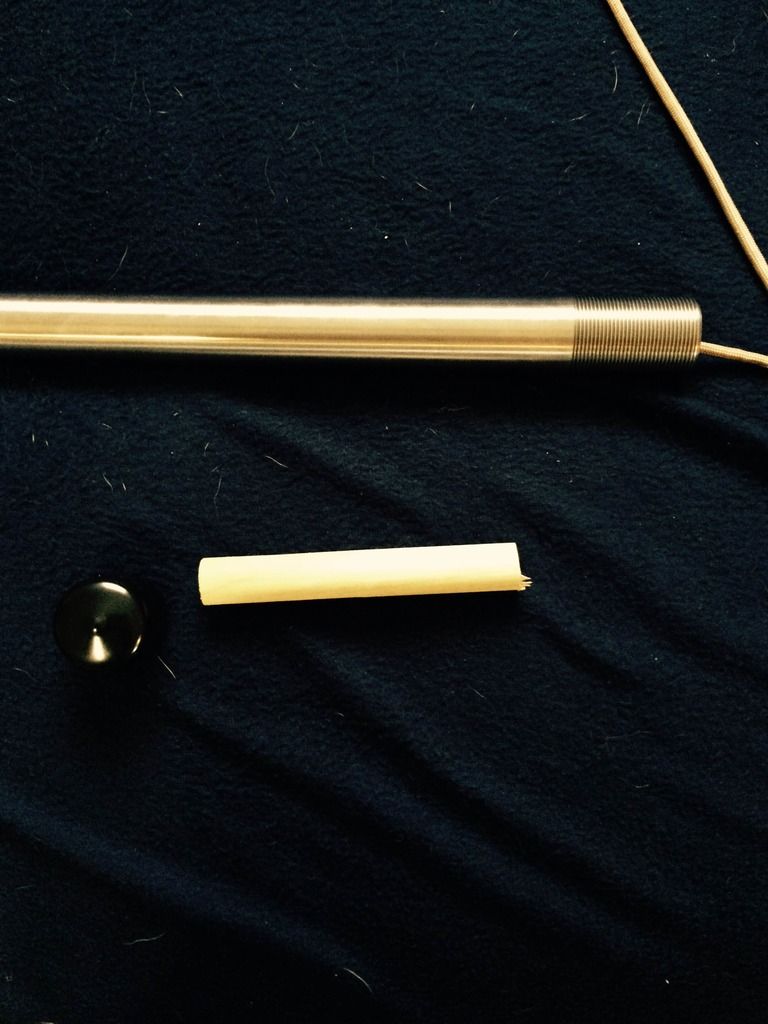
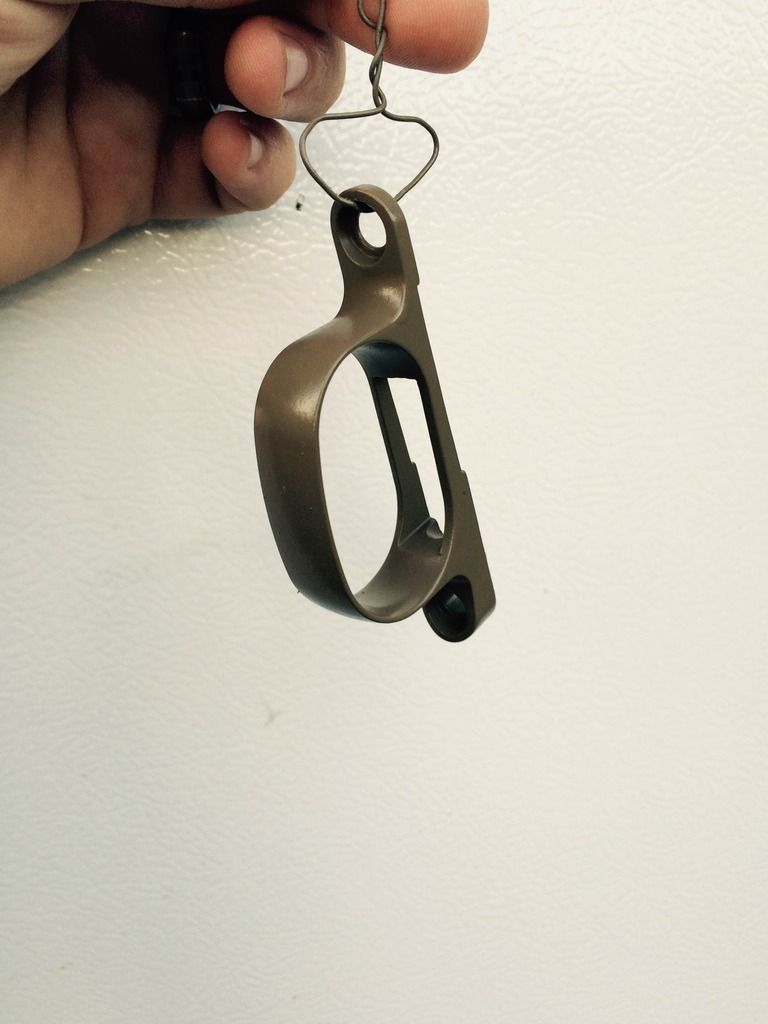
Got a few more parts as well as my DuraCoat in today; started to prep everything but weather kept me indoors so spraying everything down/scrubbing clean wasn't going to happen; no garage to do smelly things like that in. So; whilst trapped inside I got everything sorted out and figured out how I was going to hang all the parts to be painted, pretty much wire through drill holes except the barrel, used the end cap that it shipped in along with some 550 cord and a dowel rod to rig up a way of holding/hanging it while painting and drying. Also decided to do a little customization on the magazine floor plate.
Any new pics? I'm doing a similar build because this is a sweet rig and I just found a deal on a short action.
Had to go out of town for the weekend; have all the metal parts soaking in degreaser while I'm gone except the barrel in preparation for putting on the dura coat. Will snap some more and post once I get back in and start coating.
Got back home today and pulled everything out of the degreaser. Hit it all with a bit of brake cleaner to make sure there wasn't any gunk/oils left then sanded everything with 220 grit as well as some dremel sanding to rough up the surfaces for coating. Surfaces that are "precision ground" I left alone as far as sanding goes. After sanding did a wipe down with some denatured alcohol to make sure everything was clean again then taped up the surfaces I don't want coated (again, the precision mating surfaces) and used modeling clay to plug up the action threads. Tied everything with picture hanging wire, plan to use a dowel rod inside an old plastic storage tote as a make-shift painting area. Hopefully tomorrow after work the weather will cooperate and I can get everything painted up.
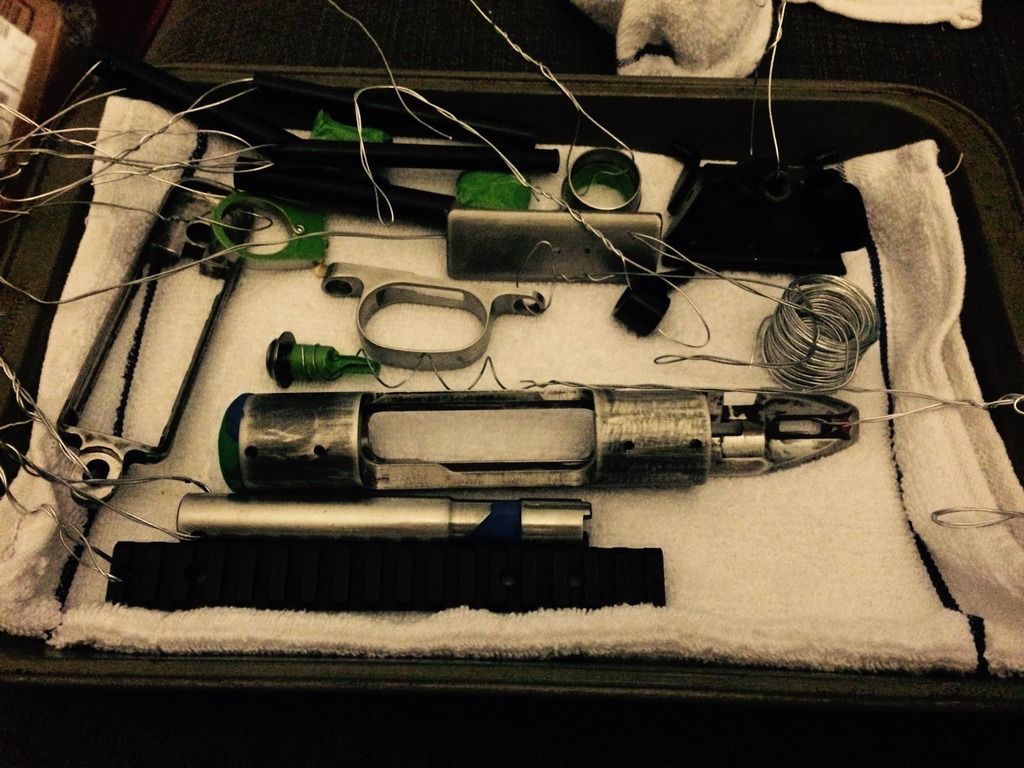
Started the duracoat today. I say started and not finished because I discovered that one can which is supposed to cover "2 to 4 firearms" didn't quite do that. I got the magazine base, bolt body, bolt nut, barrel nut, recoil lug, and trigger guard coated with 4 coats as well as 2 coats on the action. In the defense of the manufacturer; I put down multiple fairly heavy coats.
Following a video posted by LCW on YouTube I used a hair dryer to help speed up the dry time between coats.
Below are a few pictures of some of the parts I got done that are drying as this is going out. Ordering another can of the product and should be finishing this stage by Friday.
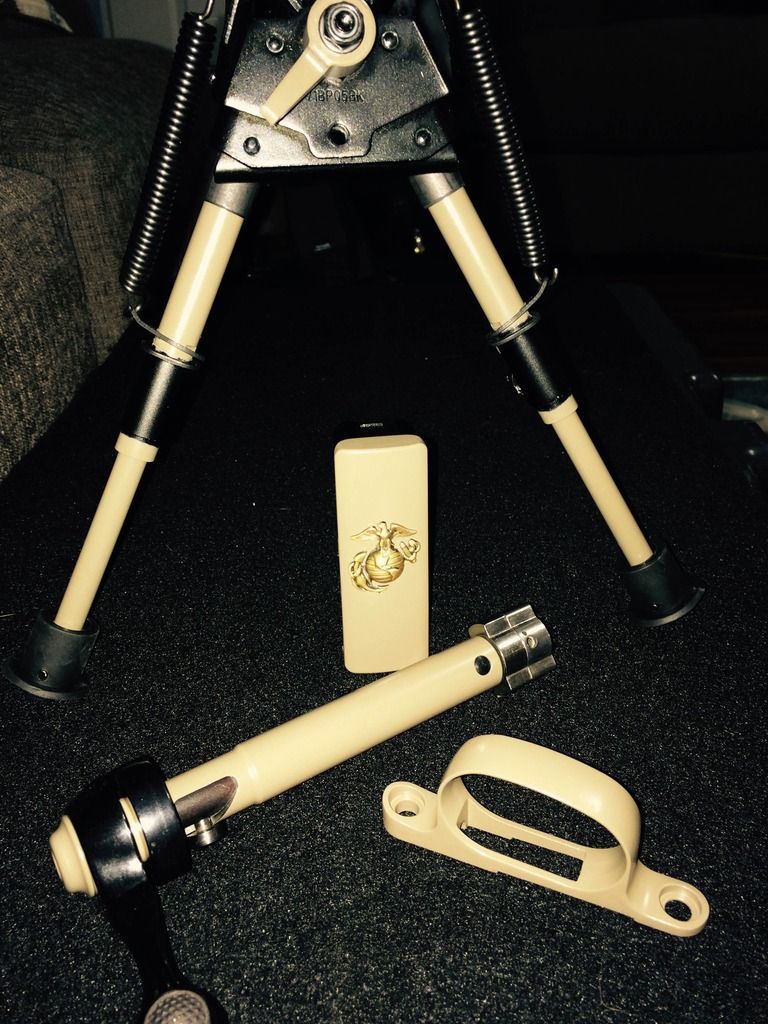
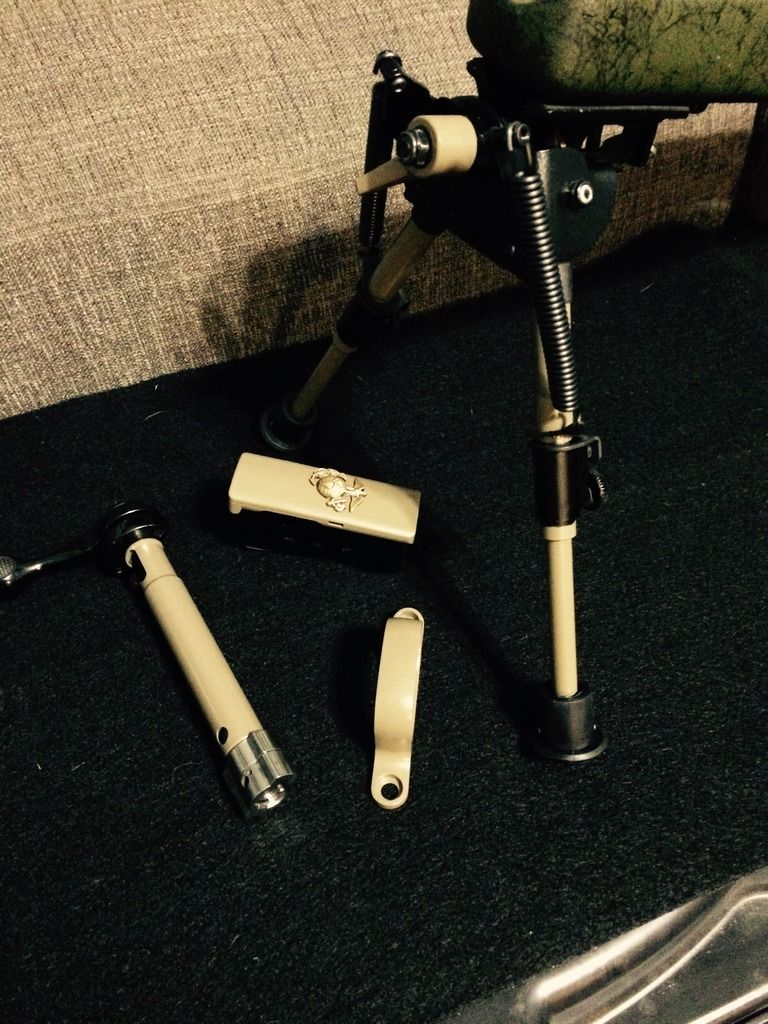
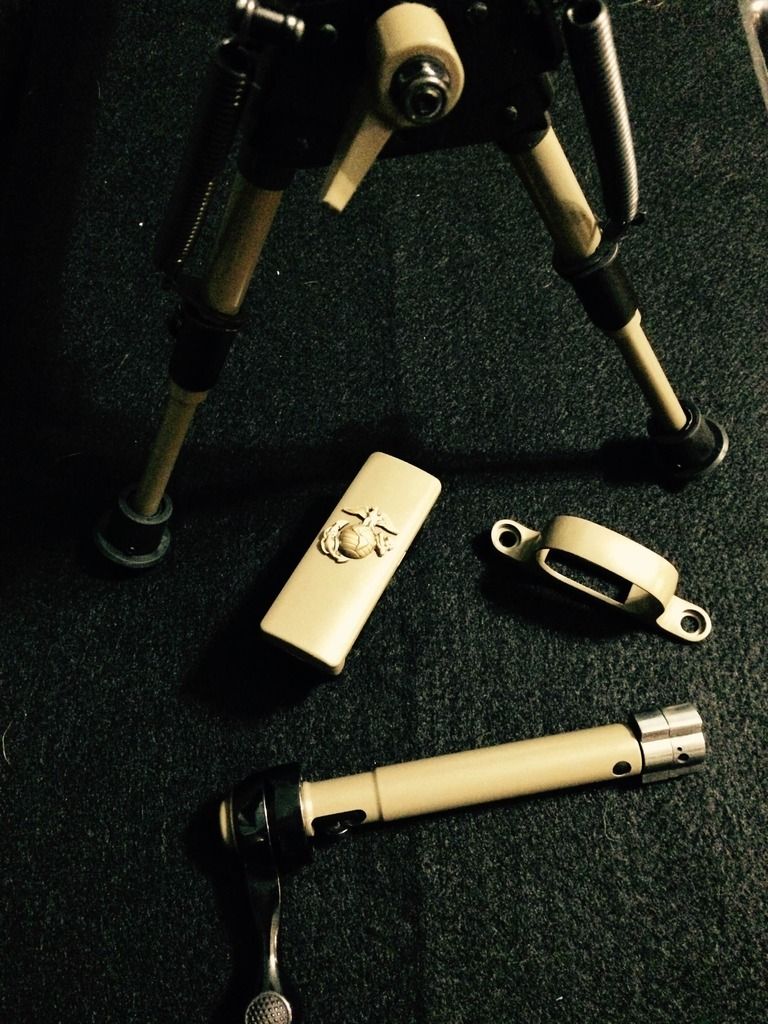
after letting them cure for 24+ hours got the parts that were done with coating pulled and started putting some pieces back together. Bipod, magazine, and bolt are all back together. Really liking the contrast of OD/Black/FDE. Now just to get the action and bottom metal finished and the barrel coated!
Looks sharp! Definitely keeping up with this thread. Totally agree with the contrasting colors, looks really good!
Scooter
Thanks Scooter; this far most frustrating part of the project has been waiting for materials to come in. Getting itchy for a range day!
I agree wholeheartedly! Lol....on my first build I had to wait about 20 weeks for my barrel, drove me nuts! But all the waiting was very well worth it especially range day!
Scooter
I'm the Boss. I make sure what she wants gets done.
Yup... tomorrow I have my .260 dies and shell holder, can #2 of duracoat, some brass, and a box of 129gr. Accubond LR's that should be waiting on the porch when I come home from work. Problem is that I'm still pondering what glass to put on it so I'll have rifle done, ammo loaded, and still be trying to figure out what scope I want. Well, allow me to rephrase... what scope that fits the budget that I want.
I understand that too! What kinda work ya gonna be doin with it? Target, critters etc....and what type of budget are you trying to stay in. I just went through this on my new remage conversion.
Scooter
I'm the Boss. I make sure what she wants gets done.
 Members who have read this thread in the last 1 days: 0
Posting Permissions
Members who have read this thread in the last 1 days: 0
Posting Permissions

Bookmarks