Now its on to gluing up the blanks...
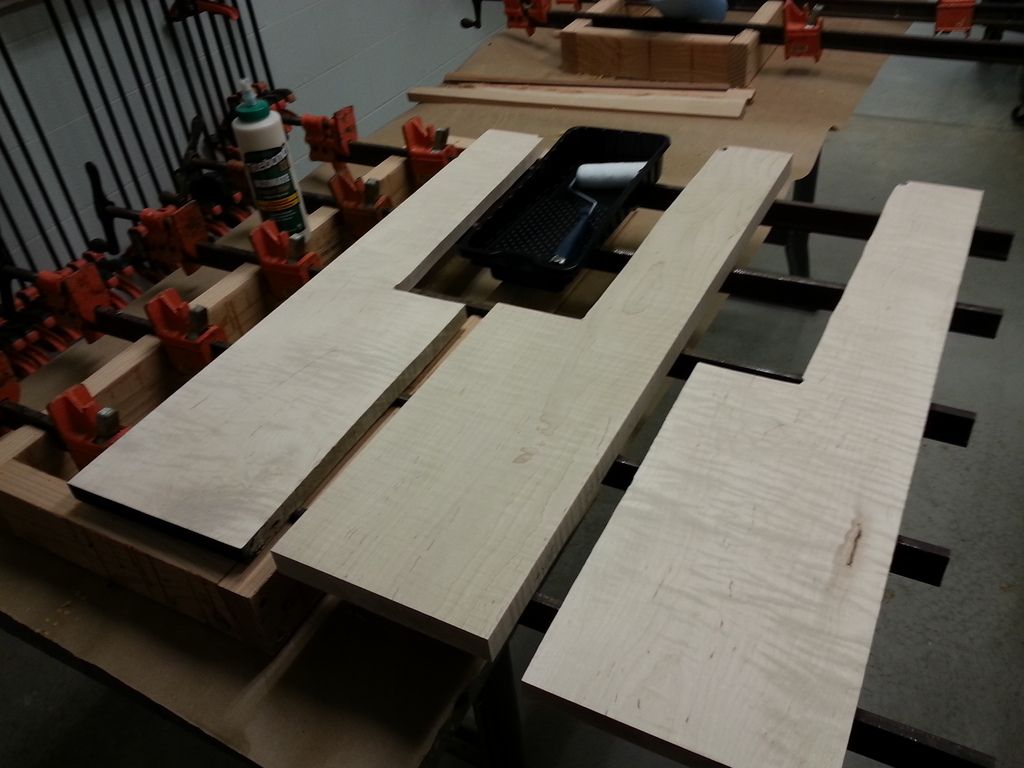
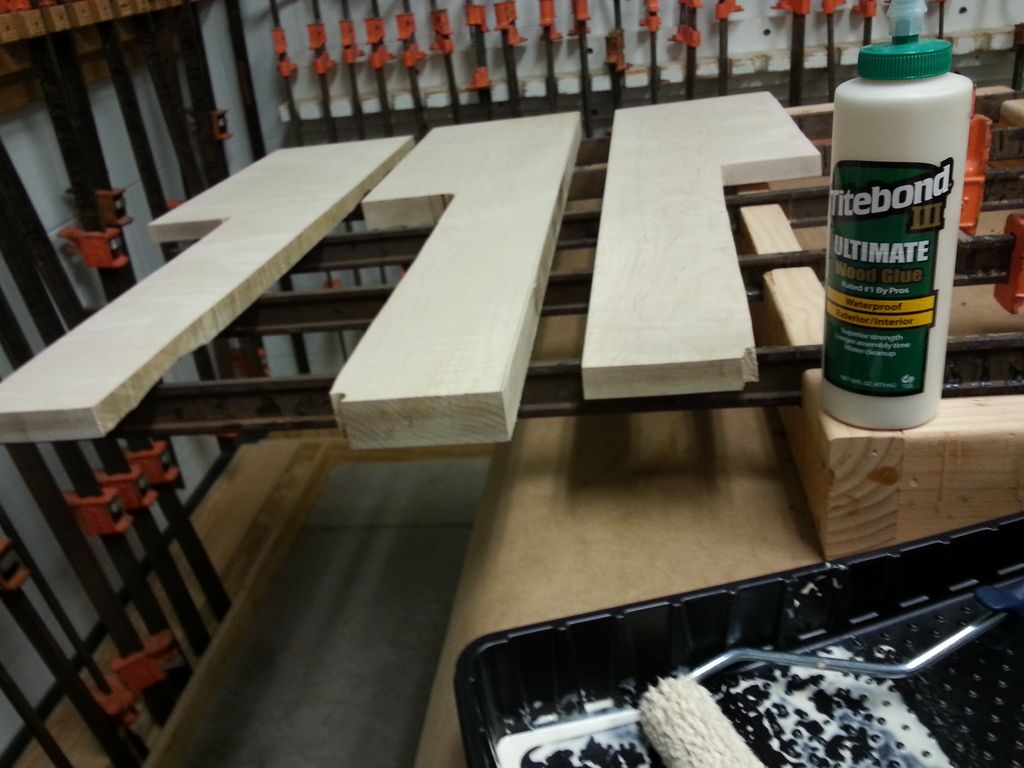
These are the pieces for Blank #3
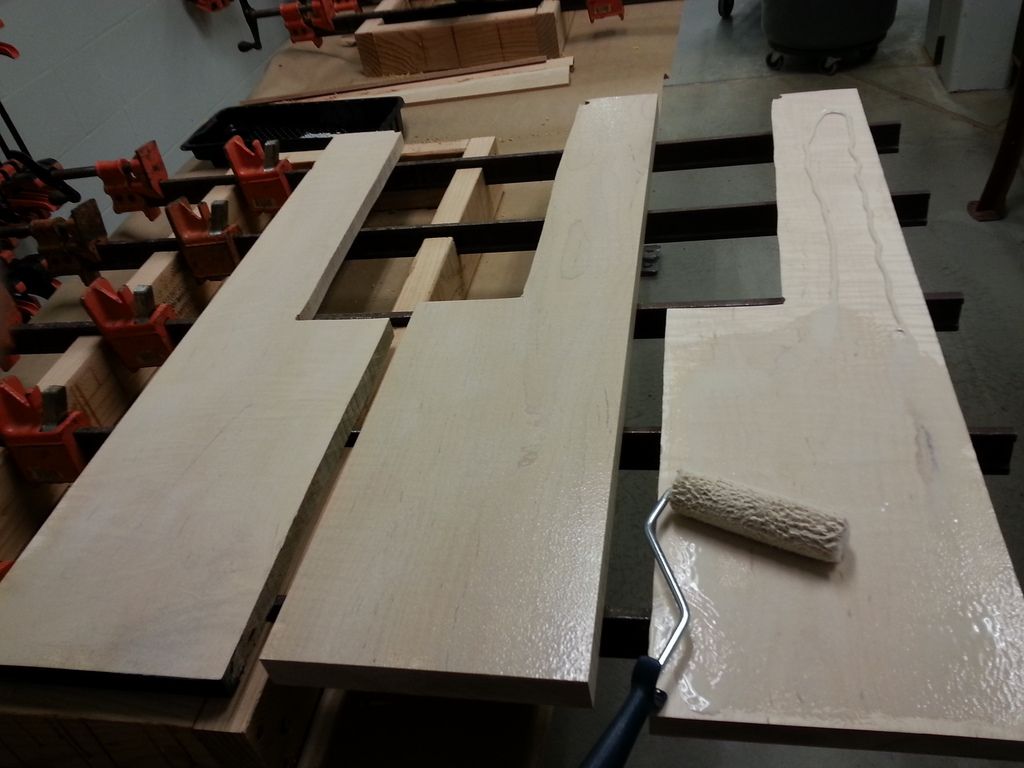
The pieces that make up each blank were laid out and covered with a layer of Titebond III.
I've seen folks using the roller technique for evenly spreading glue, so I gave it a try.
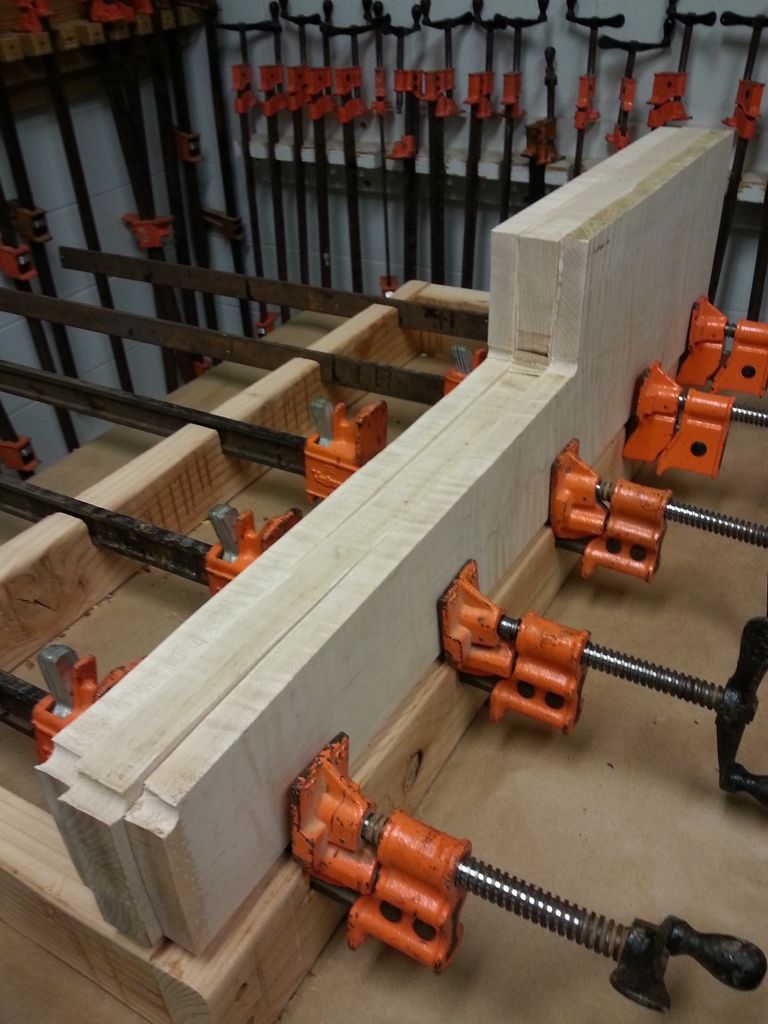
Stand all the pieces up together (glue sides in !!!)
Applying the clamps while holding the 3 pieces of the blank and trying to get a sacrificial piece of scrap in between the metal clamp and the curly maple...not fun.
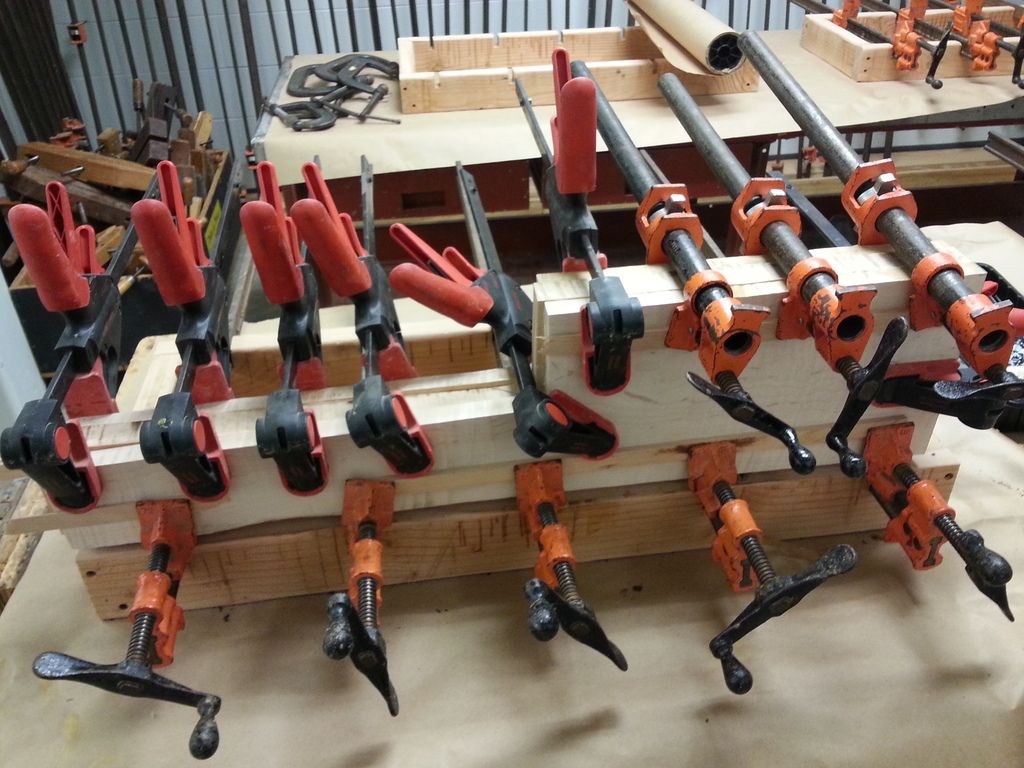
Since there are lots of clamps around...I applied lots of clamps...
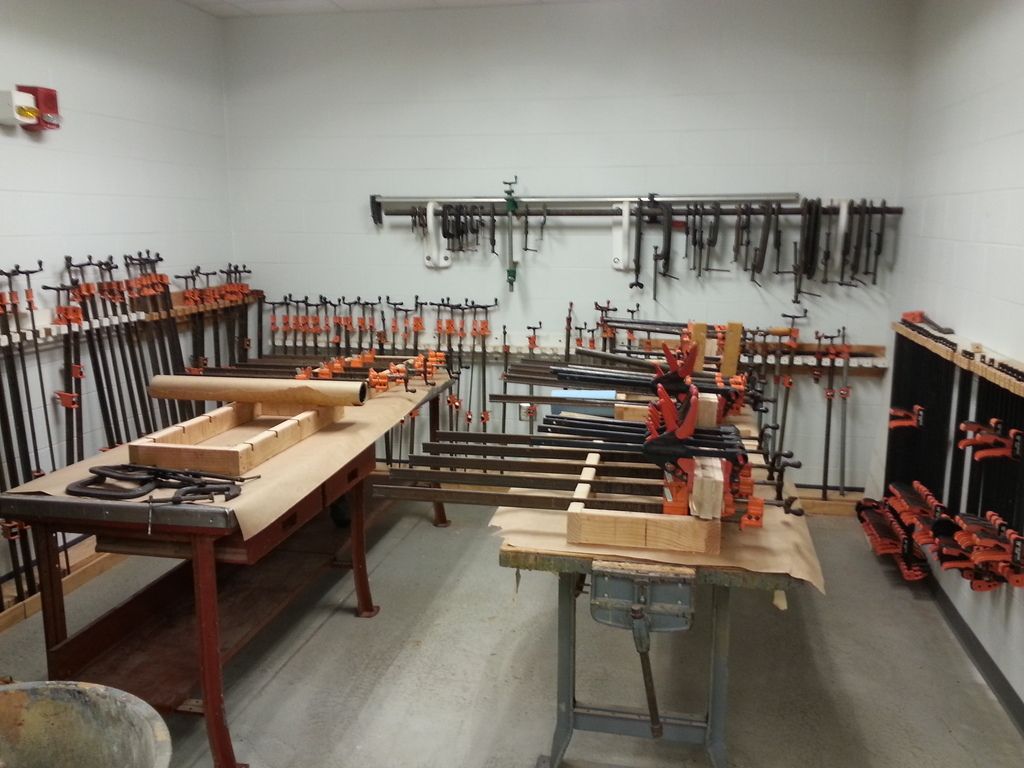
I finished gluing and clamping Blank #3 (far back right) and Blank #1 (front right).
Back during the planning and sanding, I mentioned having access to a room full of woodworking equipment...there is also a gluing room, full of clamps. Its awesome.
Here, gluing up the final blank, #2.
I started with Blank #3, so that if I messed something up, it would be the one that I care least about.
Next was Blank #1 (the best one). I wanted to get that one done and leave #2 for last...in case I ran out of time or glue.
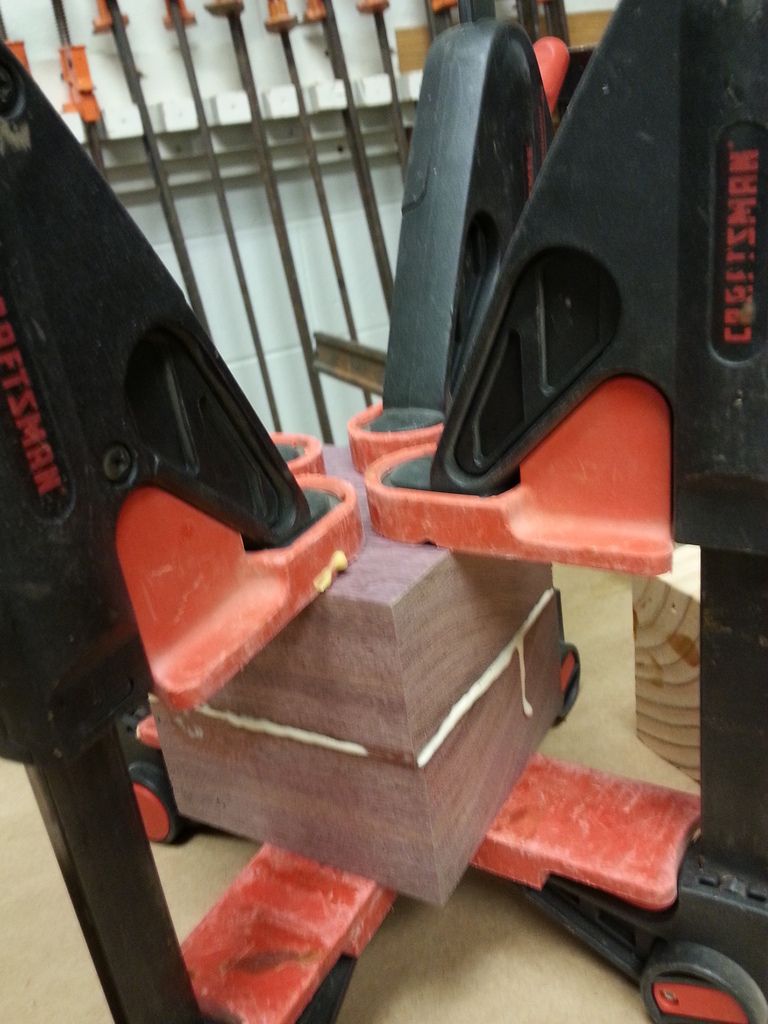
The last piece is a chunk of purpleheart. A lot of classic styled sporter rifle have an ebony wood tip on the fore end. This rifle is being built for my wife, and she requested a piece of purpleheart.
Yes, I know I just made an entire post about gluing up boards. :)
This project has been enjoyably challenging.
Thanks for reading so far.
-PB



 Reply With Quote
Bookmarks