Results 1 to 23 of 23

Thread: What to use for escutcheon? Pillar bedding a Boyds.

  1. #1
    Basic Member
    Join Date
    Nov 2009
    Location
    Iowa
    Age
    54
    Posts
    1,315

    What to use for escutcheon? Pillar bedding a Boyds.


    Getting the parts and pieces together to pillar bed a Boyds Prairie Hunter. Going to use lamp rod for the pillars but don't have anything for the escutcheons yet.

    The screw head will sit inside the countersink, any reason to not just use a washer?

    I know a lot of people have various ways of doing this, just looking for some ideas. I don't have the ability to mill/turn stock etc so it will have to be an over the counter item.

  2. #2
    thomae
    Guest
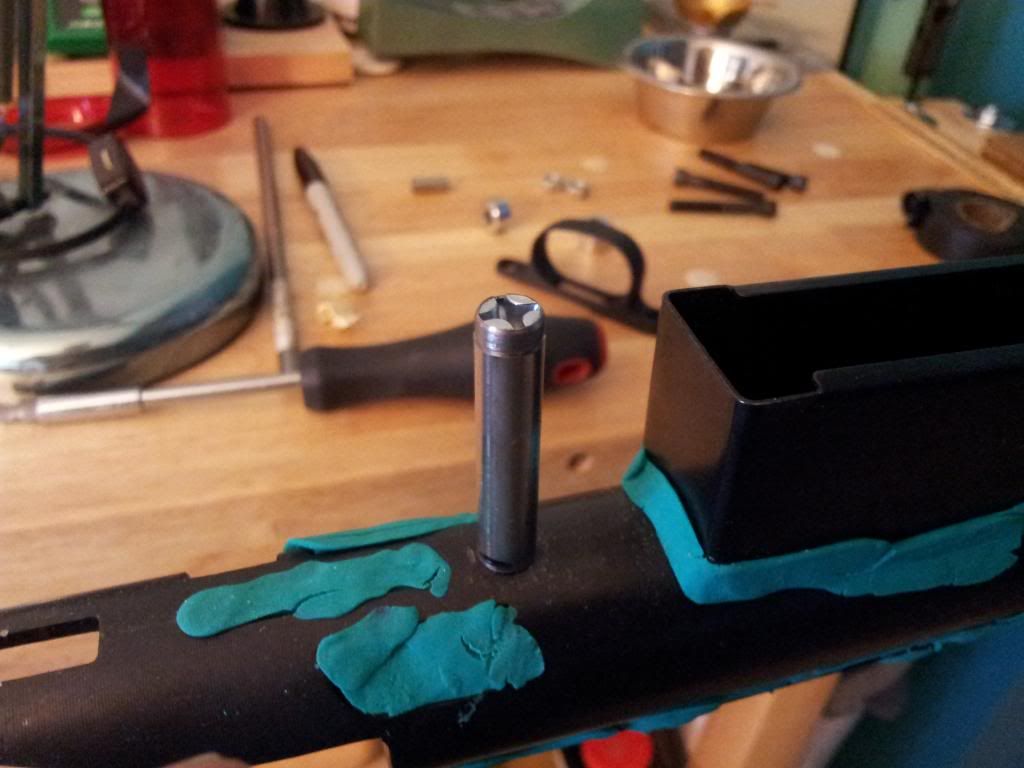
    Mostly it has to do with what you consider to be an acceptable "look" for your rifle. I don't think anything would be wrong with using a stainless washer (or several washers) as long as it was thick enough so that it would not deform when you tightened up the action screw.

    Thinking aloud here.
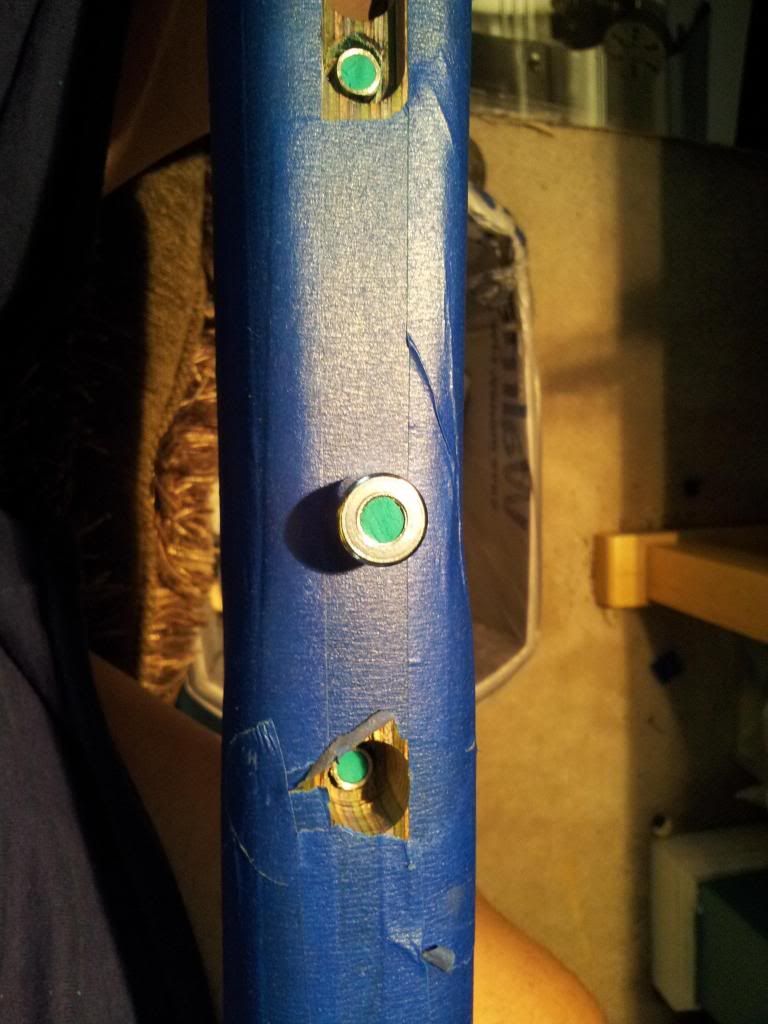
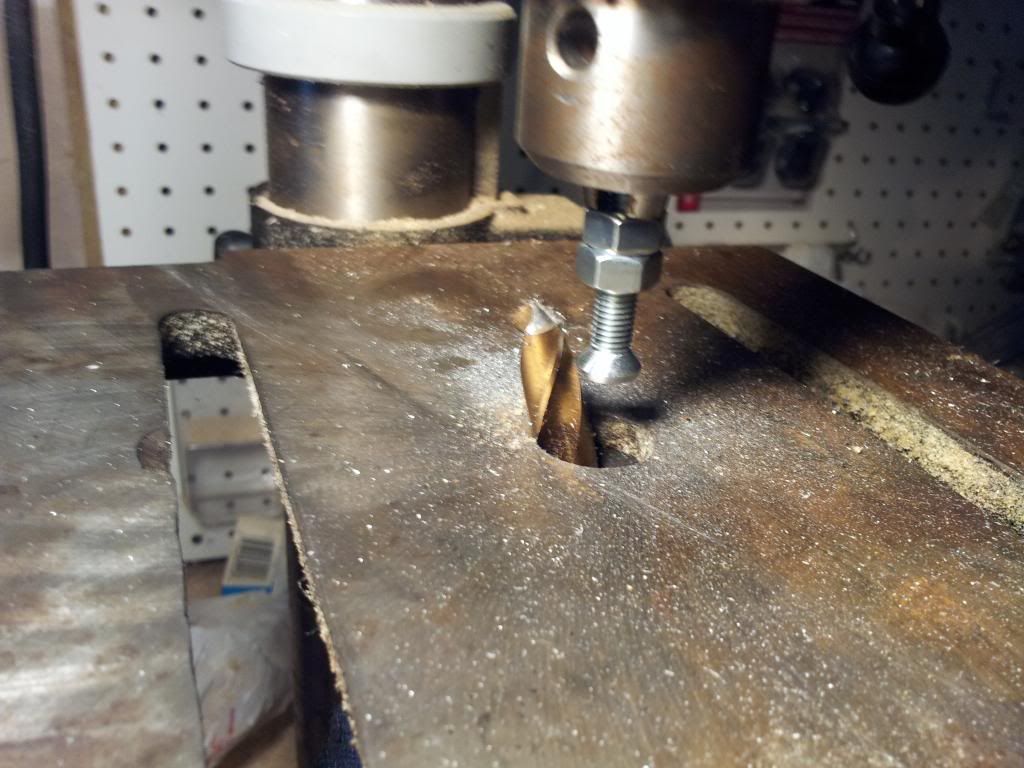
    First of all, if I were doing this, and had any exposed wood, such as the sides of the hole where the escutcheon used to be, I would make sure I sealed it well with something so that water or moisture would not creep in and make the wood swell.

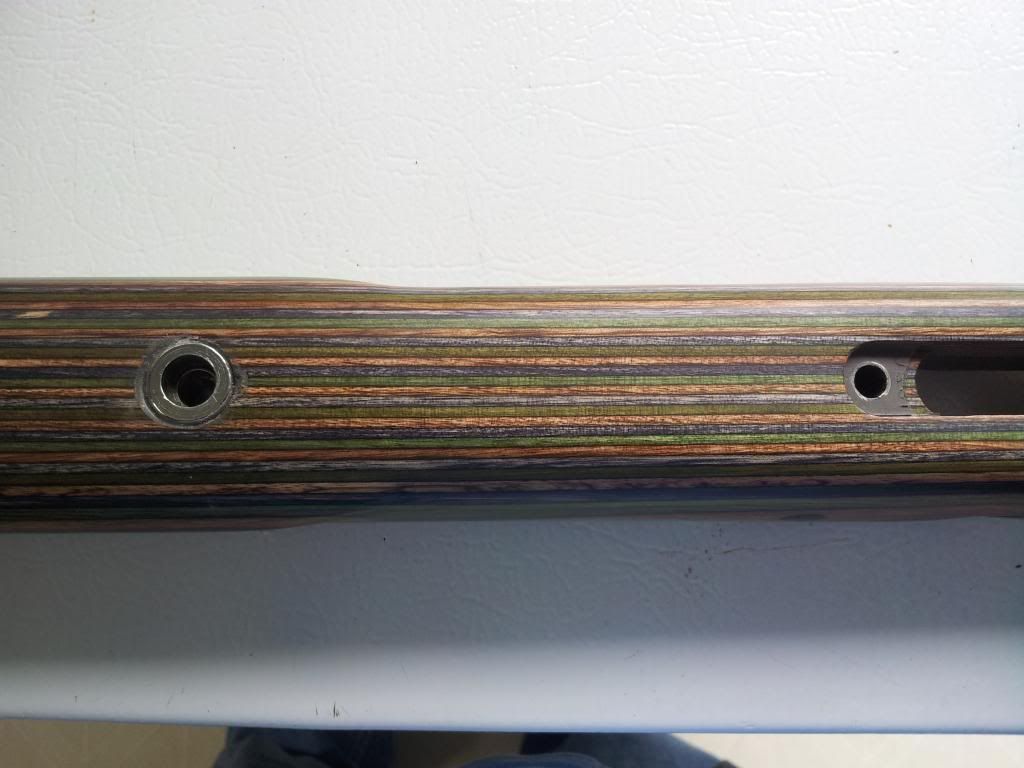
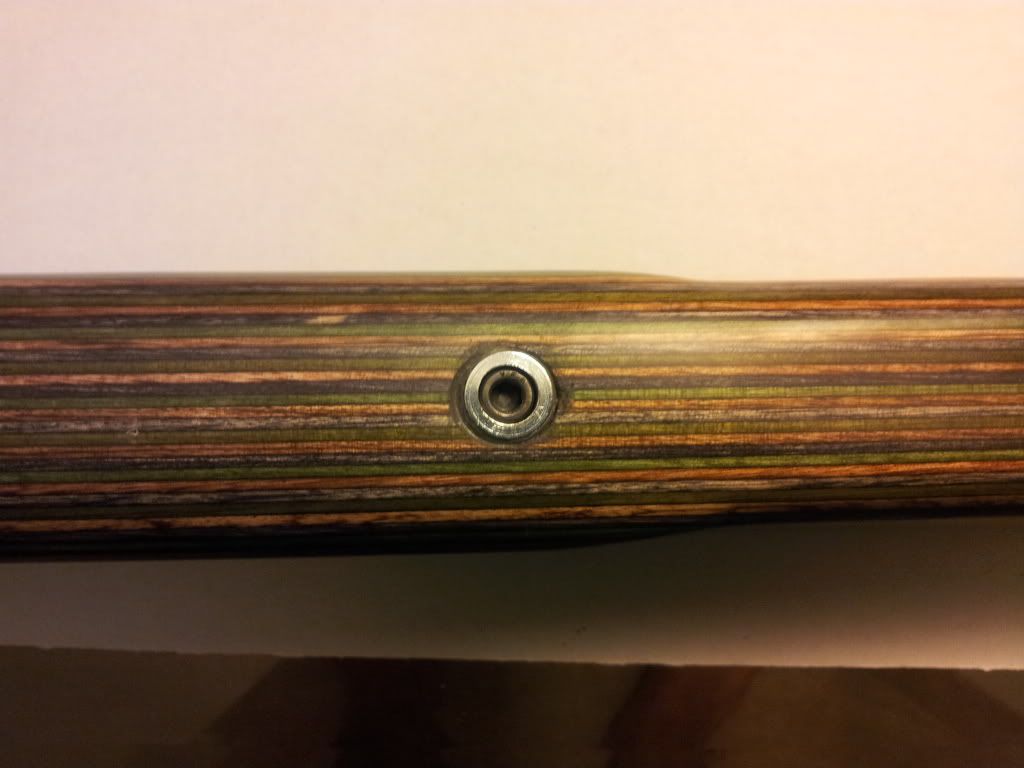
    If I allowed the lamp rod to protrude through the wood so that it was higher than the bottom of the hole in which the escutcheon used to be, but lower than the outside surface of the wood, I could fill the area between the lamp rod and the wood with an epoxy, such as my bedding material and then put a stainless steel washer or two on top of that.

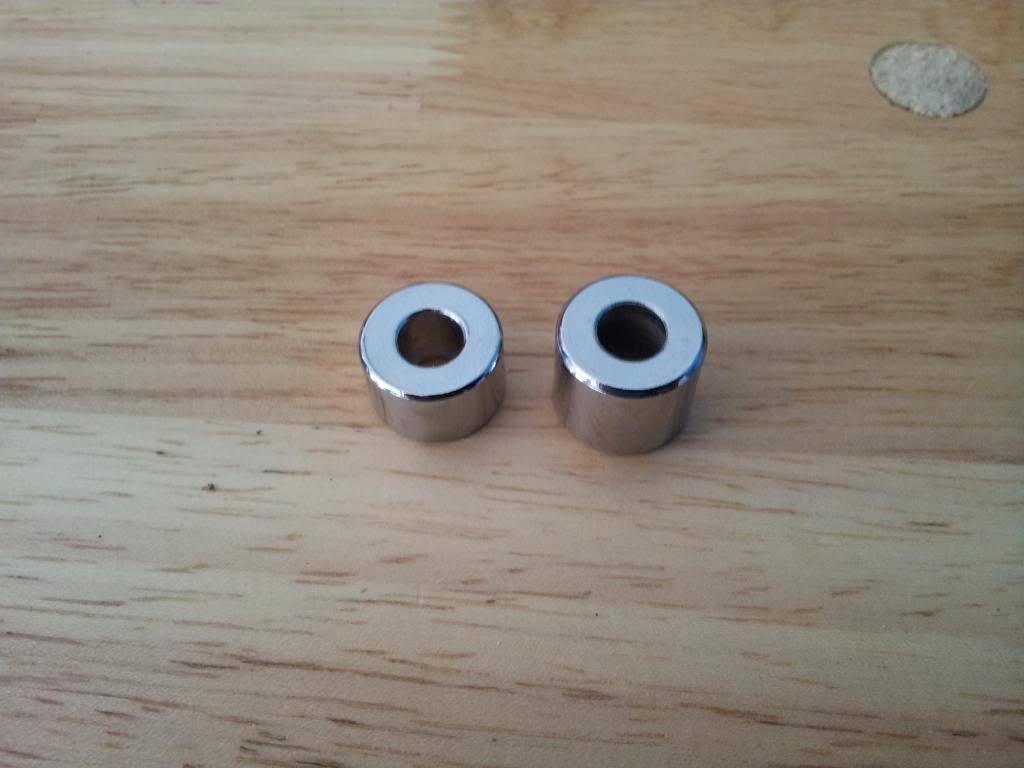
    Another option would to make the lamp rod flush with the bottom of the hole and epoxy in a stack of stainless washers of the appropriate height.

    ( If any of this is not clear, send me a PM with your email address and I'll send you an quick annotated drawing of what I mean.)

  3. #3
    Basic Member
    Join Date
    Nov 2009
    Location
    Iowa
    Age
    54
    Posts
    1,315
    Thanks for the reply, I get what you're saying.

    Am thinkng about a steel washer against the pillar and then a brass one on top of that for the "look".

  4. #4
    Basic Member
    Join Date
    Jul 2009
    Posts
    1,248
    Thomae's advice is excellent. I have used the washer method with great results. I painted the inside of the hole black to match the action screw color. Good Luck.....Jim

  5. #5
    82boy
    Guest
    Honestly, what your trying to do is over kill. If your pillar bedding the action you don't need escutcheons. If your pillars are good all you need is a screw up against them. Lap rod is fine I have done a few guns like this, and it will produces something that is competitive against the top bedding and rifle stock jobs there is out there.

    Escutcheons would be a great idea if you was not using pillars, and that is the main reason people use them. But the two together I think your just asking for problems.

  6. #6
    Odindad
    Guest
    I used a Remington ADL escutcheon/guard bushing and Remington front screw.

  7. #7
    Basic Member
    Join Date
    Nov 2009
    Location
    Iowa
    Age
    54
    Posts
    1,315
    I think I'm going to just use washers.

    So at this point the plan is to drill out the action screw holes to just a touch bigger than the lamp rod and then drill a little counter sink for the washer and the screw head to sit in.

    Sound about right?

  8. #8
    Nandy
    Guest
    This is what I did when I bedded my boyds?

    Went to the local ACE hardware store and got these 1/2" od 1/4" id chrome "spacers" or whatever they are called. The one on the left is 3/8" tall and the one on the right is 1/2" tall which is the one I used.


    Placed a dewalt 3/8 (that is a bit larger than the head of my action screw) in my press drill. As you can see this bit will cut a "flat" hole instead of a conic hole like a regular bit. I just theorize a conic hole will bind the action screw.


    Drilled 3/8 deep into it so the screw head will be flush with the escutcheon.


    This how the escutcheon will look with the square shoulder for the action screw to rest on.


    continue...

  9. #9
    Nandy
    Guest
    I used the same square bit to drill the pillar down a few hundreds of an inch higher than the wood so when I put the escutcheon it will rest on it, not the wood and it would be flushed with the forearm outside. The escutcheon will be tight in the stock if it get in at all so you have to make the 1/2" hole in the stock a little larger so not only the escutcheon will fit but to allow for the bedding material to flow around it. I used one of my dremel sand paper cylinders to make it wider, not by much but make sure the escutcheon does go in freely.

    I used playdooh to plug the holes on the escutcheon and the pillar to minimize the amount of bedding material that would flow into it. I used releasing agent for the action screw.


    I used jbweld as my bedding material. Generally I will mix it and let it sit for 30 min or so until it is of peanut butter consistency but for this case I want it runny so it will go everywhere it needs to flow. Dont toss whatever bedding material is left, more about that later...
    I filled the escutcheon hole with bedding material all the way to the top of the pillar then a bit some. That excess will hopefully go around the escutcheon when I press it in. After the escutcheon has been pushed in place I will clean any bedding material around it, use a Q tip to push the playdooh out of the way. I do this from the direction of the inside of the stock to the bottom of it. Clean with more Q tips.

    It will look like this:

    (As you can see about I did the trigger guard in a similar manner.)

    I then will put the action screw and fasten it until it was tight. I let it sit there for a few hours. Once the bedding material has set enough for it to be of clay consistency (I used the bedding material that I did not use to judge the consistency) I unscrew the action screw, pull it out and clean it, clean the interior of the escutcheon very carefully, resemble and let it sit per the bedding material instructed length time.


    After the bedding material dries you could use a drill bit to clean the inside of the pillars if needed but I would turn the bit very slowly.

    The bottom part of the stock including the escutcheon were done the next day after the pillar and rifle bedding was done.

    Hope this helps...
    Last edited by Nandy; 08-21-2013 at 12:10 AM. Reason: details, details...

  10. #10
    thomae
    Guest
    Nice job. Looks good.

  11. #11
    Basic Member
    Join Date
    Nov 2009
    Location
    Iowa
    Age
    54
    Posts
    1,315
    Thanks for all the replies, After knocking out the factory escutcheon there is quite a bit of countersink before you get to the hole for the action screw.

    Looks like the best thing to do at his point would be to cut the pillar to just below the bottom of the stock and use the bedding material to fill in around the pillar and bring everything up to where a washer can cover it ad leave the screw head just abovethe bottom of the stock. Make sense?

  12. #12
    thomae
    Guest
    If it were me, I'd have the screw head end up below the surface of the stock.

    The way I read your post, your screw head would protrude just a bit (i.e., would stand just a bit proud - to use a woodworking term.)

  13. #13
    Basic Member
    Join Date
    Nov 2009
    Location
    Iowa
    Age
    54
    Posts
    1,315
    I should have worded my post better- we're on the same page.

  14. #14
    Nandy
    Guest
    sounds good to me.

  15. #15
    Basic Member
    Join Date
    Nov 2009
    Location
    Iowa
    Age
    54
    Posts
    1,315
    OK new hiccup- had to get new action screws for the new stock. The ones I can get locally have a head diameter of 0.430". In order to slide the pillar, attached to the action by the screw, through the hole in the stock during bedding I will need approximately a 7/16 drill bit to drill out the existing holes.

    On the one hand I have no problem with this at all, a little more room for bedding compound between the pillar and the stock is fine with me. What does concern me though is hitting the cross bolts- thoughts?

  16. #16
    Nandy
    Guest
    You can do that, I drilled a 1/2 inch hole on the second stock and did not hit he reinforcement. However, I fixed that in a different manner. I got some plain recessed head screws and "turned" the head in the press drilled until they were about a 1/64 wider than the pillar. It is not hard to do, I could show you pictures. If you dont have a press drill you can use a regular hand held drill against a file secured by a press. Pictures in a little bit...

  17. #17
    Nandy
    Guest
    Recessed head screw chucked in drill press:


    I used a drill bit to "turn" the screw head down .


    Finished product:


    The good thing is that screw with a recessed head like that will help align the pillar against the action.

    Good luck...

  18. #18
    Basic Member
    Join Date
    Nov 2009
    Location
    Iowa
    Age
    54
    Posts
    1,315
    Thanks for the reply and the pics.

    Think that may be beyond what I'm looking to do.

    At this point I'm thinking the 7/16 bit is the way to go. I can drill out the action screws for the pillars, leave plenty of room for the bedding compound to get in around the pillars and have room for the screw heads to clear.

  19. #19
    Nandy
    Guest
    that will work!

  20. #20
    stangfish
    Guest
    Nandy, I've been to not one, but two county fairs and at least 4 rodeos...but I aint never seen no drill bit used like that. I don't know what to think. But it works.

  21. #21
    Nandy
    Guest
    It did work wonders in that low grade soft screw.

  22. #22
    Basic Member
    Join Date
    Jan 2010
    Posts
    280
    You got some skills man. Very nice job, I thought about pillar bedding my adl stock but decided to skim bed it because I can't do what you did.

  23. #23
    Nandy
    Guest
    Thanks. All I can do is try, I succeed more than I fail but every year the ratio is closer and closer to even out!!! lol!

Similar Threads

  1. bedding/pillar bedding a boyds stock
    By blink in forum 110-Series Rifles
    Replies: 12
    Last Post: 10-01-2015, 12:17 PM
  2. Boyds L/A axis pillar bedding
    By Remingtonman in forum Axis Series Rifles
    Replies: 10
    Last Post: 04-06-2015, 01:08 PM
  3. Replies: 0
    Last Post: 09-15-2014, 11:28 AM
  4. pillar bedding a boyds stock.
    By obsessionx in forum 110-Series Rifles
    Replies: 0
    Last Post: 06-13-2014, 02:47 AM
  5. pillar bedding axis/boyds
    By sixonetonoffun in forum Axis Series Rifles
    Replies: 24
    Last Post: 05-20-2014, 04:03 PM

Bookmarks

Posting Permissions

  • You may not post new threads
  • You may not post replies
  • You may not post attachments
  • You may not edit your posts
  •