

 Reply With Quote
Be sure to stiffen the forearm area before trying a bipod. In their stock configuration the stock is just to flimsy for a bipod.


I went with a bare rifle Axis .223 and started with a 4x Bushnell but swapped in a Redfield Revenge 4-12x42 this weekend. Trying to keep in the spirit of the Axis price point. While shooting a friends pre accu-trigger Model 10 .223 I decided it was imperative I get a .223 bolt action rifle. This seemed like a natural based on price of rifle and cost of ammo. First impression was how ever not great. The "tupperware" stock still bothers me a little. The trigger was easy enough swap out the spring, shim a little good to go. I thought this would be a great beginner rifle at the price point but after owning one I see it as more a tweakers choice. Bone stock this rifle does not excite! Put a few hours into it and it begins to raise your pulse rate. Don't see myself buying another but who knows. The model 10 FCXP would not break the budget either and have much more available from the aftermarket. But Gmacs idea of adding a m1a type mag will keep me tweaking this thing and hopefully loving it for a number of years. I'm having a good time with it thats for sure. Figure mods for a m1a type mag and re-working or replacing the stock will make good winter projects.
$266 for rifle
$19.99 BlackHawk picatiny rail
$20 Weaver mounts
$219 Redfield scope
Total $524.99
Still considering a sling and a bi-pod.
Left out tax since I get a 10% discount through work.
[QUOTE=scope eye;271337]the most I have been able to fit is 90gr of H4895.[/QUOTE]
Be sure to stiffen the forearm area before trying a bipod. In their stock configuration the stock is just to flimsy for a bipod.
204, 22 K-Hornet, 222, 223, 22-250, 22-250AI, 6BR, 243, 243AI, 6-06, 6-WSM, 250-3000AI, 270, 7-08, 7RM, 30BR, 308, 30-06, 375 H&H, 444 Marlin, 450BM, 458WM
Fugliest ,i love that name so much i named one of my axis bench rifles that!
"Tweaker's delight" is a perfect description. It's really quite easy fixing the stocks--I've done two of them now and the actual reinforcement parts and epoxy can be found at any hardware store and done in about 1 hour with easily available materials . I took my stocks a little further than the forearm by also putting in a 1" pillar inside the stock between the trigger guard and butt--and also cut down the butt area down to shorten pull length. Like boots says--you really need to do at least the forearm area if you're gonna put a bipod on.

Where's Frank when you need em'
Hey Boots, what do you have to do to the fore-end before mounting a bipod? I'd hate to break this thing when I add one.
Test the gun before you do anything to it to void the warranty.
There are several approachs, but all basically the same. Some people have filled the entire forend with epoxy, but most people will glue in either an aluminum rod or carbon arrow shafts and fill the majority of the area with epoxy.
I am not the Axis expert, thats more Frank's area. Kind of suprised he hasn't chimed in yet, maybe if we keep saying his name his ears will start burning and come and find the thread.
I believe there are a couple of threads that talk about it in the Axis boards.
204, 22 K-Hornet, 222, 223, 22-250, 22-250AI, 6BR, 243, 243AI, 6-06, 6-WSM, 250-3000AI, 270, 7-08, 7RM, 30BR, 308, 30-06, 375 H&H, 444 Marlin, 450BM, 458WM
Sound advice Mach2.
Personally I've put about 130 down the pipe. But don't think I've done anything that isn't reversible. Ejection has been the only issue and disassembly of the bolt for a thorough cleaning as well as the chamber. Seems to have minimized the issue. Will pick up the larger ball, new spring and claw just in case. If the issue continues I'd likely take it to a local smith rather then send it in. At least for an opinion regarding tolerances.
Might just be an effect from using cheap Tul-Ammo and Americam Eagle ammo. Did drop 2 Hornady shells today but that was after 10 or so of the Tul. I might have not raised the bolt far enough before pulling back on it too. Handle runs a little close to the scope. (Add to wish list 1 man sized bolt handle). So will give the Hornady (55gr training label) another go before writing it off to soft lands and hot running rounds. Likely won't get out to shoot again until mon or wed.
So far the American Eagle seems to shoot the best for the price but its often sold out locally and does seem to have at least 1 really hot round out of every 40 or so. Good news is there is sposed to be a Mills Fleet Farm coming here in another year. Where they stock massive amounts at a time un-like the local Wally World. Where one guy shooting an AR a couple days a week wipes out their stock regularly. No its not me but a good friend!
I'd like to try some heavier rounds but haven't had the opportunity to shop them other then some 62gr Tul-Ammo which I passed on for the time being. Mainly because the 55gr Tul seemed a little subdued compared to the American Eagle 55gr. Did try 1 box of Rem Core-Loct but for the price I just didn't see enough or any benefit for vermin hunting. Nor the accuracy of the Hornady which was spot on at 100 yards literally. Even with the wind steady at 20-25 gusting to 35 today. (Shooting along side 20 acre woods so fairly sheltered to be fair.)
For me the bi-pod is still just a maybe. I just wanted a cheap shooter for ranges greater then my .22 and .410 offer. For bench shooting a bi-pod might be sweet but a decent rest and some sand bags can do the job for the same money. The shooting I'd like a bi-pod for might just have to be on another rifle perhaps a 91/30 coyote rig? My son just got one and we're planning on going in on one for my old man for a upcoming b-day. So of course I have to get one too! But more likely on a Model 10 in .308 or another Axis in .308 kinda like to stay with the cheap shooters for now. Since I've not invested in hand loading equipment. Years ago I did load for handgun 38/357 but that was another lifetime ago.
[QUOTE=scope eye;271337]the most I have been able to fit is 90gr of H4895.[/QUOTE]
Do this.....
Then this...
After that, a little of this...
And, in order to make sure accuracy is not bothered by the barrel....
And you should be able to do this....
Any questions?...
Frank in Fla
'Scuse me while I whip this out...!
Ok this might be over my ability/comfort and available tool level. Never worked with Epoxy before either.....
It' ll be real easy. The best part is if you screw up, no one will see it since it's inside the barrel channel.
Epoxies are simple to use. Follow the instuction on the package. I use Ace's own brand of 5 min. / quick set epoxy. If you don't mix in exactly 50 / 50 proportions it's very forgiving. A little coarse sandpaper for the barrel channel. Believe me, you'll make a new rifle out of that wigglin' bang stick you have there.
And then........ You too my friend, will have the ability & implement to do this....
I'll try to put an outline of the procedure together for you. It's real simple to do. The last one I did took me about 2 hours. Believe me, you'll be making a new rifle out of what you have there. That Flex - o - matic stock will not be very co-operative with a bipod or resting it on a bag. The stock will touch the barrel & your groups will look like a buckshot pattern.
I'll try to find the time later today to put that together for you. In the mean time, you need a drill, about 2' of 3/16th inch steel rod, 2 packages of epoxy, a hack saw blade, long nose pliers & cutters. Some diposable things to mix epoxy on & apply it with. Everything you need is at Ace Hardware waiting for you to come & pick it up.
I'll talk to you later. If I don't have some coffee right now, I'm gonna die.....
Frank in Fla
'Scuse me while I whip this out...!
Why are my ears burning so much today?.....
Must be the weather or my arthritis acting up.....
'Scuse me while I whip this out...!
Frank--I'm of the opinion that in addition to the forearm area there is annoying flex in the stock between the trigger and butt of the stock--especially in the "old style" longer stocks. I also like to reinforce that area and it really isn't any harder to do then the forearm work--the only catch is that the flimsy lever tab for the buttpad will likely break in the process of removing it.
Another question: I'm of the opinion that the bigger the caliber (recoil forces) the more flex you'll get in the stock--so are your shot groupings as nice as this with your bigger caliber stuff?
My 7mm-08 groups real nice & I haven't finished my OCD / OCW with it yet. I have the final rounds ready to go. I just need the time to find my way down to the range, which will be this weekend.
The butt end of the stock, rather the grip, can be stiffened quite a bit by filling in all the hollow voids under the trigger guard & then epoxy the trigger guard in place. It made considerable difference in 2 of mine. The drawback is, that stock will only be for that type caliber. The trigger guard piece will determine what size magazine will fit which, in turn, will determine the size bullet. I ended up making one of each - one for my 7-08 & one for the 25-06. One long & one short.
Just short of major surgery to the stock, I think it's the easiest & bast way to firm up the grip / butt / forend of the stock.
If you've had a look at some of the targets I posted I could not get grouping that tight prior to a little stock work. Yes, I know it's junk & yes, I know it wiggles but I also know it's comfortable to shoot & has some nice lines to it.
SO....... That's my story & I'm stickin' to it. I'll find the time later to put up an outline of the procedure to help you understand what I did & how I did it. I gotta few contracts I need to get typed up.
Later y'all.
Frank in Fla
'Scuse me while I whip this out...!
I already have done the same things to my stocks--though I did not epoxy the trigger guard in place so I still have the swap-out option. I know that the improvement to my 270 was immediate and significant--you're preaching to the choir here.
Frank showed me how the pistol grip would would wobble back and forth and almost snap if shook while holding it. Once he epoxy'd it up good, it felt rock solid.Originally Posted by thermaler

Once Franks adds his notes maybe Admin can lift his post and put it in the FAQ as a sticky!!!!!!!
Makes a lot of sense. I can consistantly put 2 in one hole or at least lapped. But always get one 2 inches away. Pretty sure this would help pull that together some.
[QUOTE=scope eye;271337]the most I have been able to fit is 90gr of H4895.[/QUOTE]
Thanks a TON Frank! As soon as I'm able to get around I'll pick this stuff up and do the stock upgrade!
Also I agree that this should become a STICKY!
I used some heavy metal pallet strapping and made a metal spring for the buttpad. Not difficult. Used the original plastic square button and epoxied it to the metal strap. Bent the metal strap into an "L" and screwed it to the buttpad.
I popped off the plastic Savage logo cap under the grip/wrist of the stock and went in from there. Epoxied a steel threaded rod inside the grip/wrist there to add strength and take out some flex. When done, simply glued the Savage emblem back on.
I'm not suggesting my way is better or worse than anyone else's...simply wanted to share my technique.
Hey thomae - that is a real pregnant idea. I think I'll have a closer look at that.
By filling all the voids in under the trigger guard & then gluing the guard itself to the stock gives it considerable strength & mass BUT....... lo & behold, it's still a piece of plastic. I appreciate your input. These Axis / Edge rifles have become more of an obsession that reloading.... for now. I like the feel & the lines in fact, I have had guys at the range come up & take a closer look trying to figure out what it is. Many of them compliment it on how cool it looks. They don't know they're looking at a $225 rifle & they really can't believe how it shoots.
It's sleek & slightly smaller than a regular stock & if it can be made tight & strong, it works very well. I'm sure you've had a look at some of the target pics I've put up here. It will shoot tight as long as it's firmed up. It's terribly difficult to hit your mark when the rifle wiggles....
Thanks again for the idea & don't keep them to yourself. Feel free to blurt them put when they come to ya....!
Frank in Fla
'Scuse me while I whip this out...!
The real Achilles heal that still remains is all the void where the trigger comes through--those side walls just aren't thick enough, and even after all the stiffening up, if you put the rifle up on a bipod and press down on it with several pounds of force the stock will flex in exactly that area. Fortunately, the reinforcement is enough to keep the rifle steady for sighting and getting the shot off as long as your cheek weld doesn't impart a whole lot of force--so it's not worth further effort to me at this point. If only they used a bit of carbon-fiber like Tika--that would solve the problem most likely.
I did this last weekend and it was a 100X improvement to the feel of the stock. I used 1/4" steel rods instead. I like a heavy rifle anyway for target shooting.
Good tip, it works.
By the way - Admin put the article w/ pics on the home page. Another tid bit comes to mind. If you carefully remove the butt stock pad & put a little counterweight in there, it helps balance it, too.
After I put the fat black barrel on my 25.06. it nosedived / pivoted on the bipod. It needed a nice thick brass door hinge epoxied in the stock to counterweight it. Get creative. Remember - You're only limitation is your imagination...
Happy Edge rebuilding.
Frank in FLa
'Scuse me while I whip this out...!
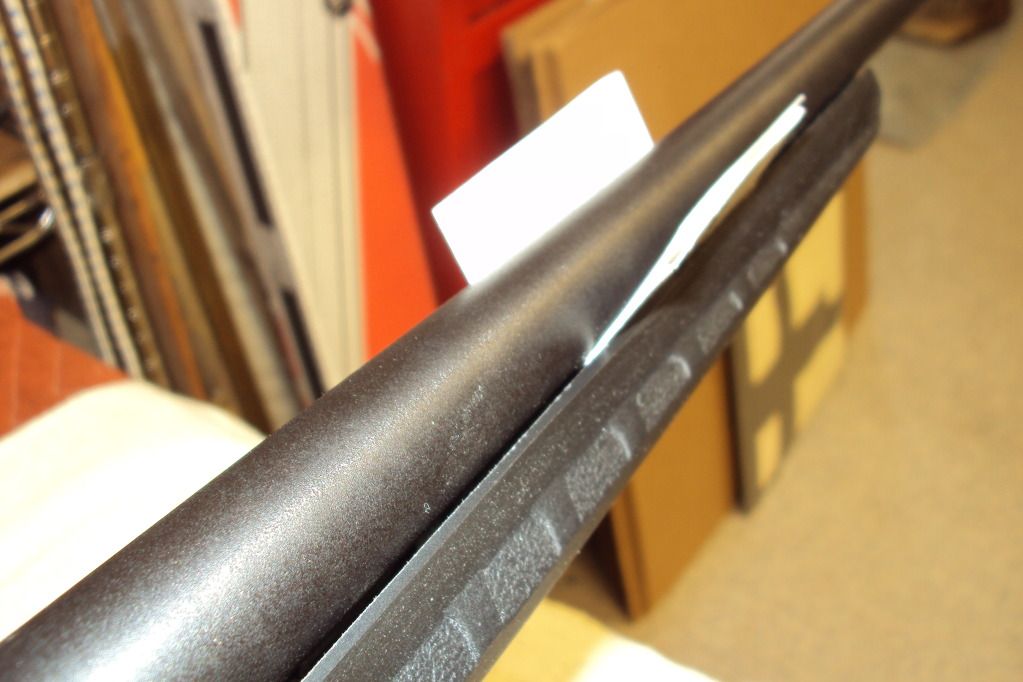
speaking of imagination, and thinking of other ideas, rather than removing the ribbing, do you think it would work as well if you left the ribbing and just drilled holes through them for the rods? I believe this could only help the reinforcement, and you'd use less epoxy, and if your barrel, like mine is already free floating completely the ribs would act as a good guide for where you need to sand! :D thoughts?
 Posting Permissions


Bookmarks